

 Oil service interval reset Audi A4 B8
Change brake disks R53 Cooper S JCW
In this Brico I explain how to change the front brake discs to a Mini Cooper S (R53) JCW version. It should be clarified that the version of the brake calipers JCW Mini Cooper S (R53) is the same as the Mini Cooper S (R56) series; the only difference between these clamps is the color of the clip: red for R53 Cooper S JCW and silver for R56 Cooper S standard. My model is the silver tongs as seen in the images. Regarding exploded OEM reference codes that I used in this brico they are:
34116768933 For brake discs (294X22) R53 JCW version
34116778320 To the brake version R53 JCW
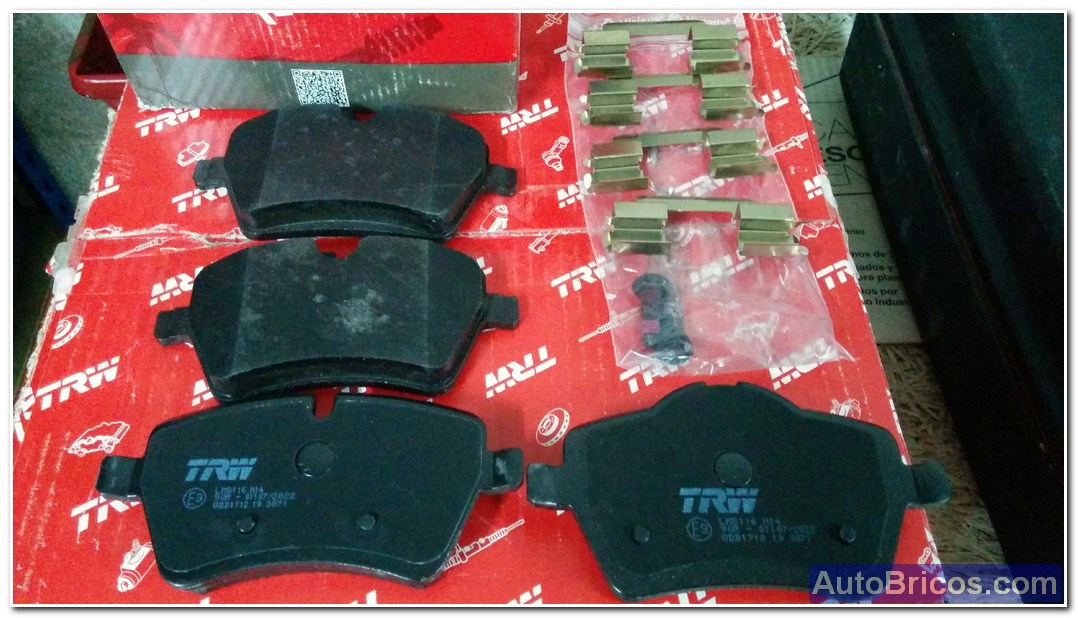
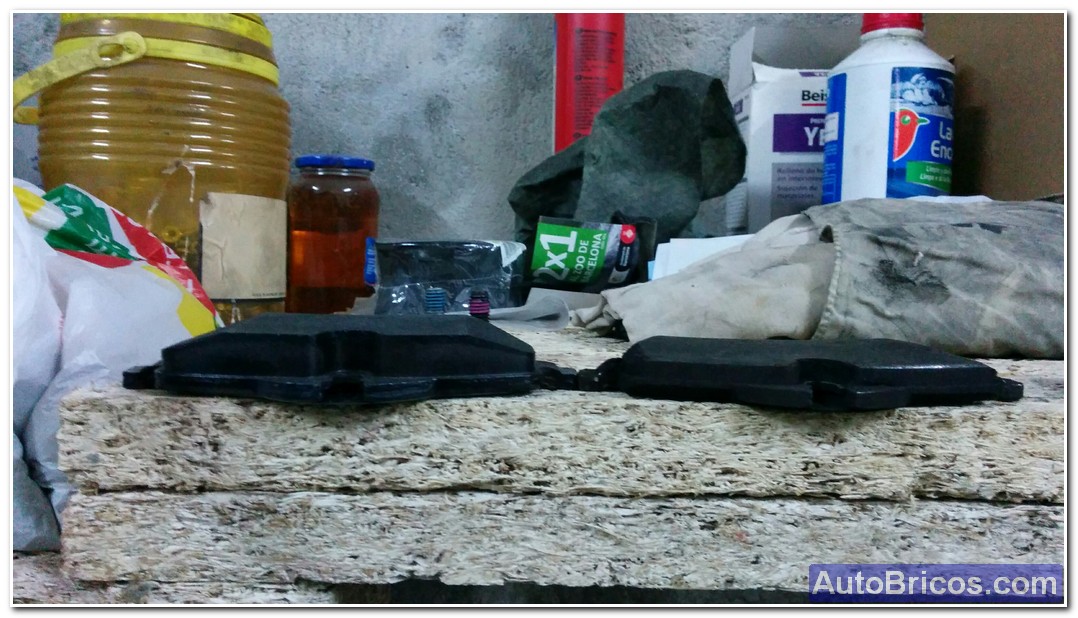
When the brake discs are changed it is essential also change brake pads for the new disks do not deform. I adquirdo a set of brake discs and pads of the same brand as the clip (TRW) fully equivalent to those previously discussed cross references.
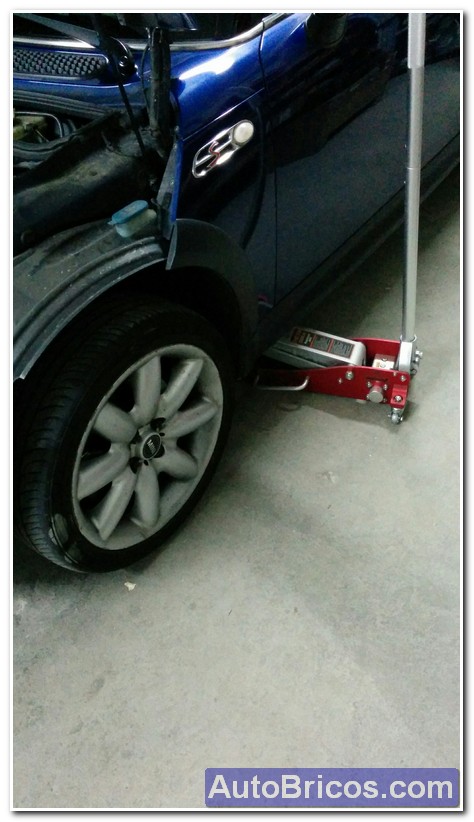
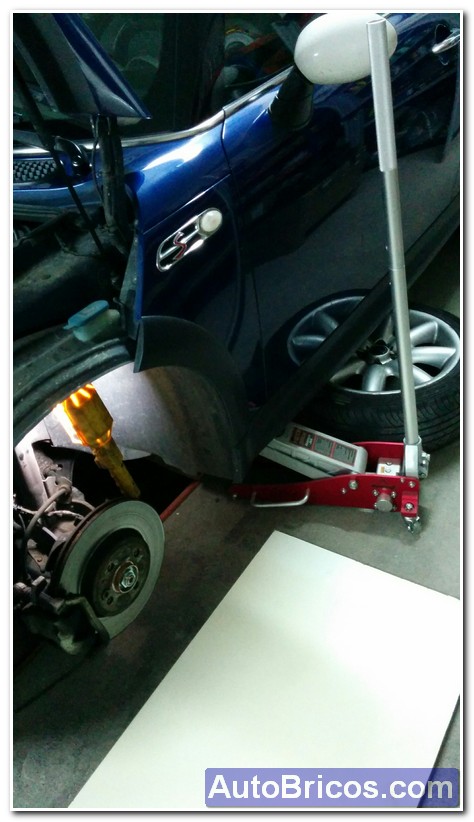
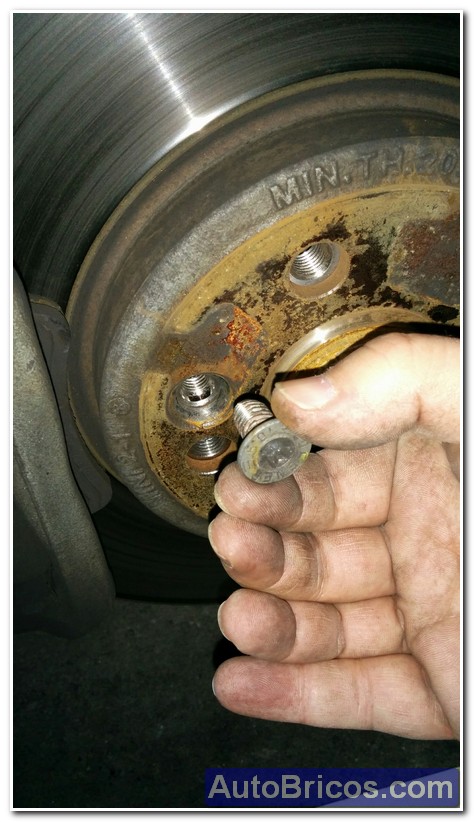
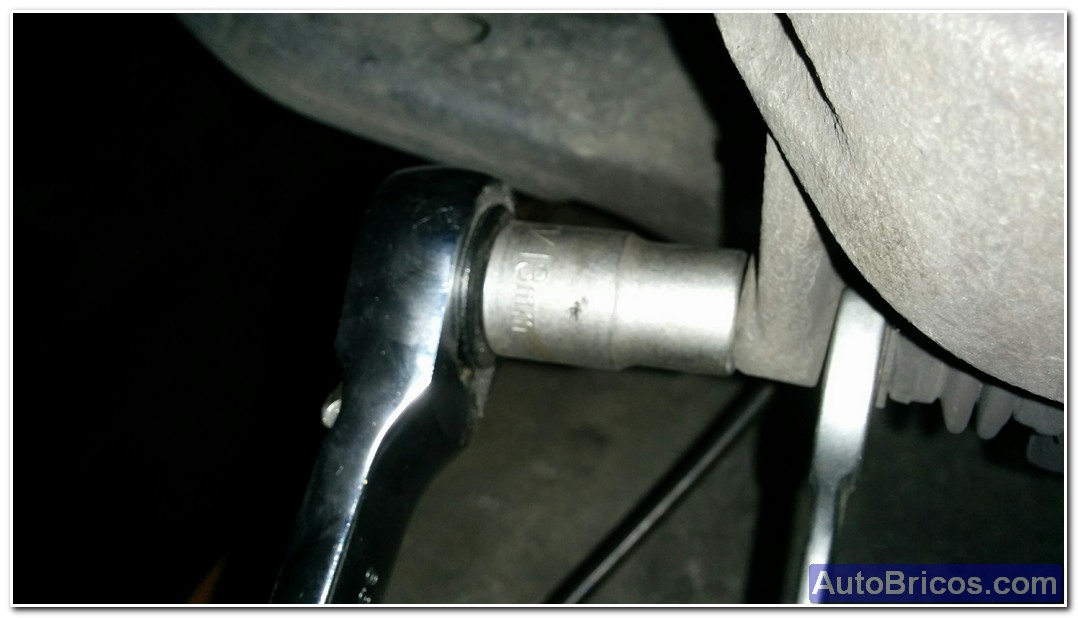
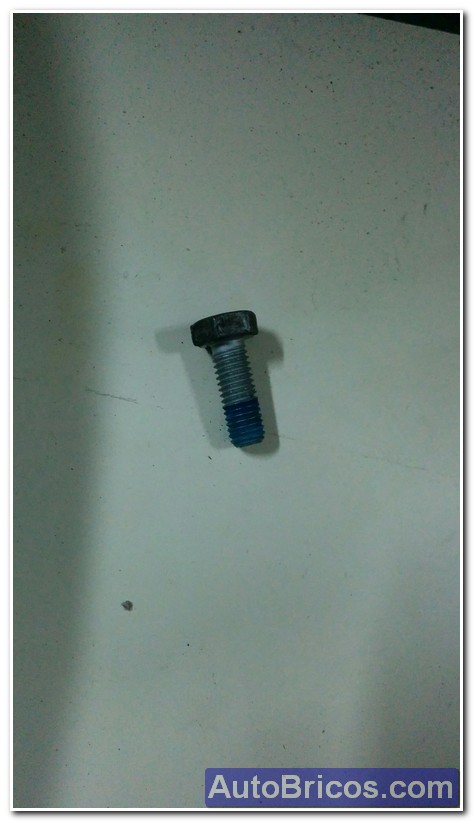
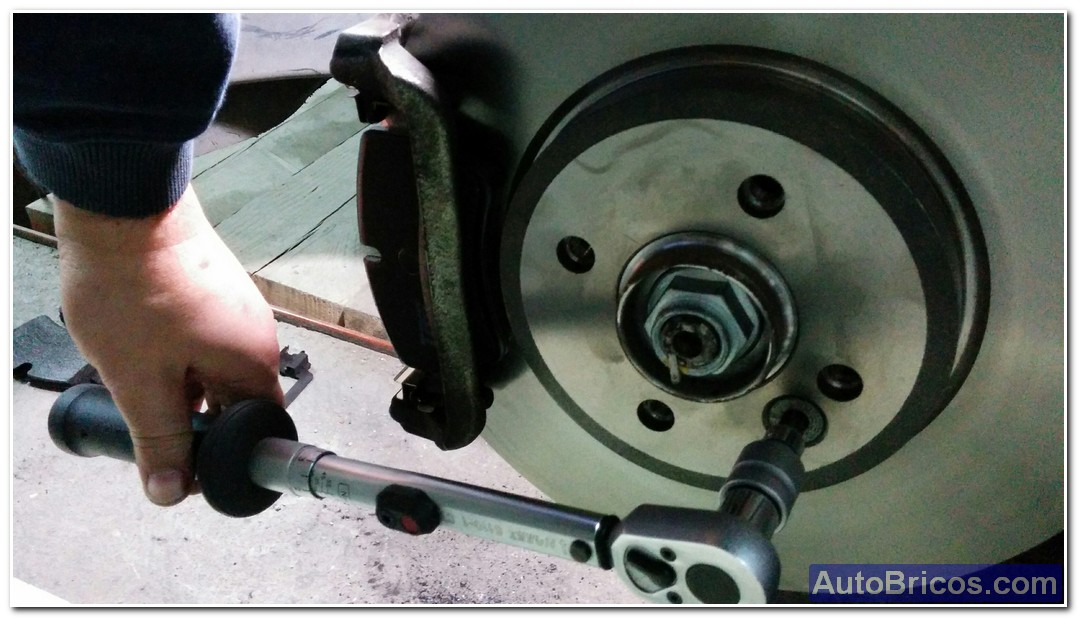
The first step is to put on and lift the front wheels of the car. I advise to put the wheel or taken under the safety car. The second step is to remove the Torx countersunk screw securing the brake disc to the wheel hub bearing
 |
 |
 |
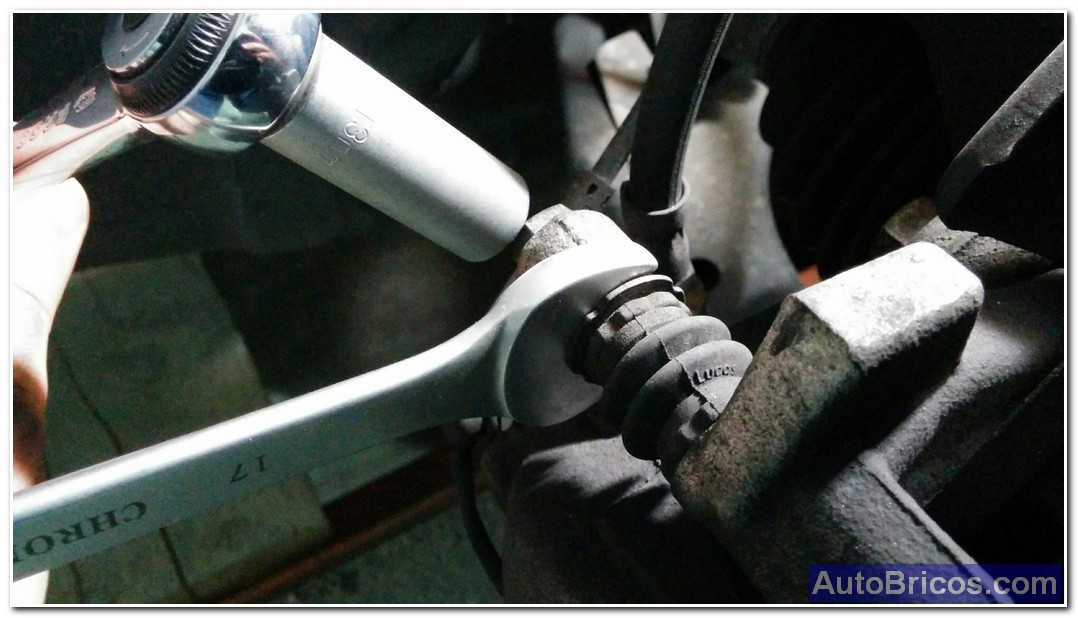
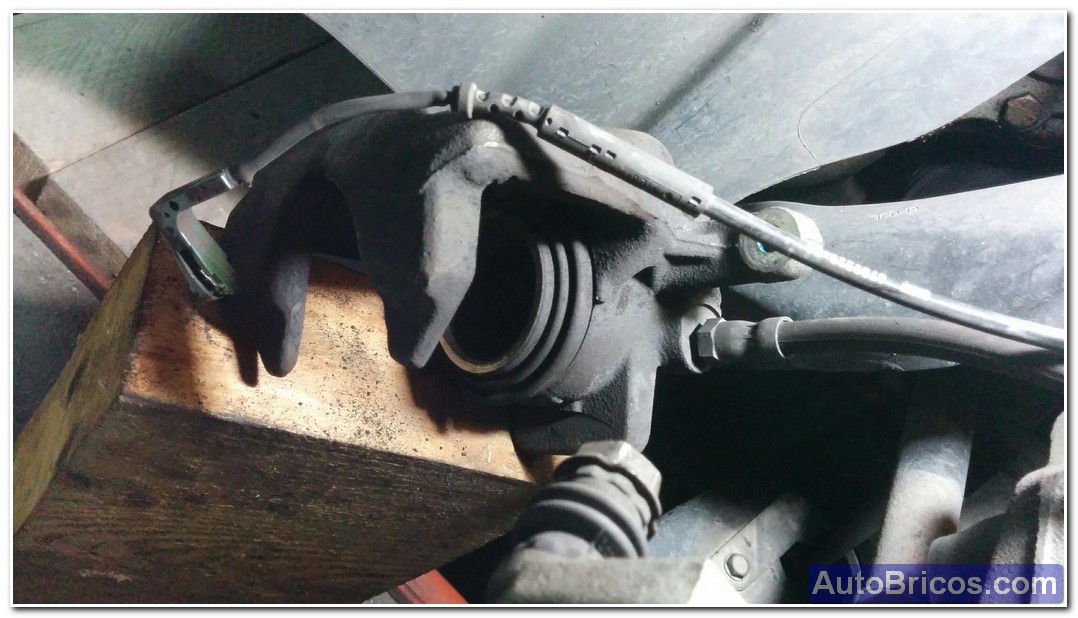
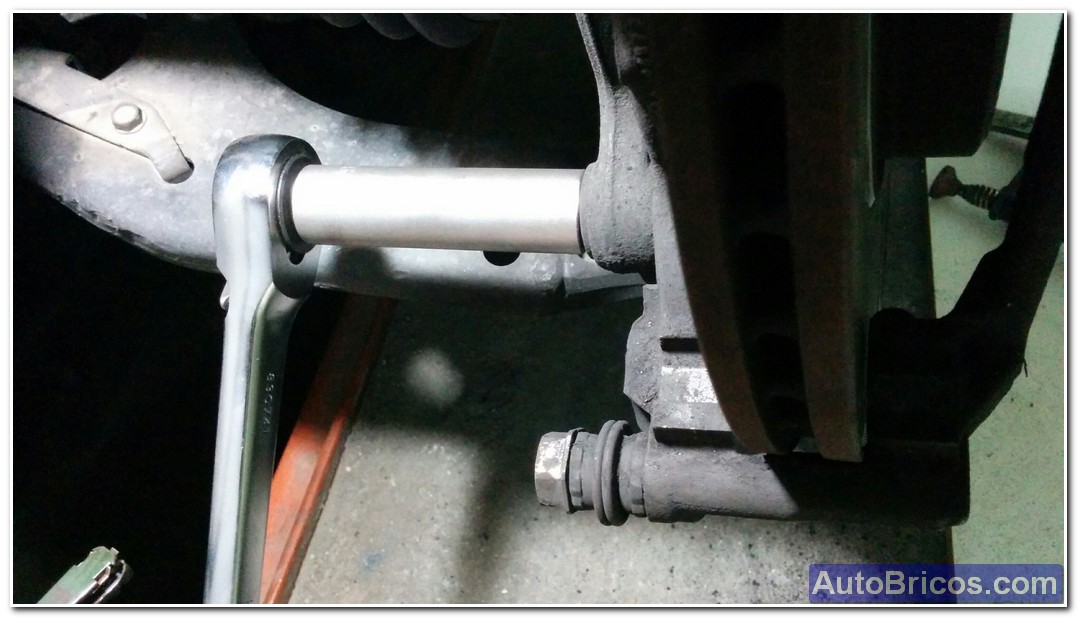
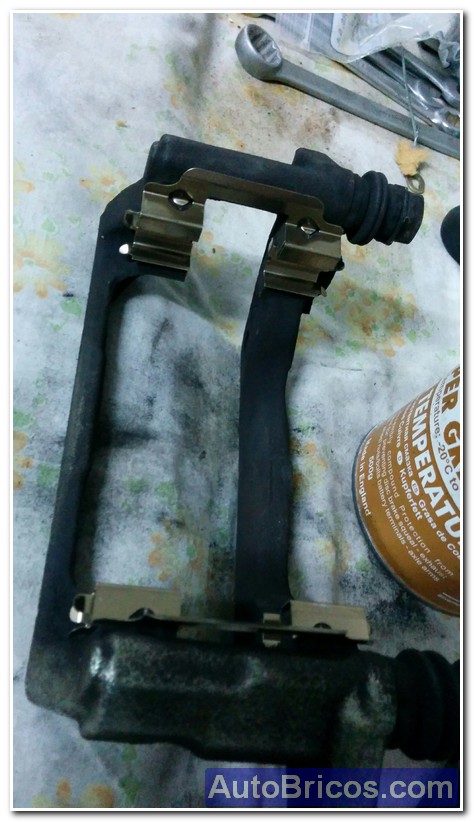
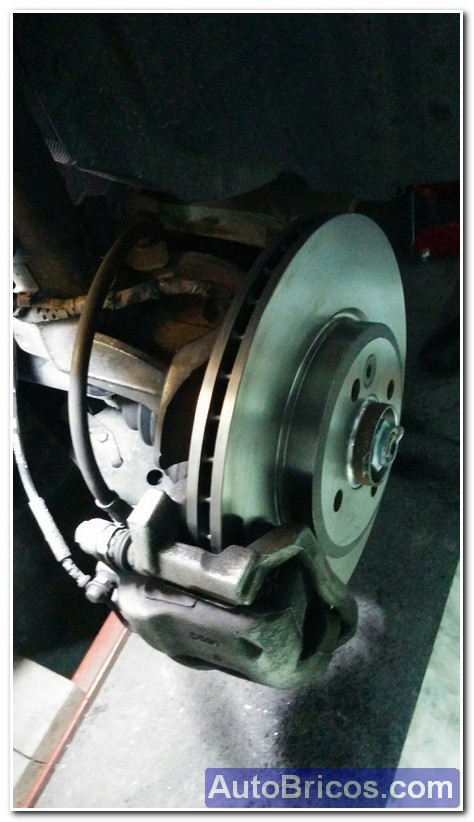
The third step is to remove the two screws holding the caliper to clamp body. A flat key 17 and a hub 13 so that they can be used loosen, there qe consider these screws have a agarrotante compound that can not be loosened. Then you have to separate some brake pads to remove the cable brake warning light without being caught by the flash of the brake disc, we can help with a sergeant or pulling slightly from disk but before we open the cap fluid brakes, since part of the liquid in the tank return bowlers. As the witness brake has a metal clip is removed and pressure (out). You have to watch that when you release the clamp, brake hoses not to be forced, you can put a piece of wood to support the clamp or make it subject to the turret via a cable or hook.
 |
 |
 |
 |
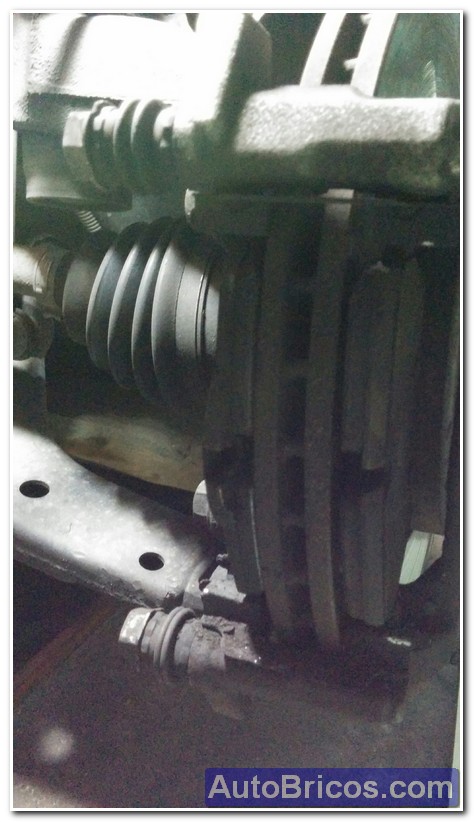
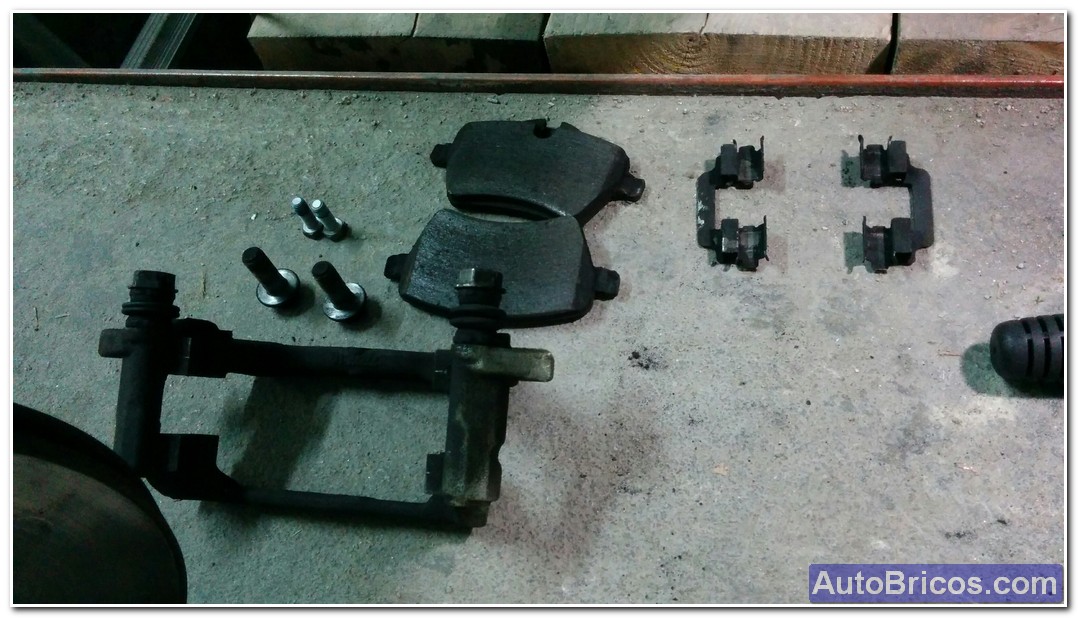
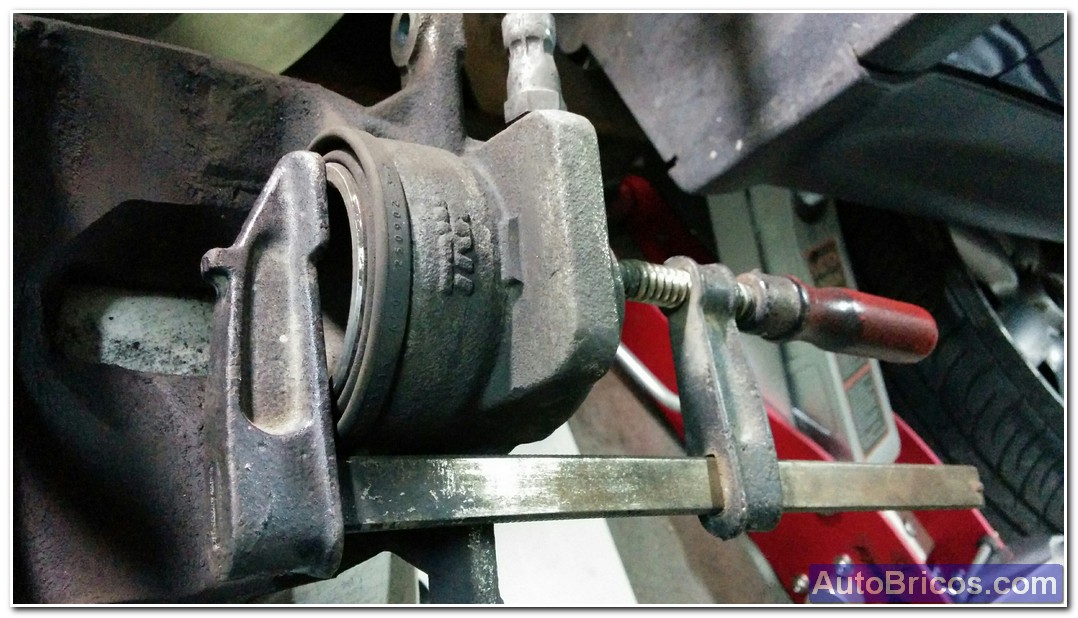
Once taken off the brake caliper, the body must be removed retaining clip to remove the brake disc. Use the wrench of 16. They are tightly clenched, so maybe we need a long wrench to have a good lever.
 |
 |
 |
 |
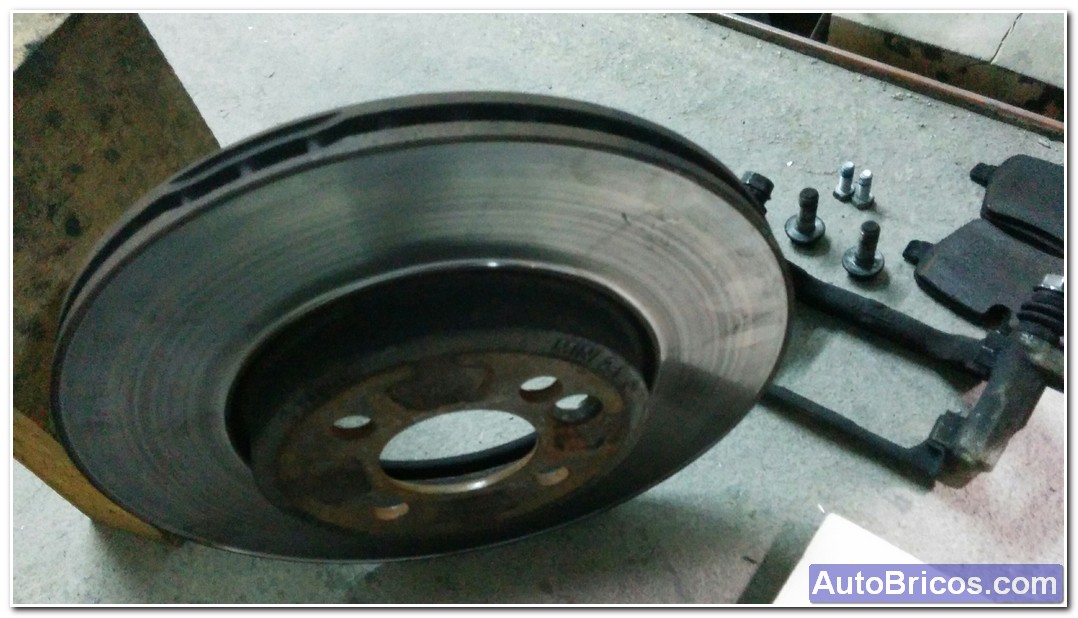
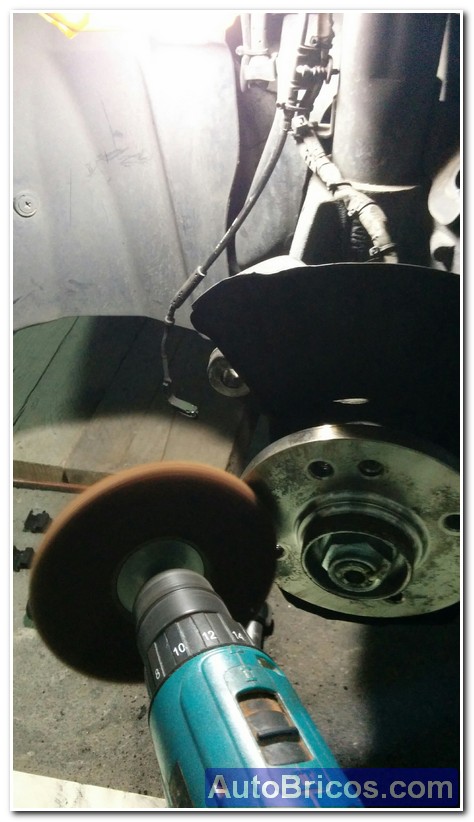
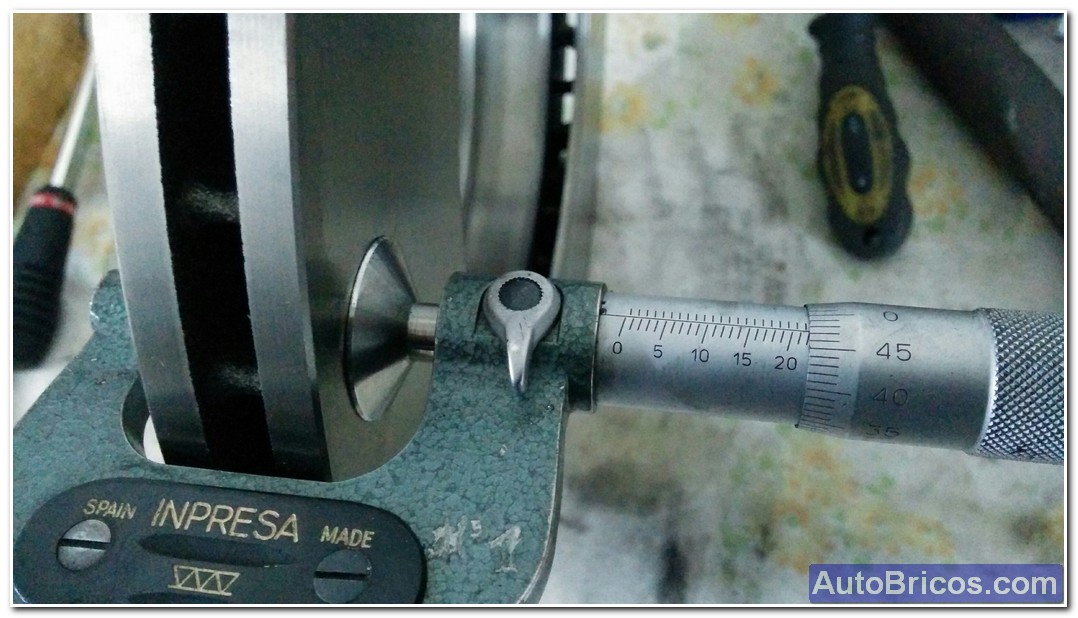
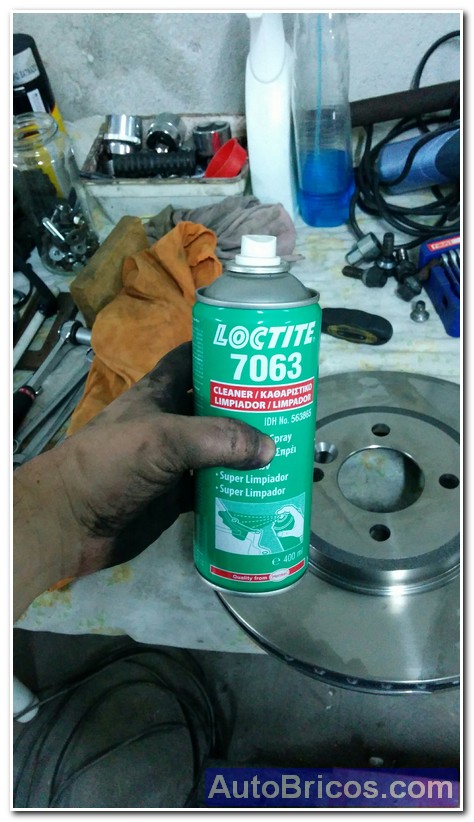
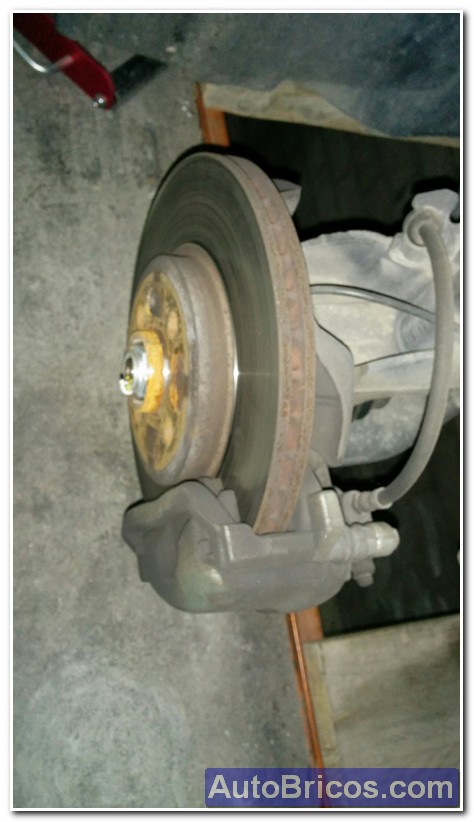
Once the disk we have to clean out the area centering hub and the new disc fits snugly and not be misaligned us. You can see the thickness of the old record (19,42mm), and the difference in thickness with the new album (21,97mm). The minimum thickness by BMW should be 20.4mm. As you can see from the pictures with Palmer, the old record is already slightly below this limit, which played change. By contrast, the thickness of the new disc is about 22mm. Before placing the new disc it is important to degrease the tracks where will the friction brake pads, it is vital for the proper wear of the disc and the pads. In this case I used a degreaser Loctite, but with gasoline or alcohol can be cleaned very well too.
 |
 |
 |
 |
 |
 |
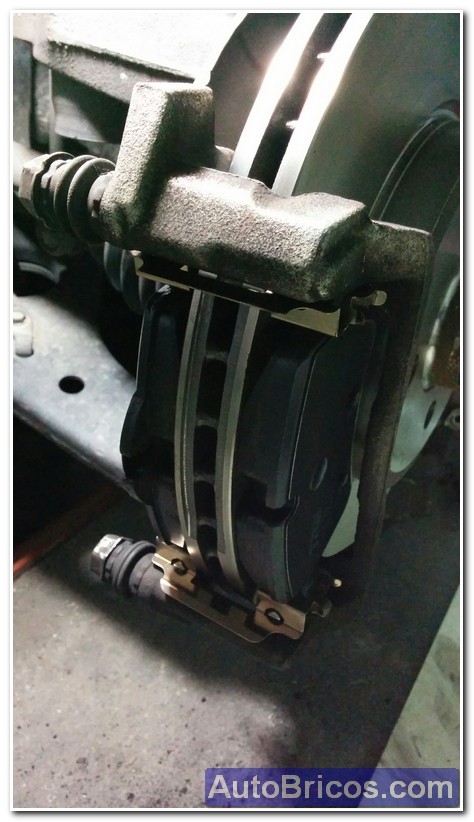
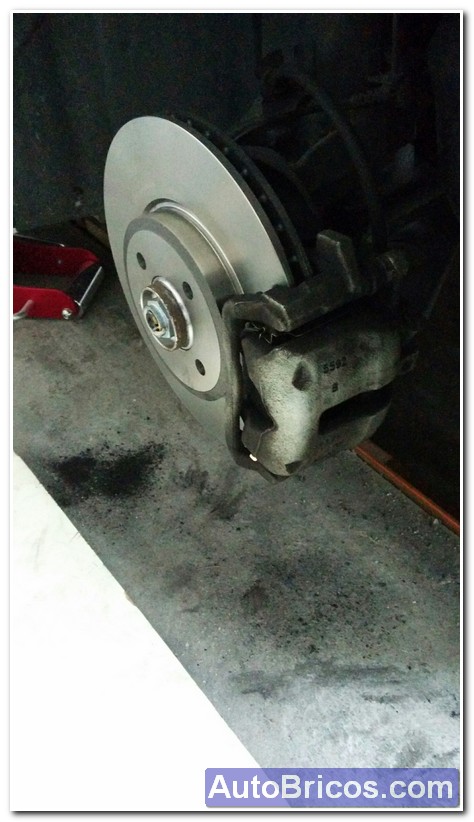
Then we can put the brake disc on the hub and hold mediente the Torx screw countersunk we had previously taken, it will press to 26Nm. Once held the record, and you can put the body that will hold the brake caliper. We use the same screws that we get, and will press to 100Nm. We will have to put the INOX skates to be disposed of each pad change obviously come with the kit of pills. , Ensure that you are perfectly placed (monitoring the tabs that are not folded). Once the runners placed in the clamp body and can place the brake pads.
 |
 |
 |
 |
 |
 |
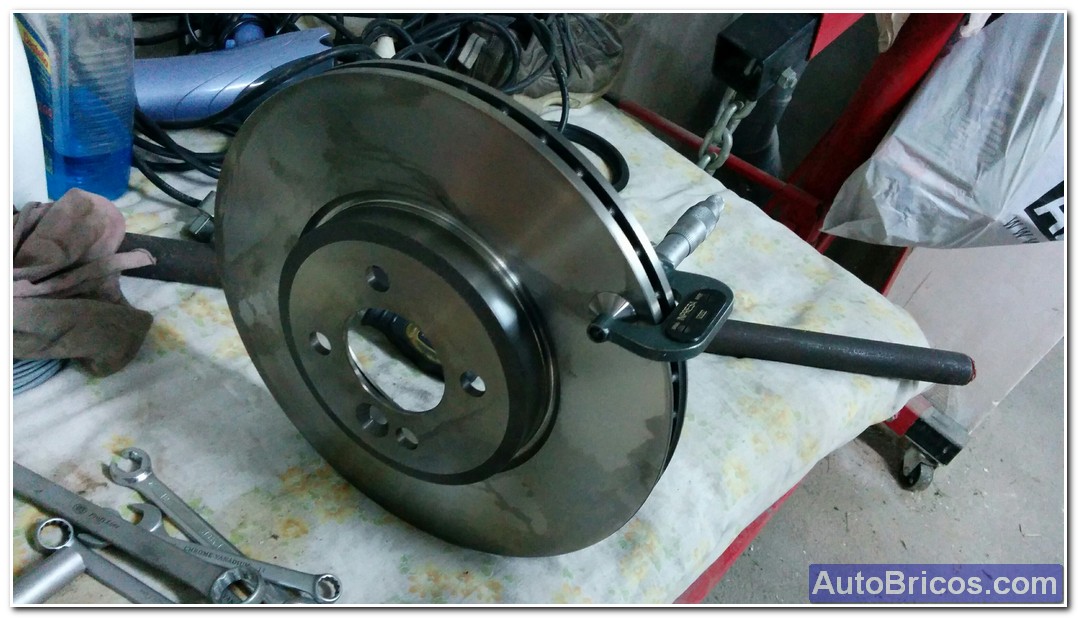
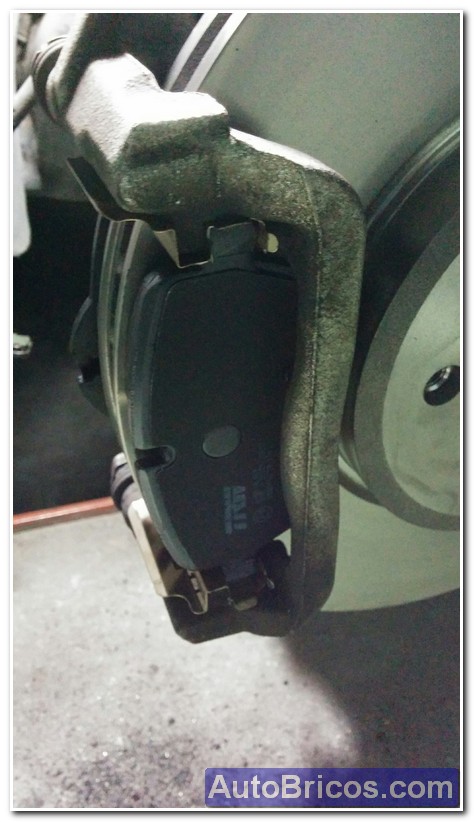
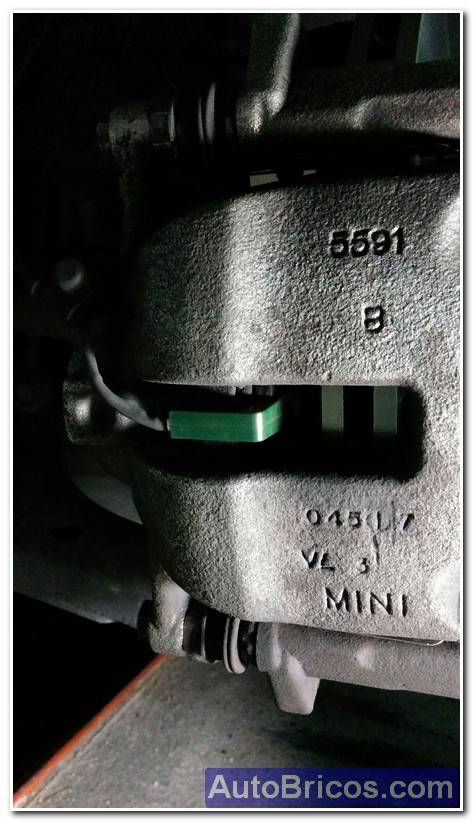
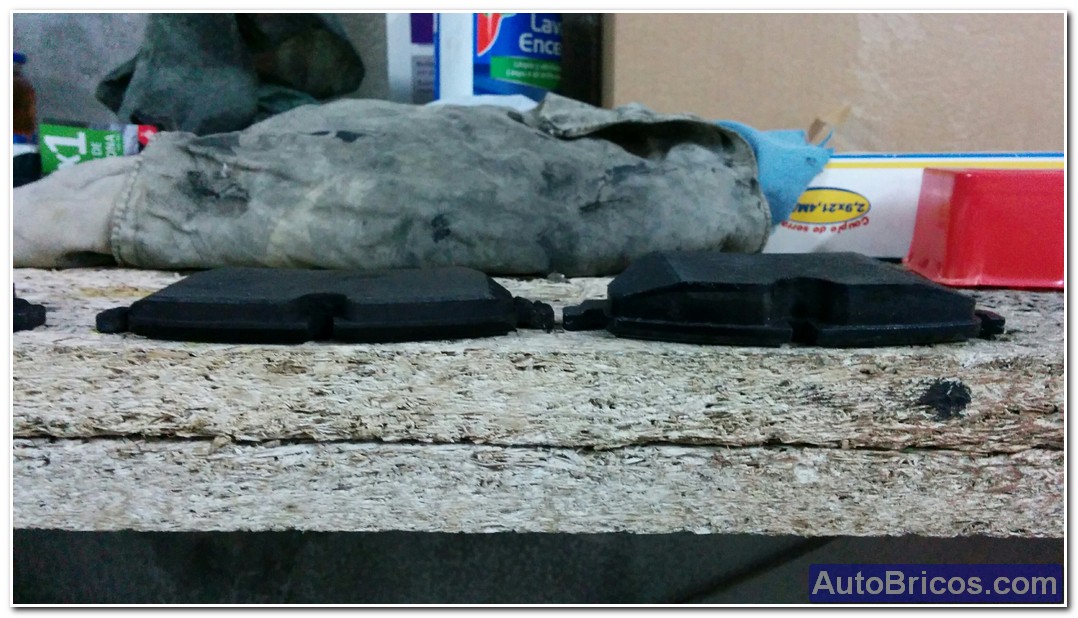
Once placed the tablets in the INOX guides the caliper body and we can put the hydraulic clamp, for it tendermos that acavar to pull back the bowler brake until it is flush to the bellows (keep the plug fluid reservoir Brake opened to return the liquid to the reservoir); as you can see in the picture, we can help a sergeant.Once we have the bowler back, we place the clamp on the body and then the witness will brake. If the witness is spent must be replaced with a new one, otherwise worn pads indicator pilot light box. When we tighten the bolts holding the caliper body, we will to 35Nm. I put some pictures where you can see the differences in thickness between the new and the old pills.
 |
 |
 |
 |
 |
 |
The following would ensure that both brake hose as the brake control cable pass lor the right place and correctly sujetados.Es this important detail, since the turret is moving and if the hose were misplaced, could sectioning a rotation. We checked everything, and we can put the wheel and we can tighten the 4 screws on the wheel (approx. 120Nm). Once completed this wheel will do the same with the other side of the car, and we would have the job completed in two wheels.
 |
 |
| Tweet |