

 Oil service interval reset Audi A4 B8
Change of exhaust flange
In this DIY, the change of an exhaust flange that is located in the central area of the exhaust line of the car has been made. It has been changed because it was completely rusted and it already had one of the 2 clamps that tighten the flange completely broken due to the effect of rust, and there was a risk of breaking the second flange and leaving me with half an escape line hanging, with what this implies .
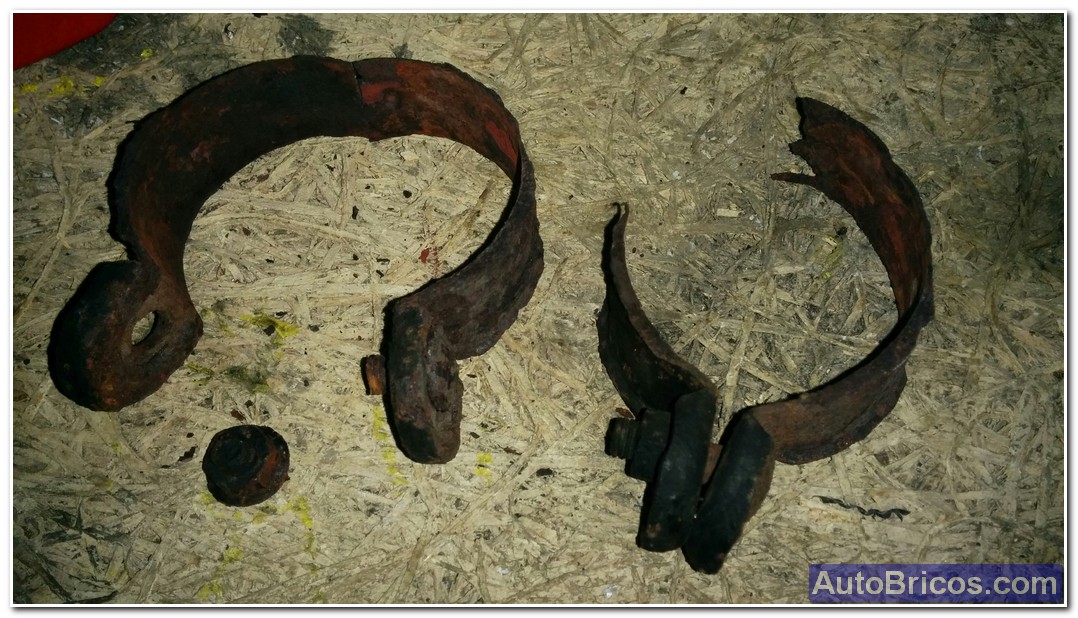
Firstly, I show the state in which the original flange was, it should be said that when trying to unscrew the screws, they directly broke and only the central tubular area remained as a support for the 2 parts of the exhaust line.
 |
 |
 |
To remove the central tubular area (once the fastening flanges have been loosened or removed), it is necessary to slide it on one of the 2 sides of the exhaust line (the one that suits you best) to be able to misalign the exhaust pipes and be able to remove the flange completely. Be careful to hold the exhaust pipes while they are without a flange, as if they are dropped, some parts could be damaged (for example the catalytic converter flex). If another person can help you by holding the 2 parts of the exhaust while you change the flange, the better.
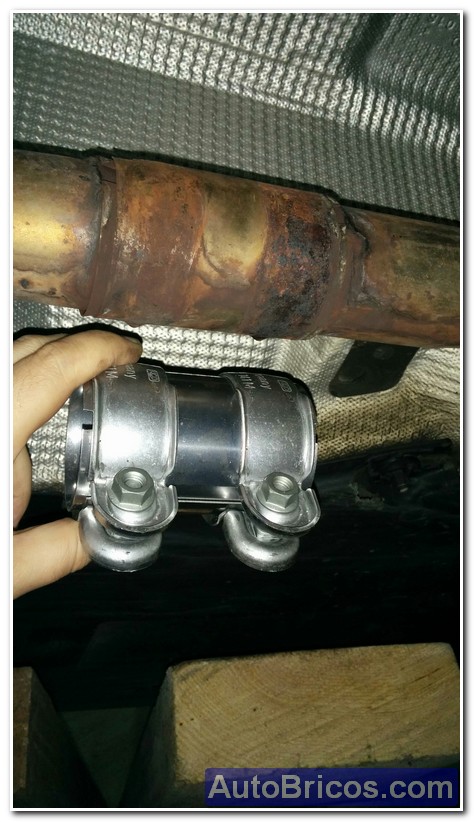
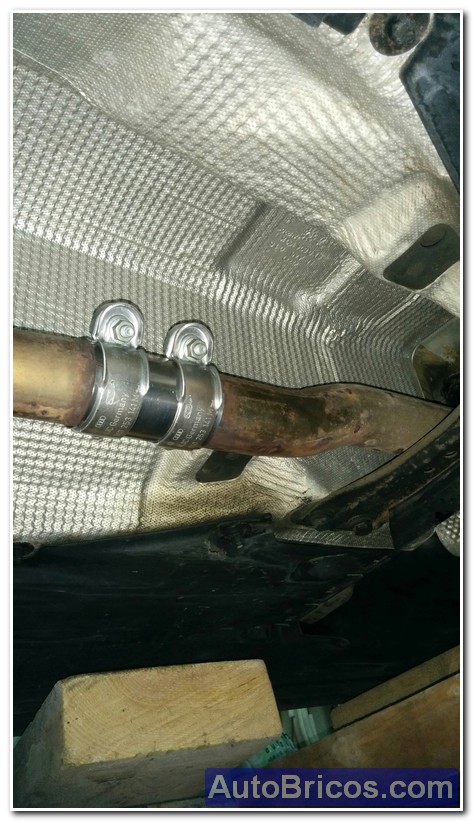
Next I show the new flange and how it is already placed in the exhaust line. Put the flange nuts so that they do not protrude from the bottom, but that it is easy for you to tighten with the wrench. In my case I have put them at the top and slightly inclined as seen in the photo. I have also done it in case there is dripping water, so that I do not rust the threads of the screws excessively.
 |
 |
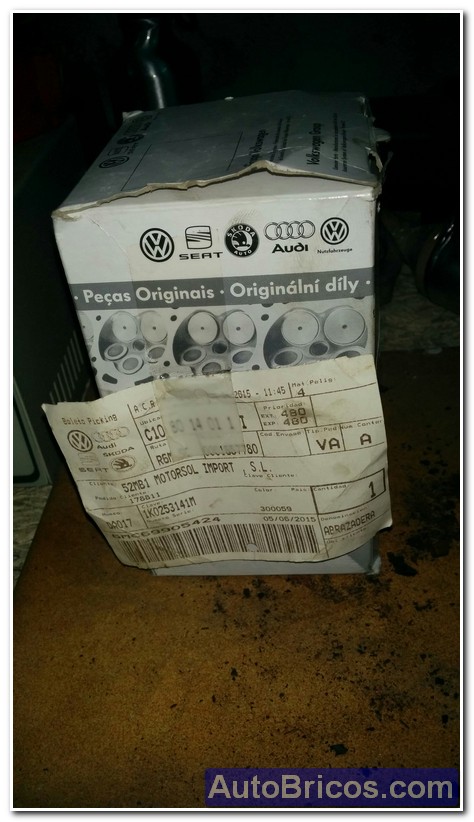
I leave here the reference of the original VW flange in case anyone is interested: 1K0253141M. I show the photo of the box too.
 |
| Tweet |