

 Oil service interval reset Audi A4 B8
Electric window repair
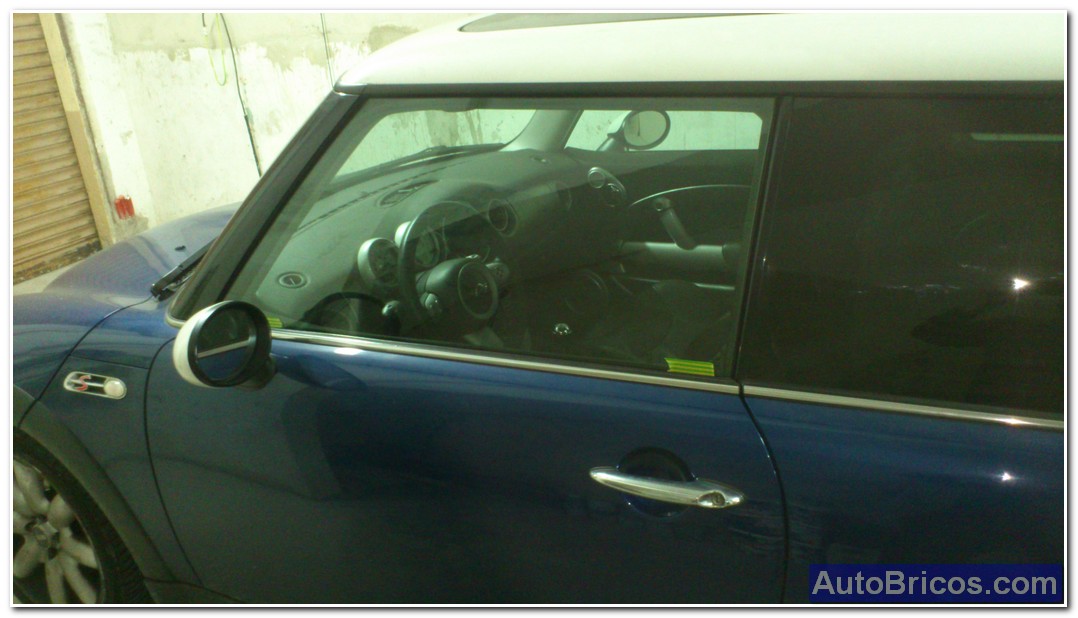
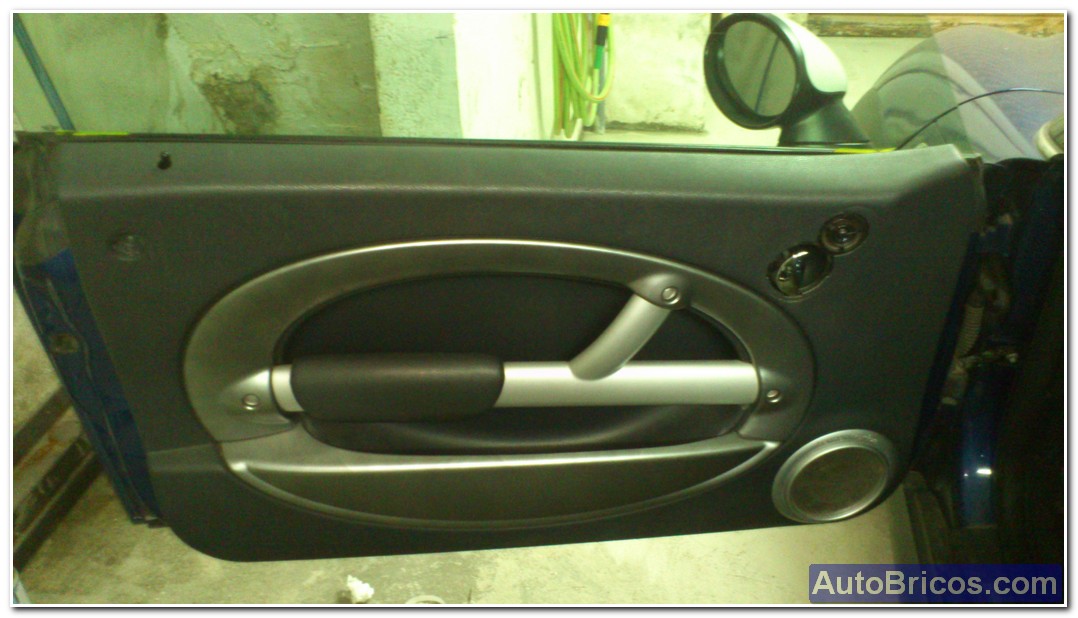
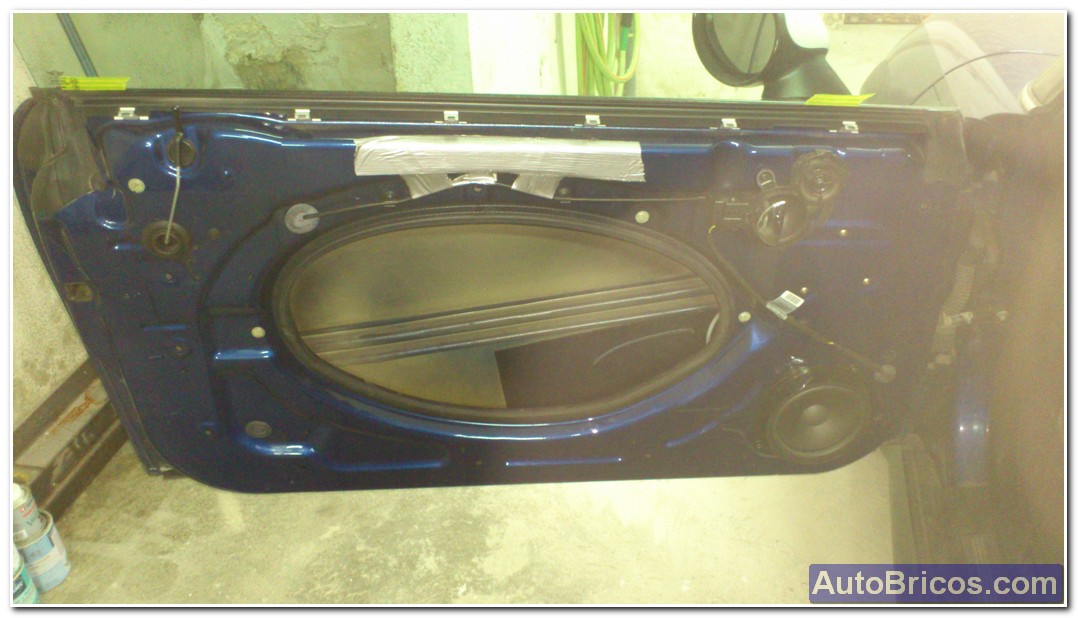
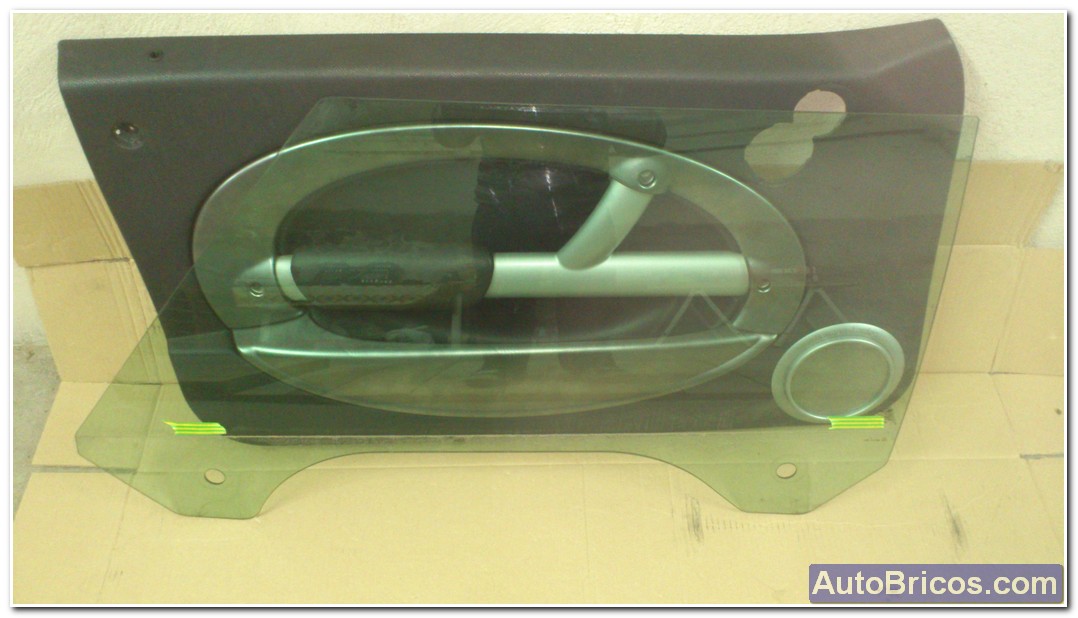
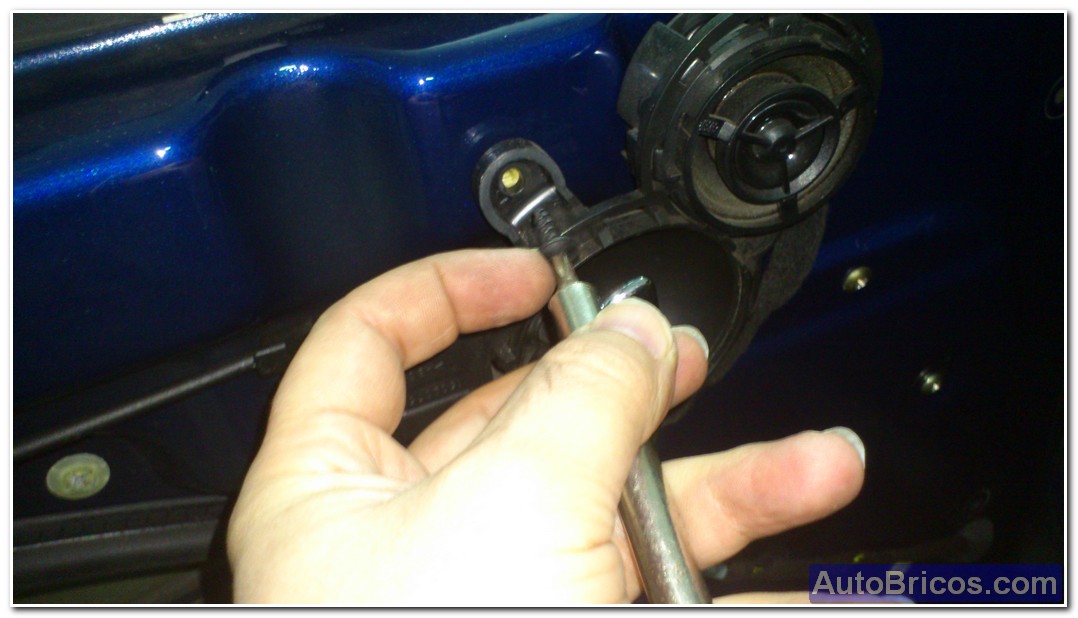
This Brico explains how to change the window motor to a Mini Cooper S (R53). It also serves the Brico if you want to change the whole set (guides + motor). In my case the fault I had was that I stopped working sporadically the windows (both winter and summer), usually after a long period of disuse, and had to sort dealing a blow a little above where it is located the speaker, which is just where it is bolted up inside the window motor. Once the window is put in operation and did not fail until the left over again a long period without use. It was typical that I failed to grab the car windows first thing in the morning as we had spent many hours without using the drive.
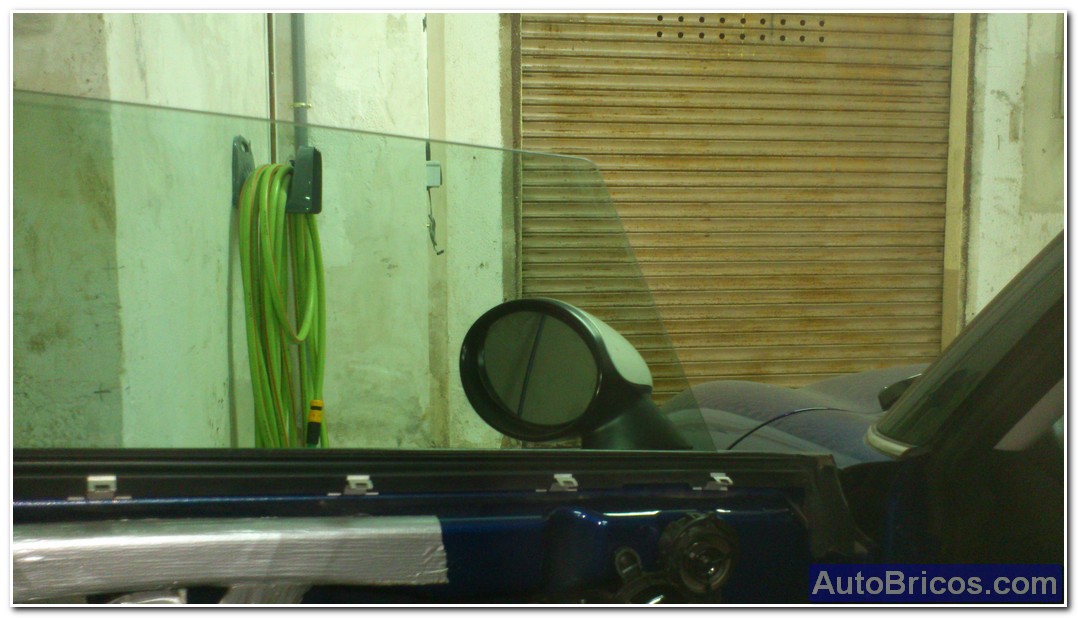
First we have to try to set ourselves as the glass is set (which is also relying adjusted, of course) in terms of distances between the glass and the frame of the chassis, since the door has no frame, the inclination (we'll see how to adjust later), height, etc ... In my case I put a few pieces of tape stuck to the glass just rubber at the door to see the height at which they had to come back when you reposition the glass.
 |
 |
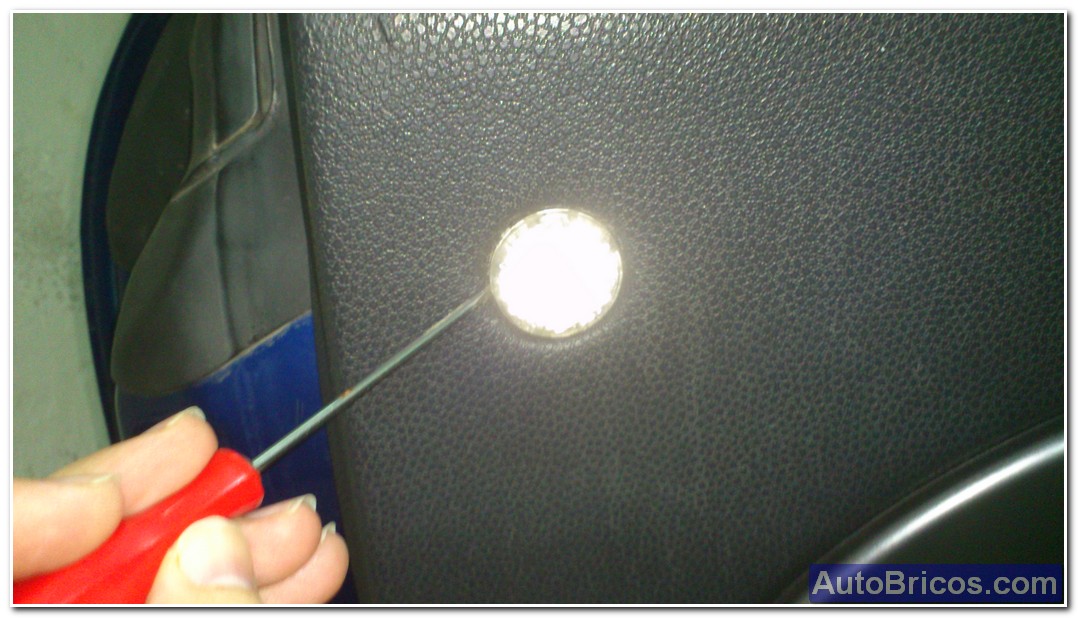
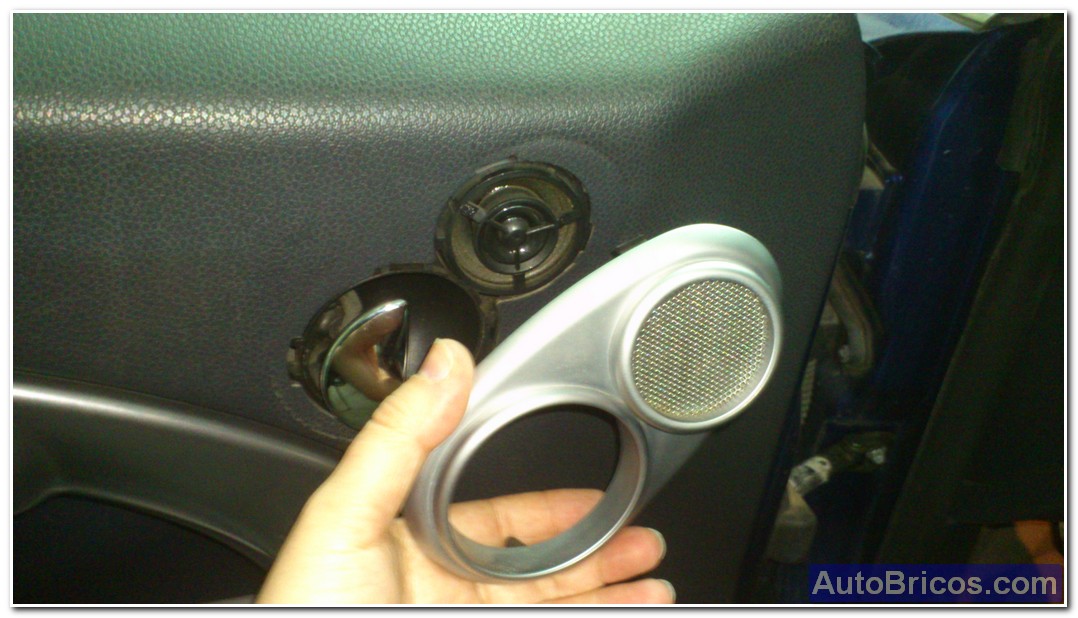
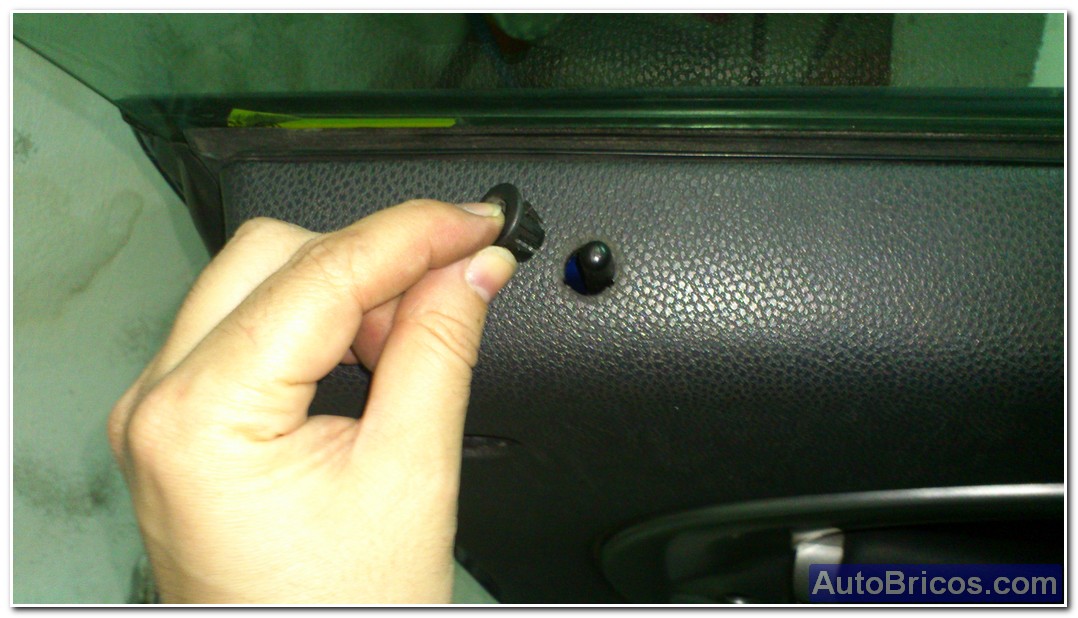
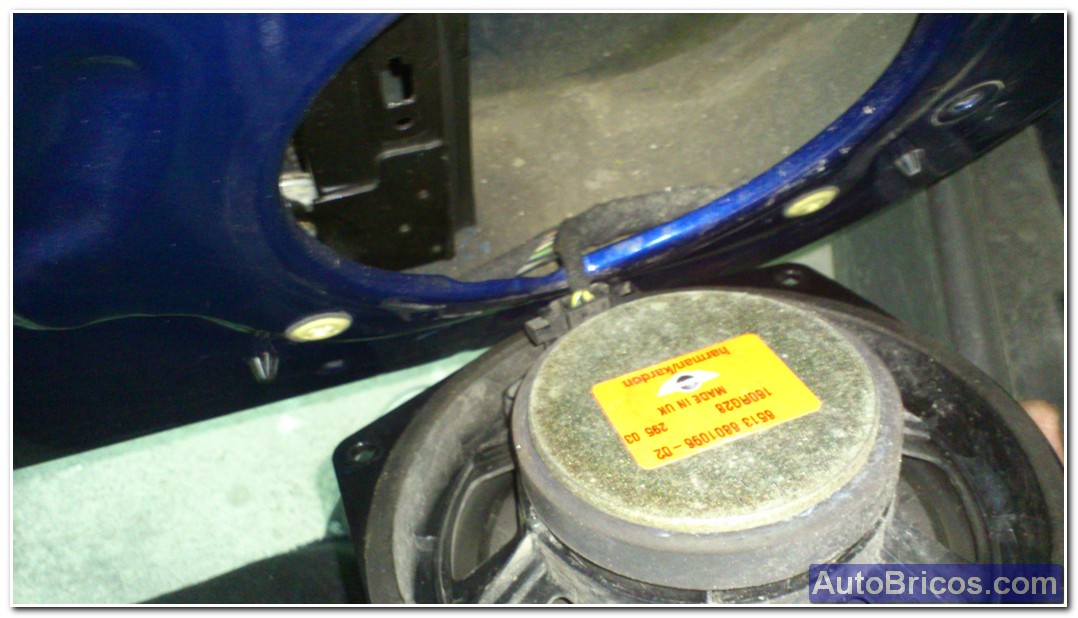
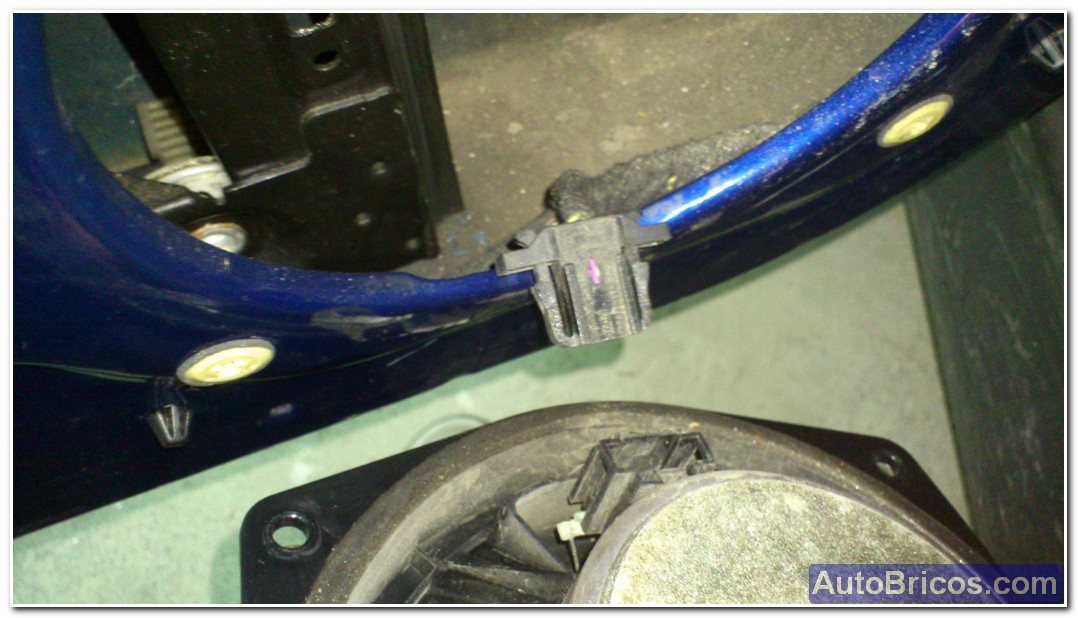
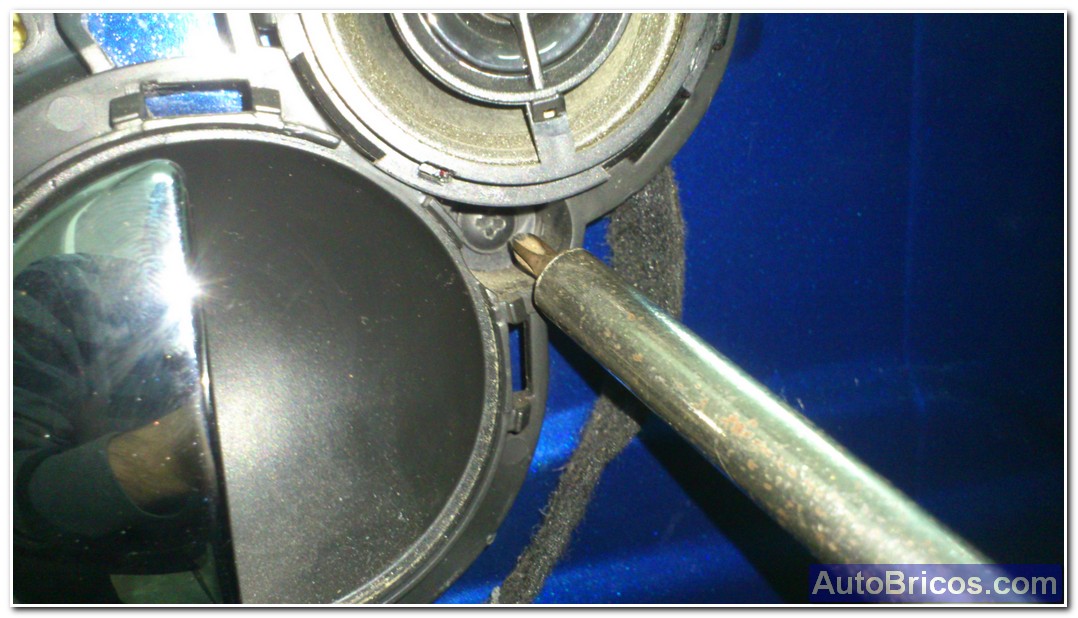
To disarm the door must remove the round reflective prying with a screwdriver, pivot the bezel safe, and frame tweeter (tweeter) above.
 |
 |
 |
 |
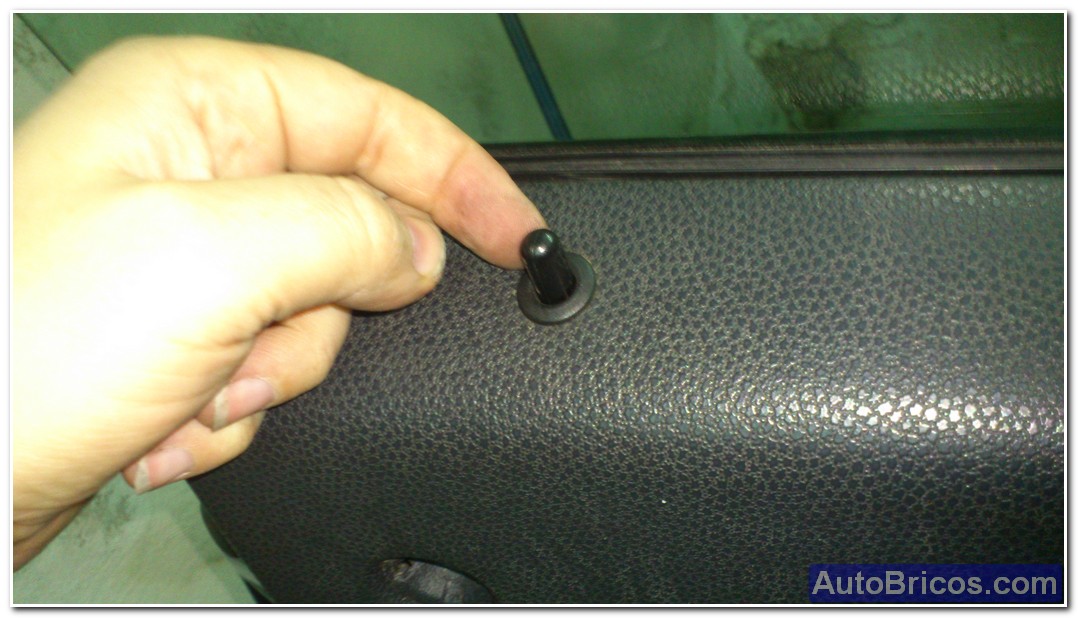
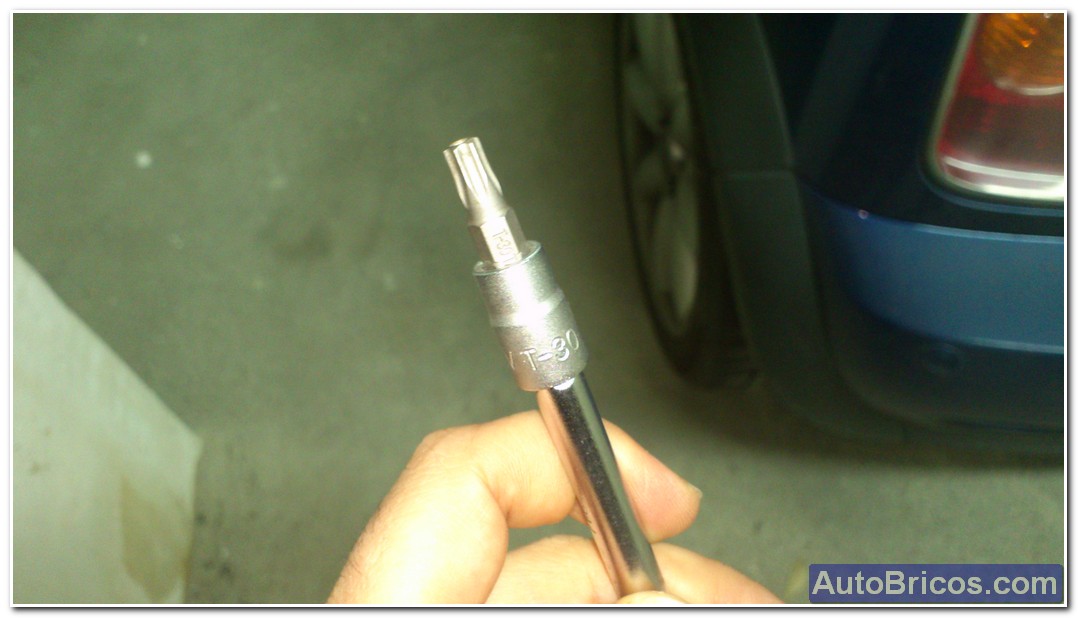
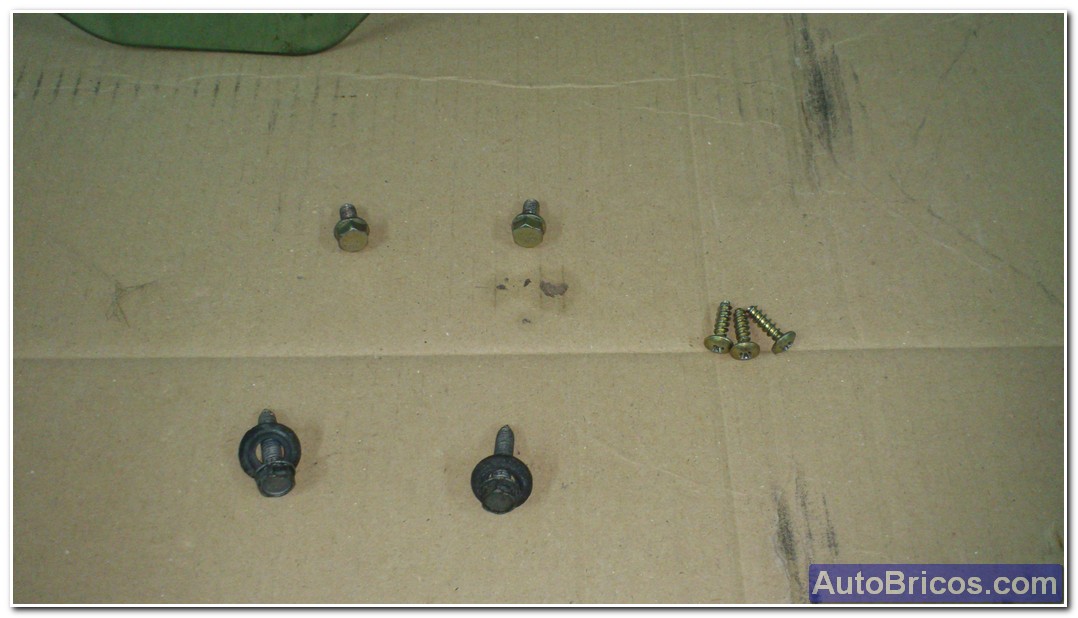
Once removed these pieces we can unscrew the screws holding the door rebestimiento. There are 4 Torx screws (T20 specifically), note that there are 2 long screws and 2 short screws as seen in the images.
 |
 |
 |
 |
 |
 |
Once removed the 4 Torx screws, we can unlock the door liner, for this I have used a Q-tip nylon wedge shaped to not damage the paint on the door. It can make a tornavís, but if you are not careful can leave marks in the paint.
Personally I find it easier to start at the bottom desanclarlo (speaker area, and from there, progressively disengages up and left for unlatching the upper end being careful not to damage the pivot of insurance. The molding comes easily.
 |
 |
 |
 |
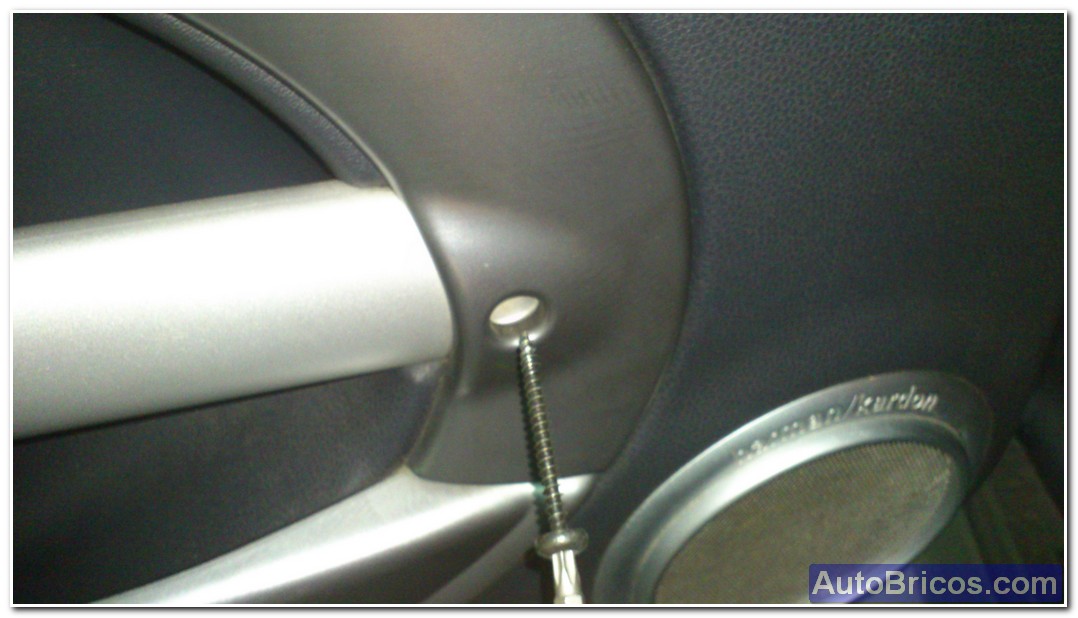
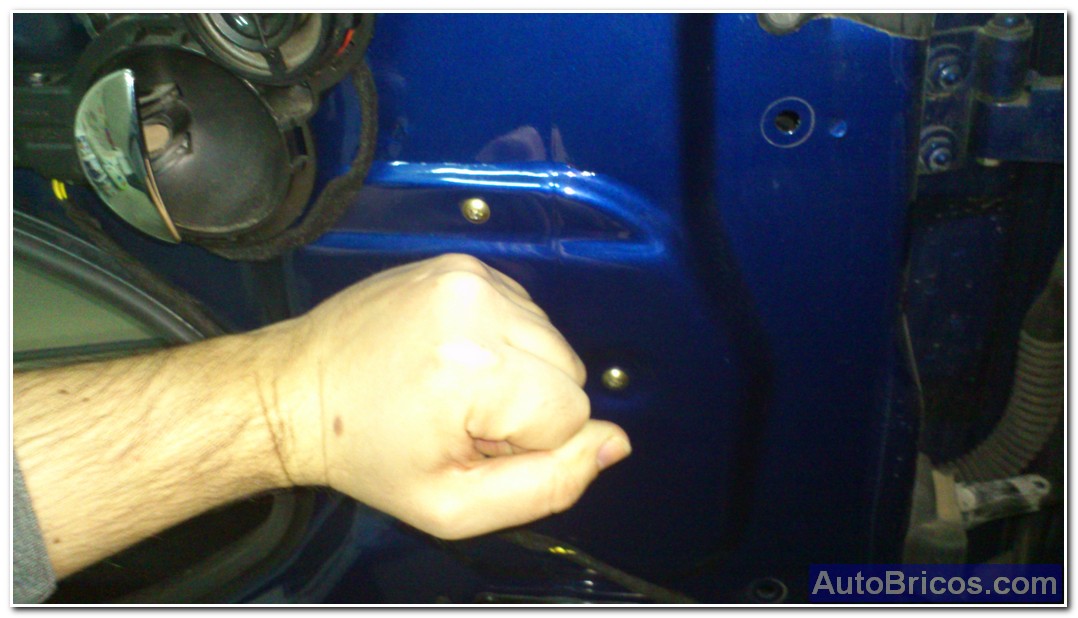
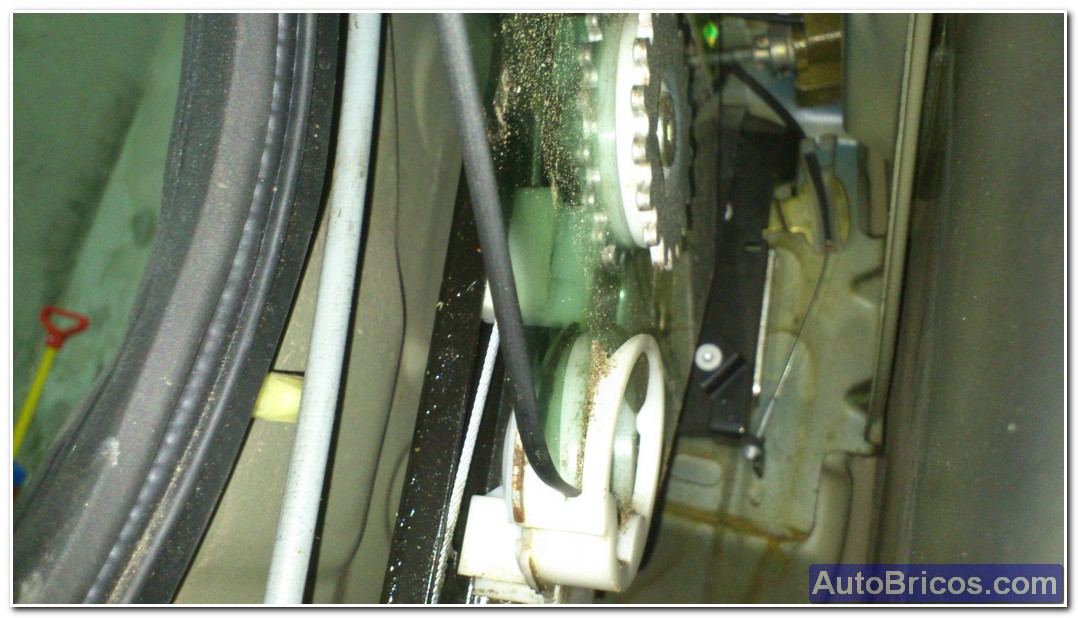
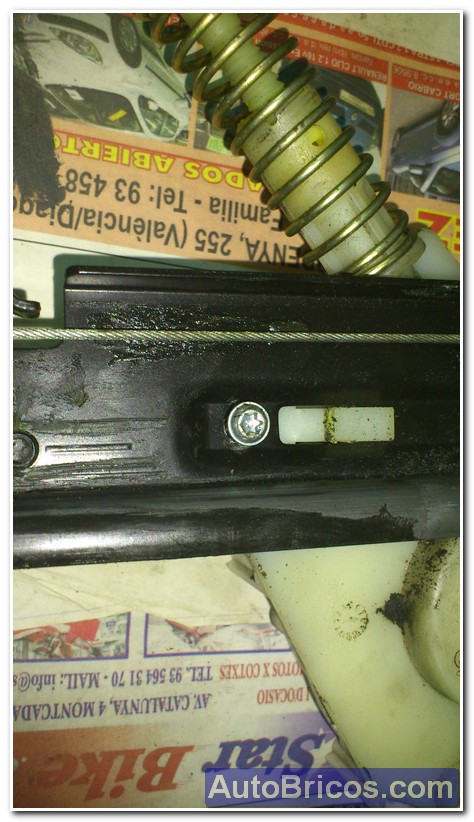
Once taken off the door molding, we can see the inside of the door, and in order to loosen the screws holding the glass, I advise it down to a height that allows us access to the 2 screws that hold the glass special . If the window does not work and has the same symptoms as mine, give it a sharp blow to the area above the speaker while pushing the lever to lower the window, and probably lower.
 |
 |
 |
 |
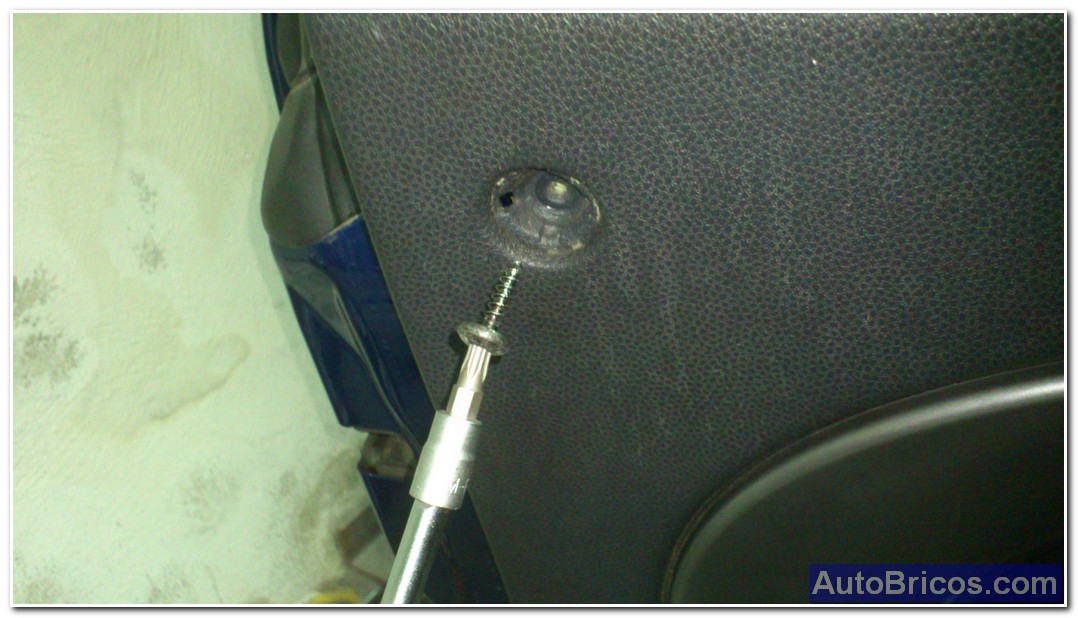
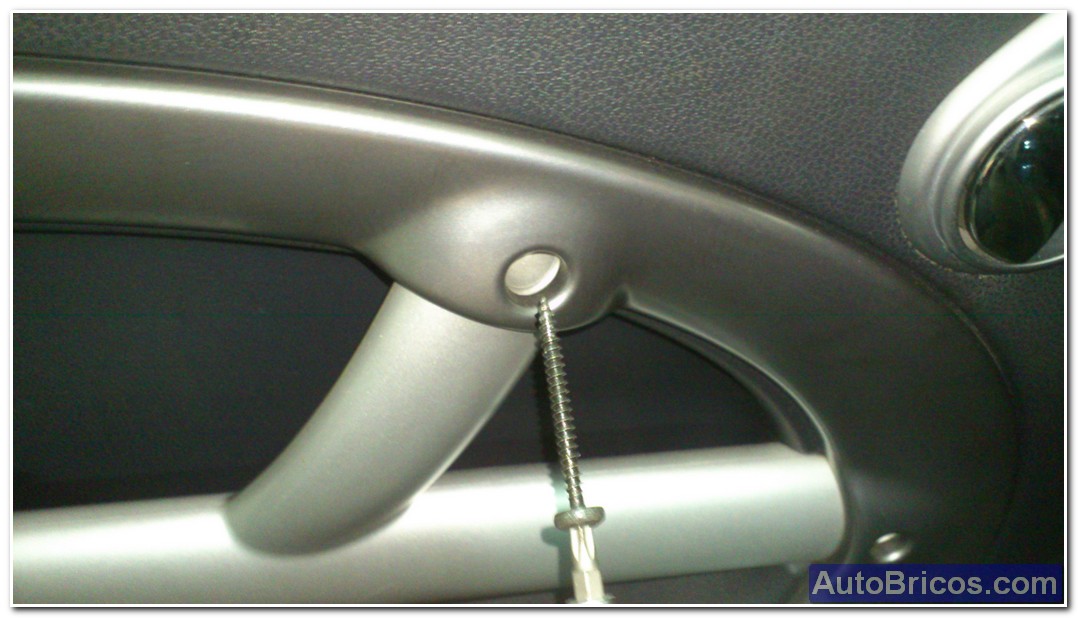
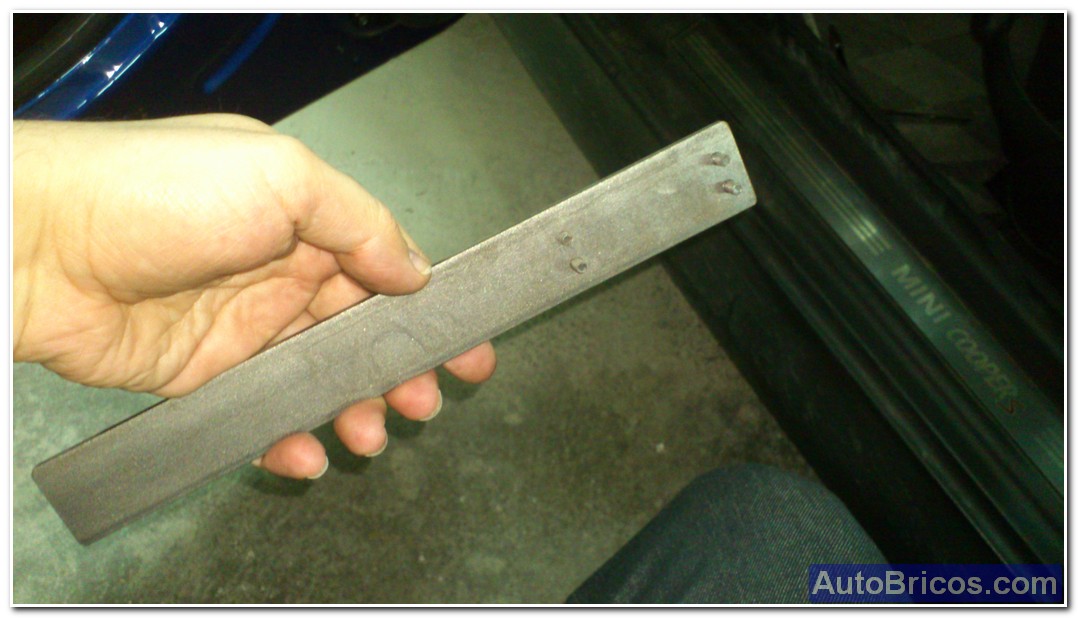
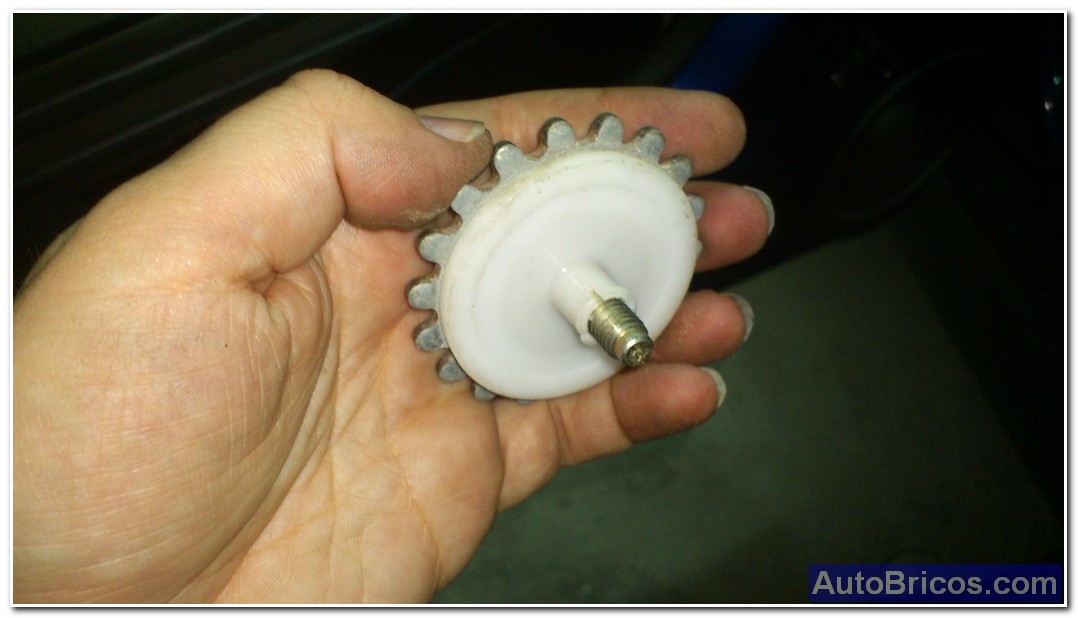
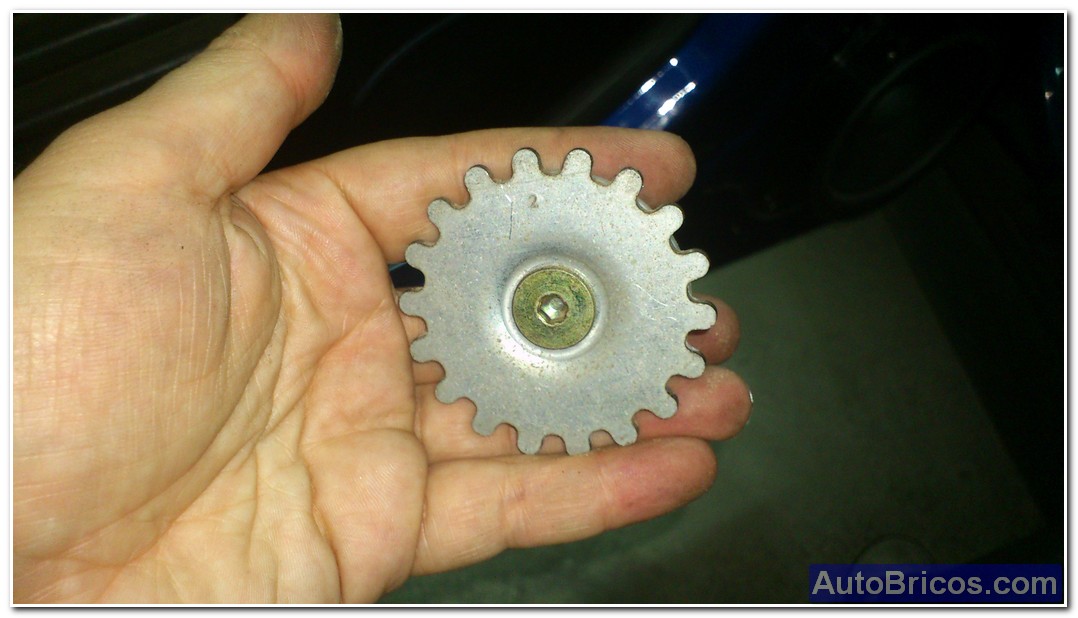
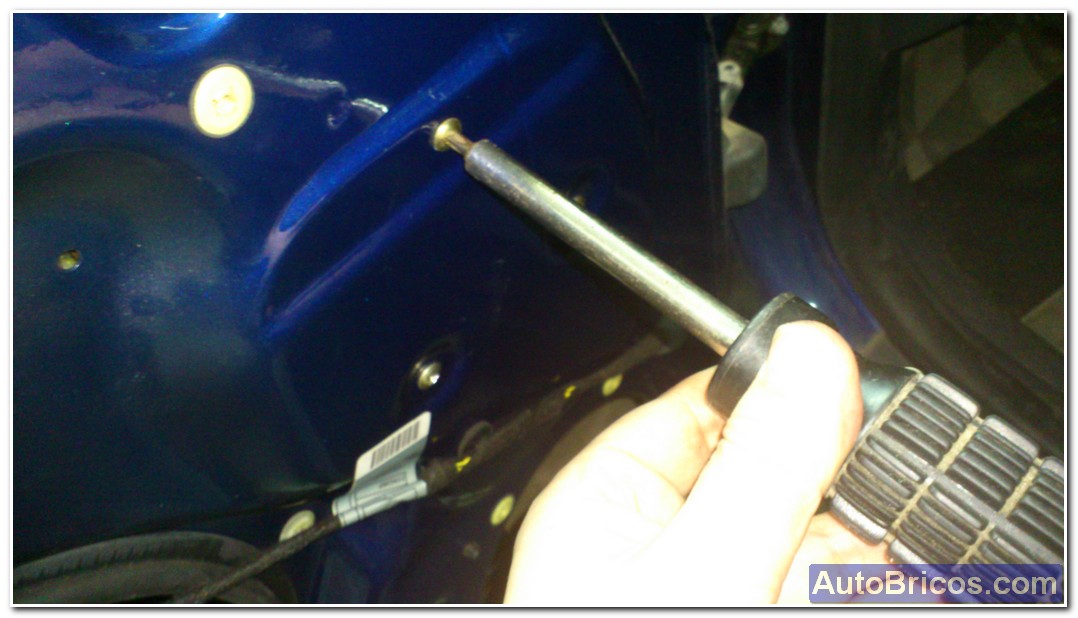
The head of these special screws have a way of gear, and in my case, I did so that they can loosen as a tool to save forceful exertion in theory could allen wrench loosen, but mine were stiff and preferred tool me. In the following image you can see the inside of the door with the support of one of the sides of the glass, and their respective special screw.
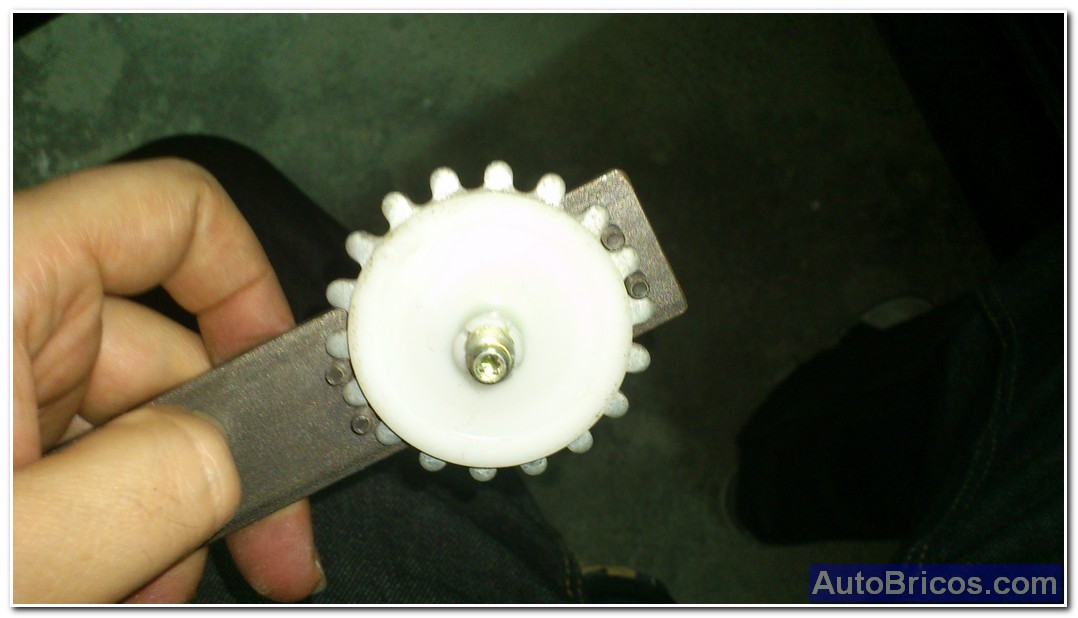
Here you can see the homemade tool to loosen the screw:
 |
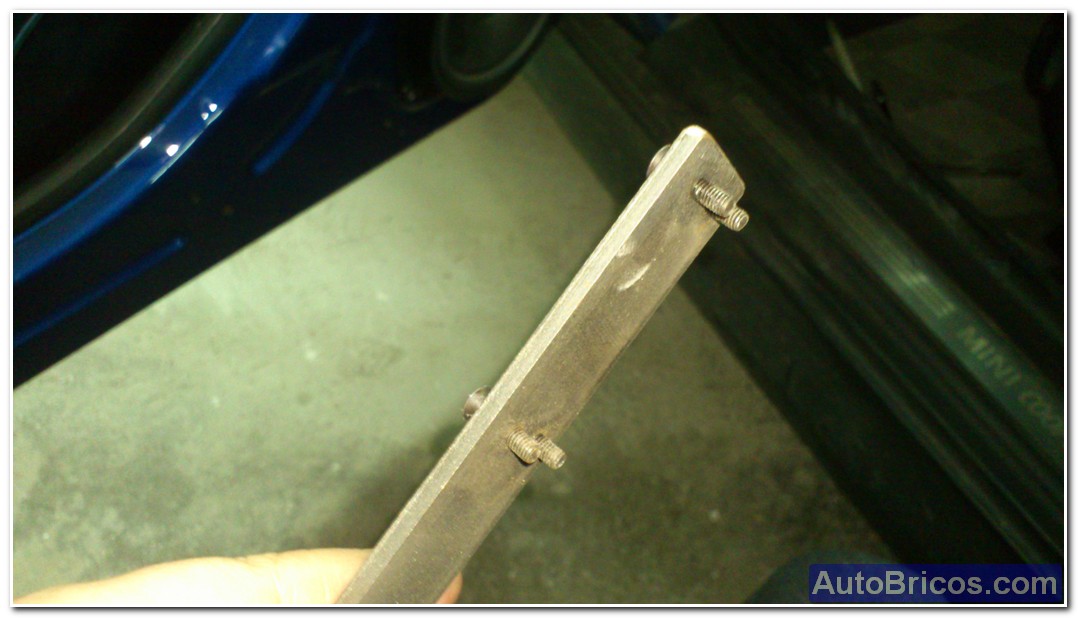 |
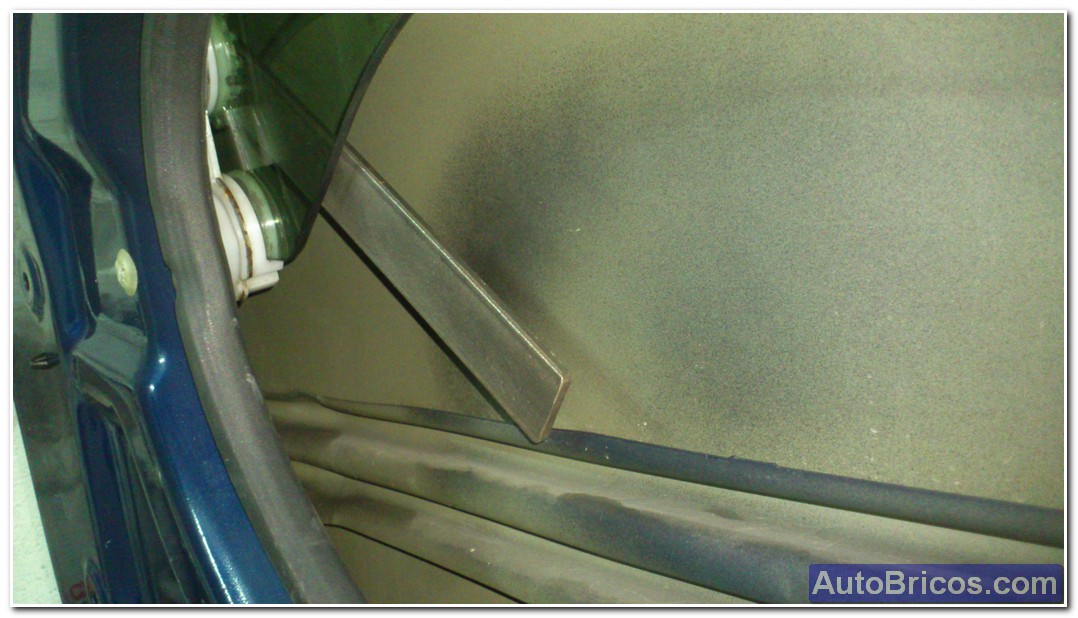
It is designed to loosen the screw outer notches and thus make more leverage. Would start like this:
 |
 |
Finally you can loosen the special, to do the same with the other screw. Can be removed without danger of dropping glass, since it is held by the nylon crevasse which is just below the clamping screw. Once removed the 2 screws holding the glass and the glass can be drawn very carefully.
  |
|
  |
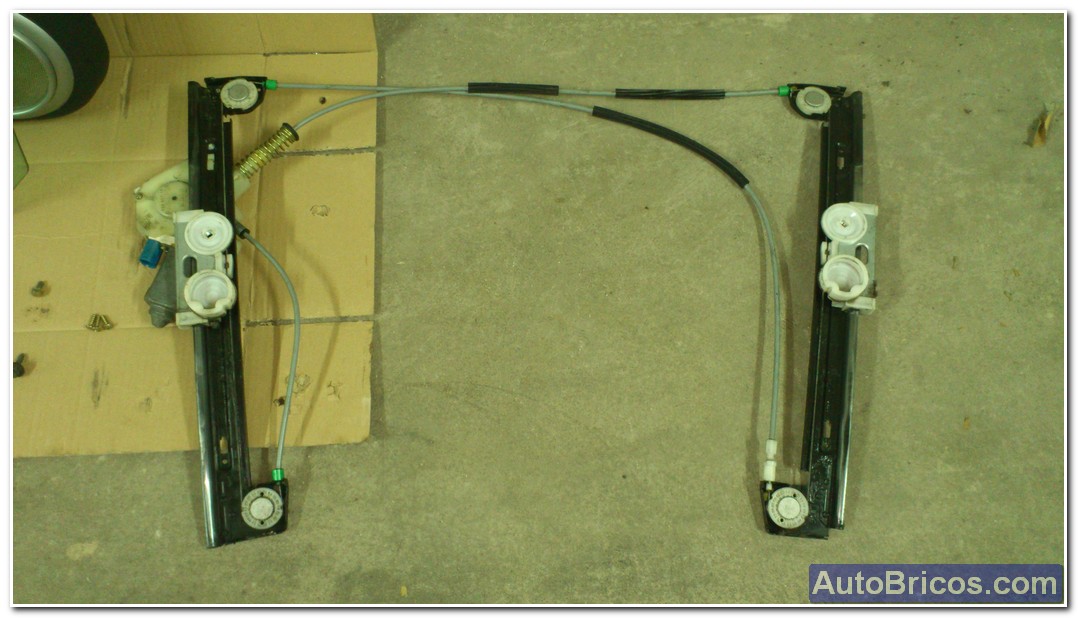
We can see that the guides are subject to the bottom of the door by screws with adjustable oblong system. In principle, the regulation will not touch parts of nylon, will draw just the screws holding the guides subject, are removed from the bottom of the door.
 |
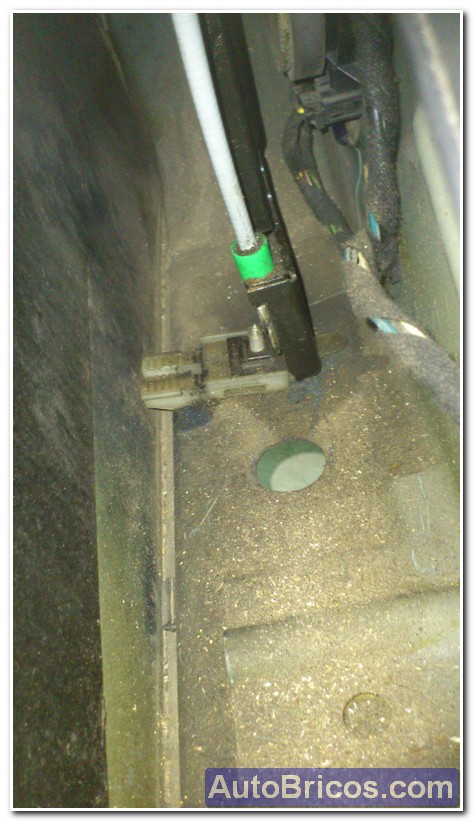 |
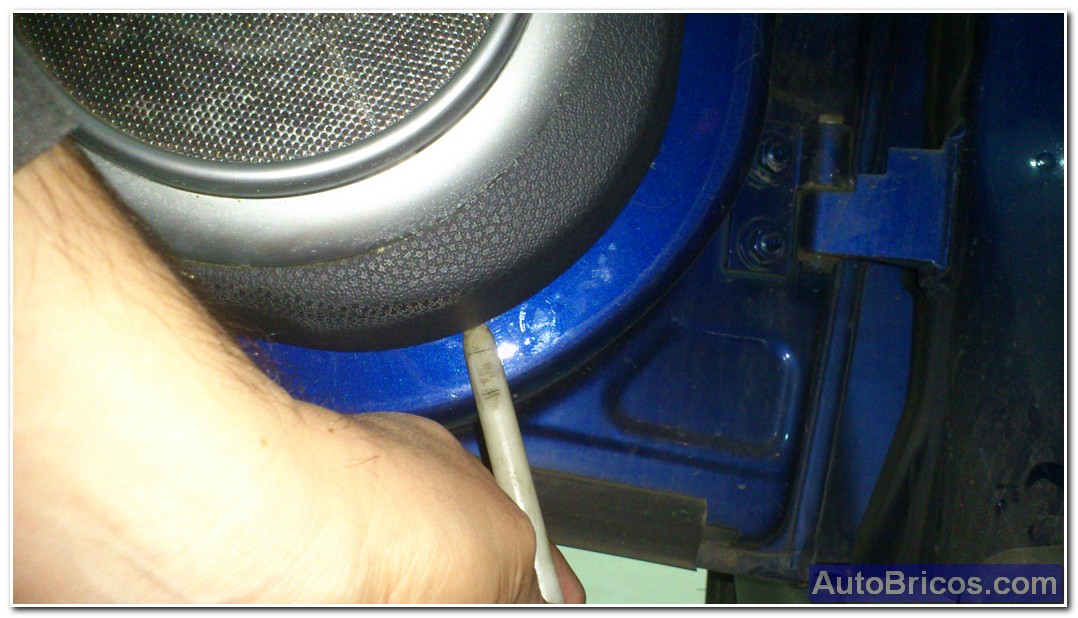
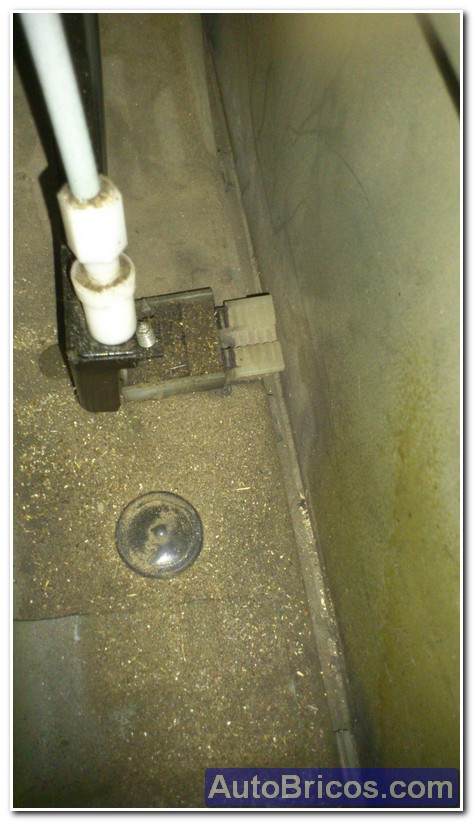
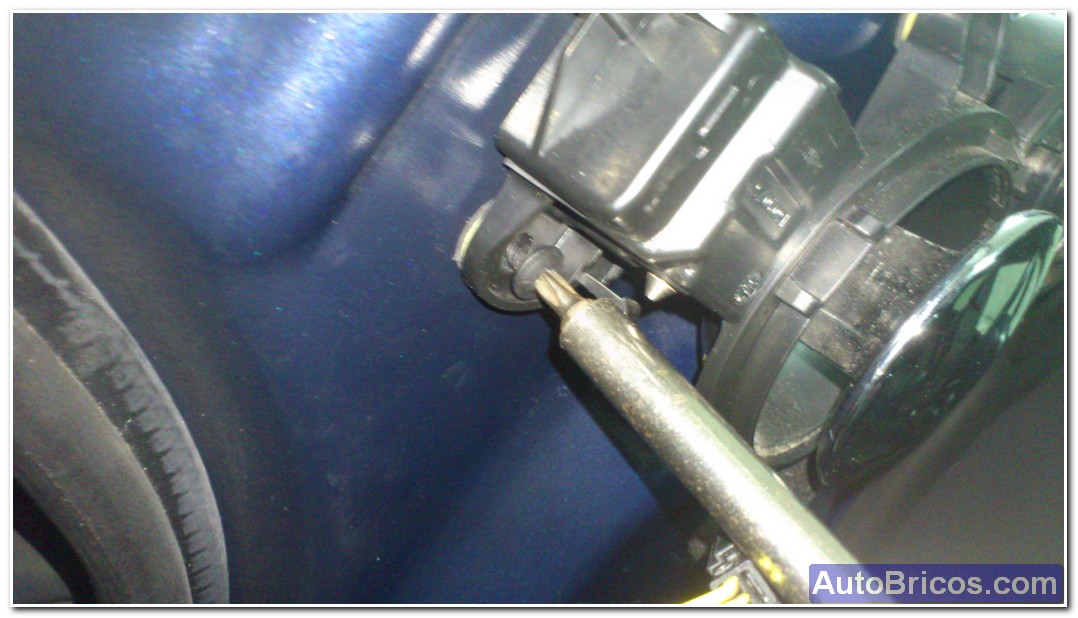
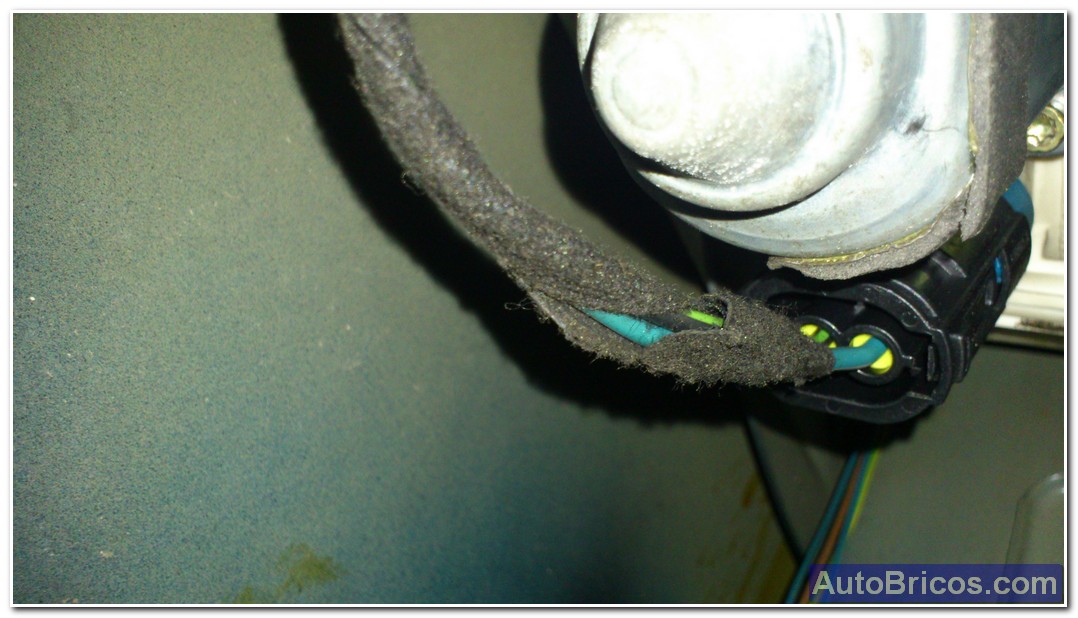
In order to disconnect the window motor connector we get the bottom speaker, disconnect it and we can put the hand more easily and easily disconnect the connector.
 |
 |
 |
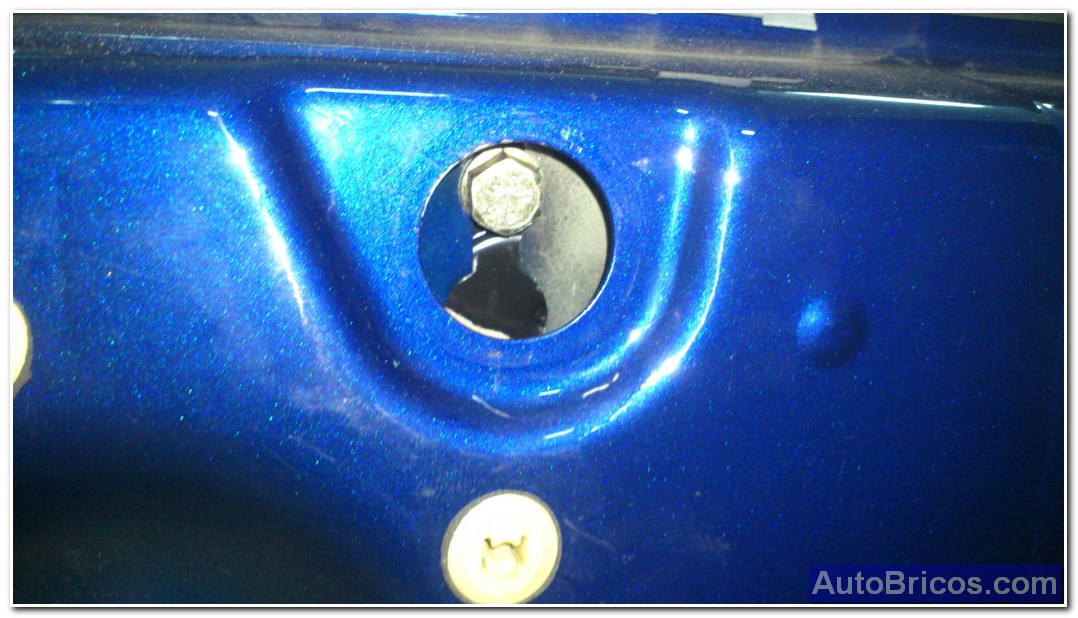
Then desanclamos the top speaker (tweeter) to access the top tether to the right guide. Once removed plugs must be removed to register to access the hex screws that we have to take. The 2 upper registers hide the 2 hexagon screws holding the 2 guides for the top.
 |
 |
 |
 |
 |
 |
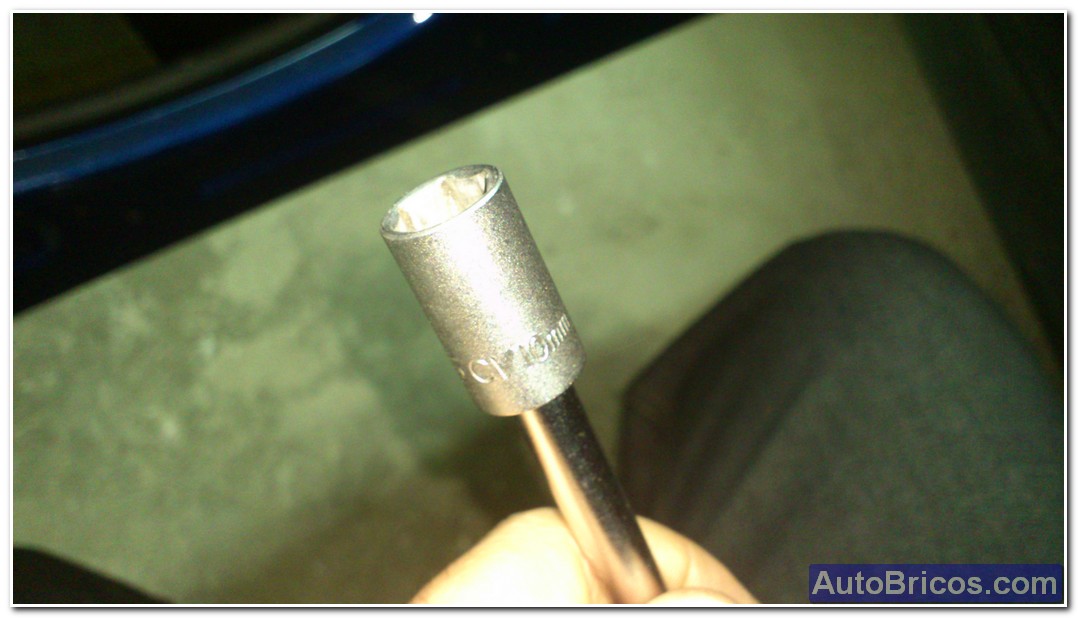
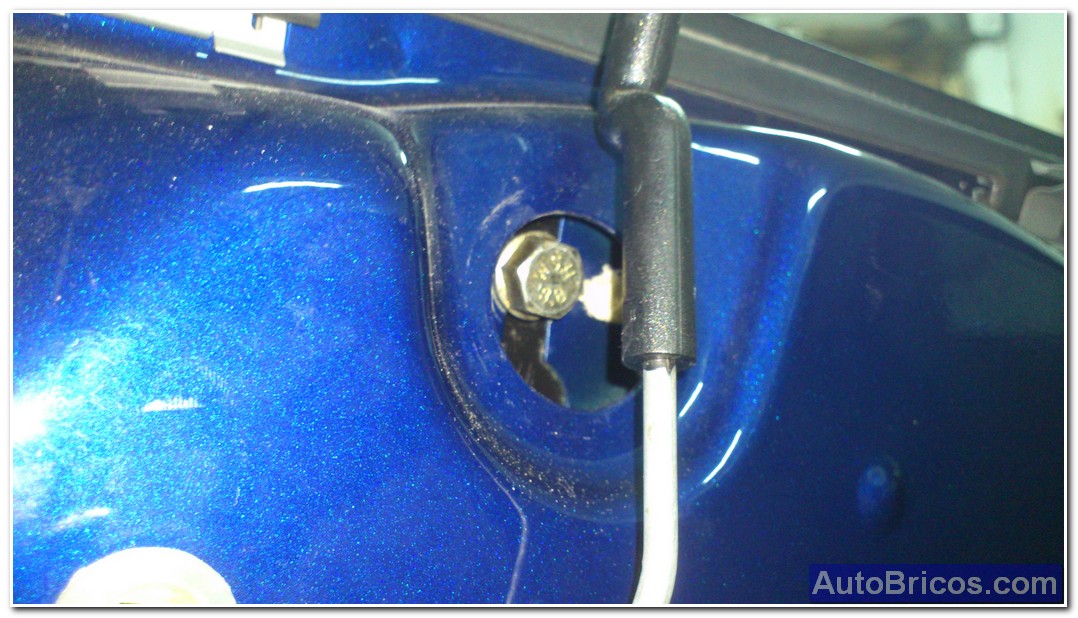
With 10 wrench can loosen and remove the 4 hex screws that hold the door guides (the 2 upper and 2 lower)
 |
 |
 |
 |
 |
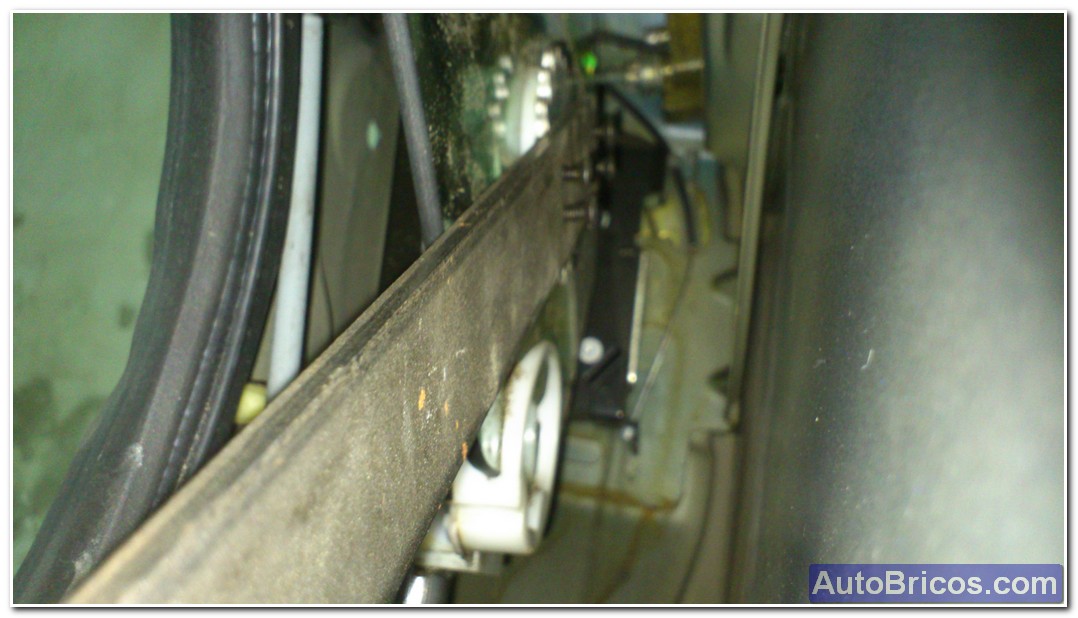
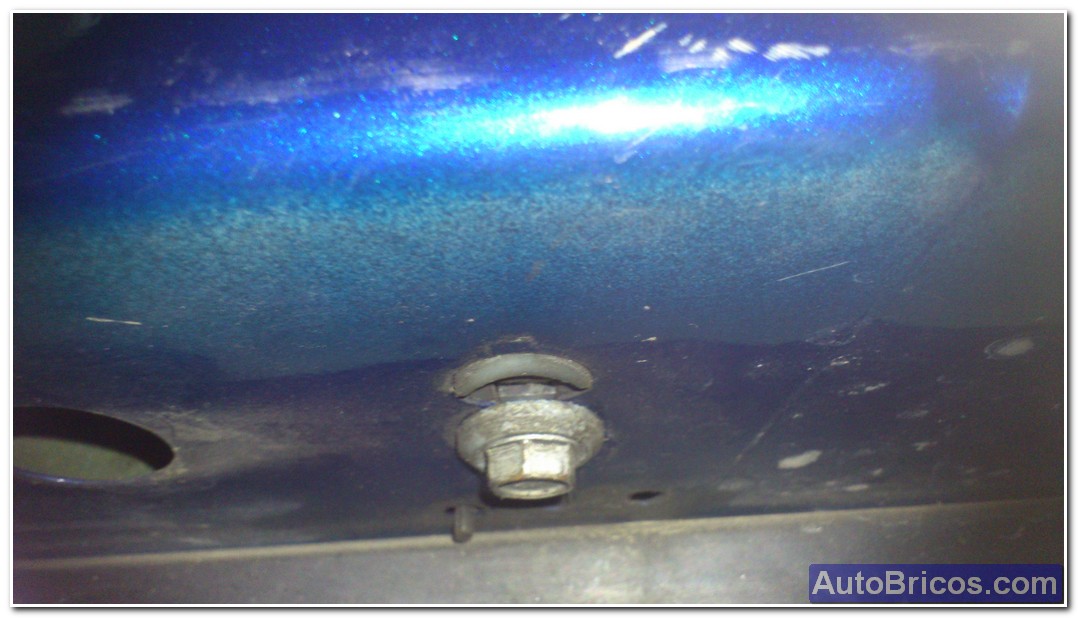
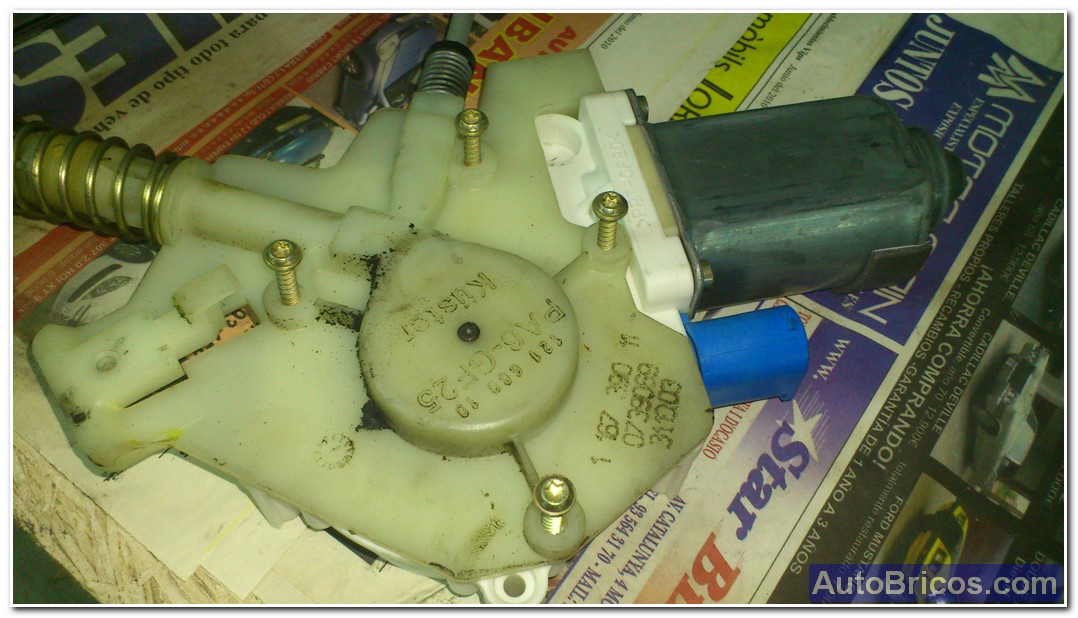
Once removed the 4 screws of the guides we can get the 3 metal screws that hold the engine above the speaker.
 |
 |
 |
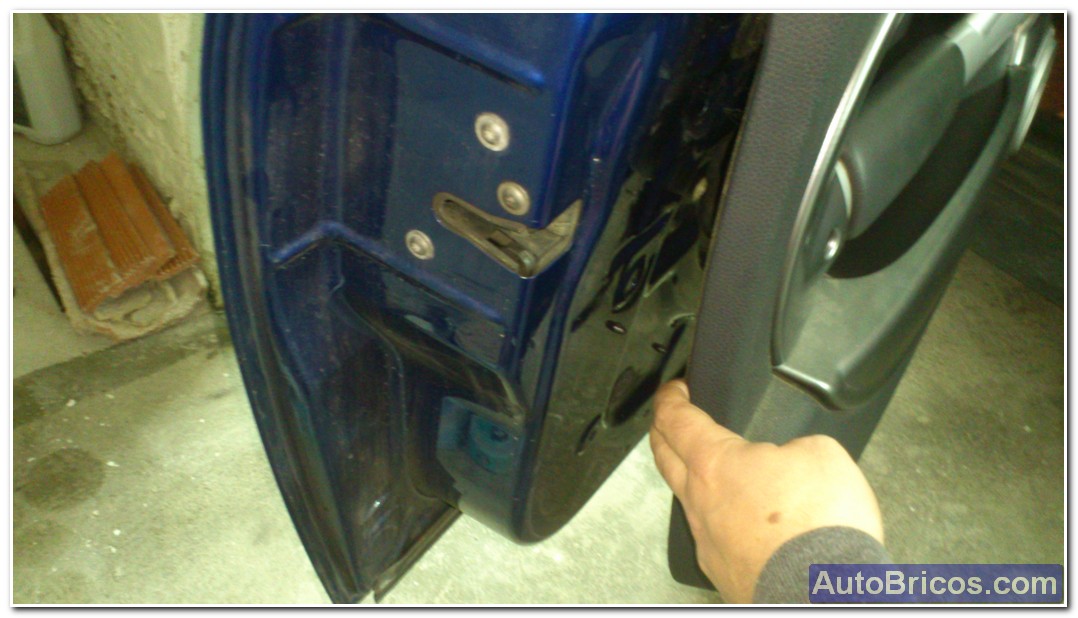
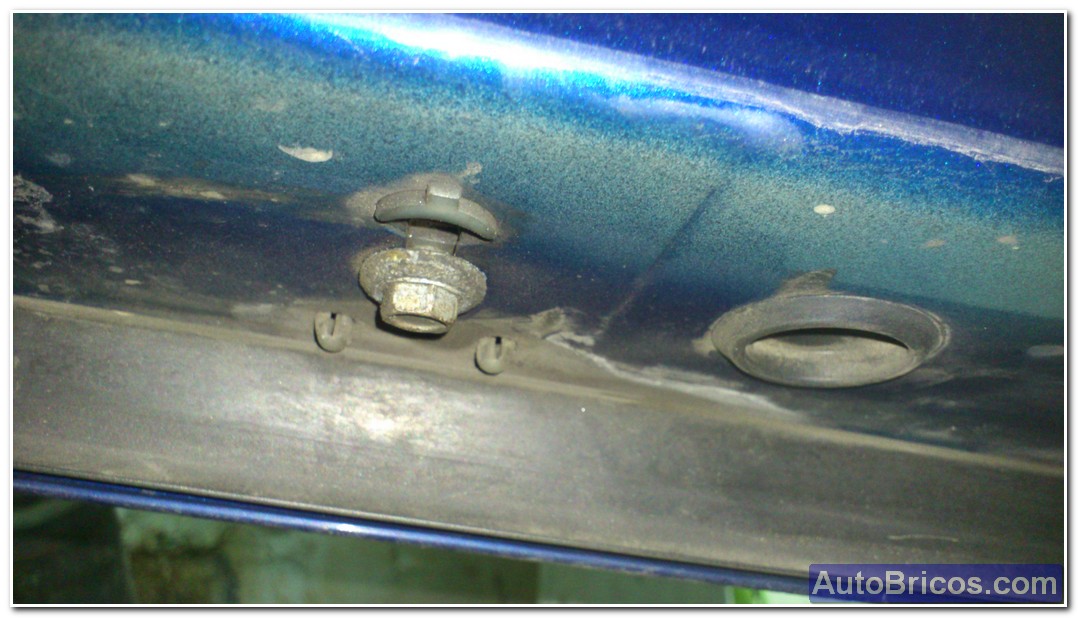
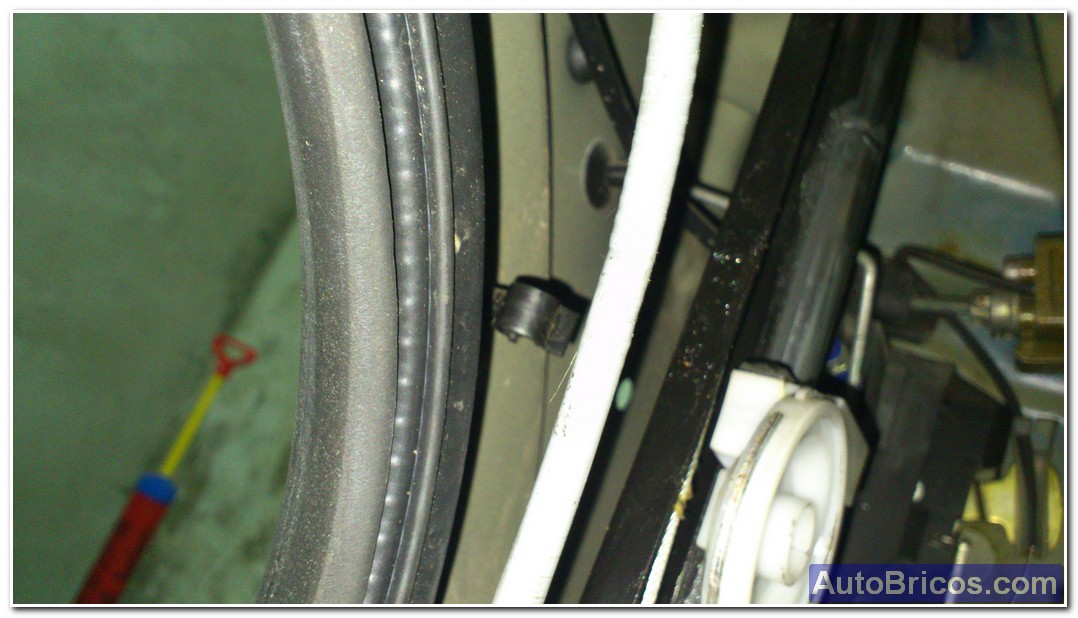
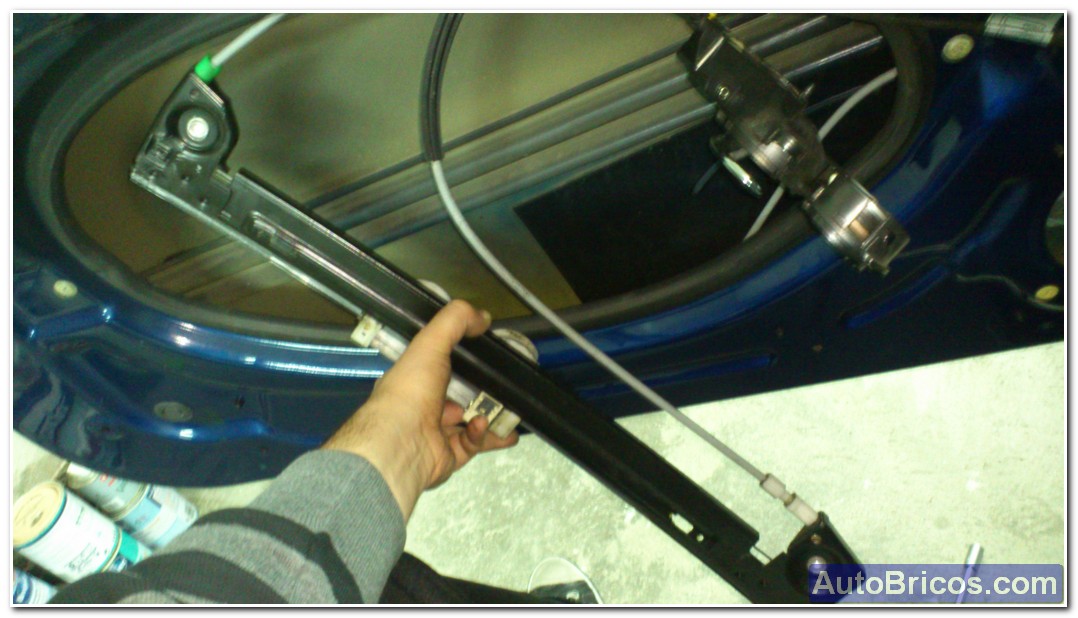
Before removing the power window mechanism must disconnect the cables of the mechanism of its plastic clip anchors.There's one on the left side of the door (right on the curvature of space), and two clips at the top of the door that hold the 2 wires that go through Ariba. You have to disconnect the motor connector before removing the power window mechanism, once we have all these anchors and released connector, we can remove it. I pulled the guide first left and then right (the one with the engine).
 |
 |
 |
 |
 |
 |
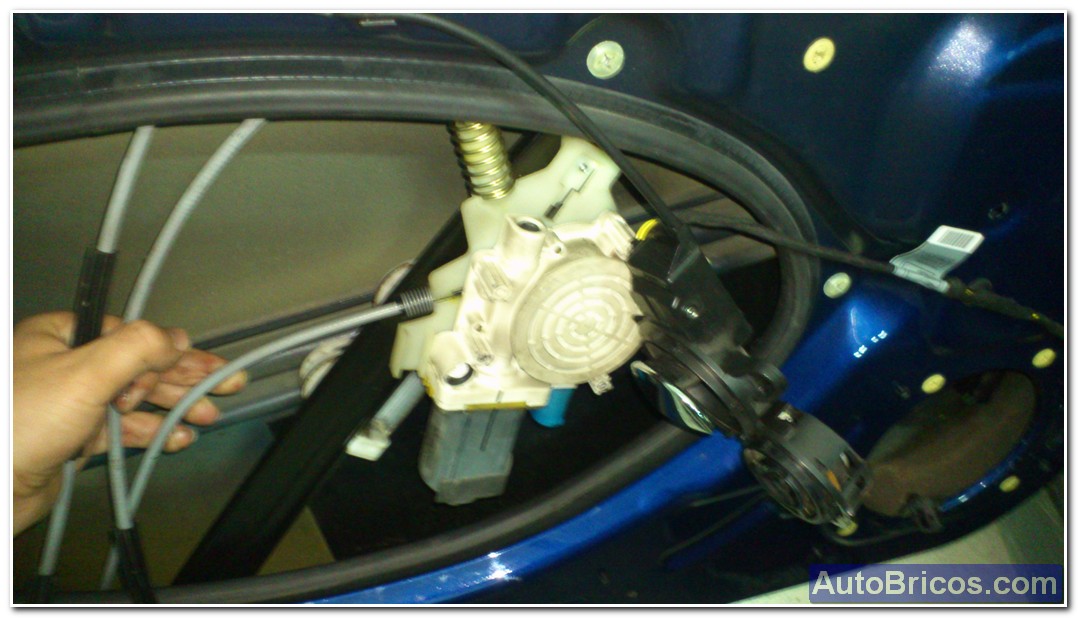
Once removed the window mechanism, we can begin dismantling the geared motor unit to change to one that is in good condition. We'll get tapping torx screw holding it in the guide. Once the block slides out easily and can be removed.
 |
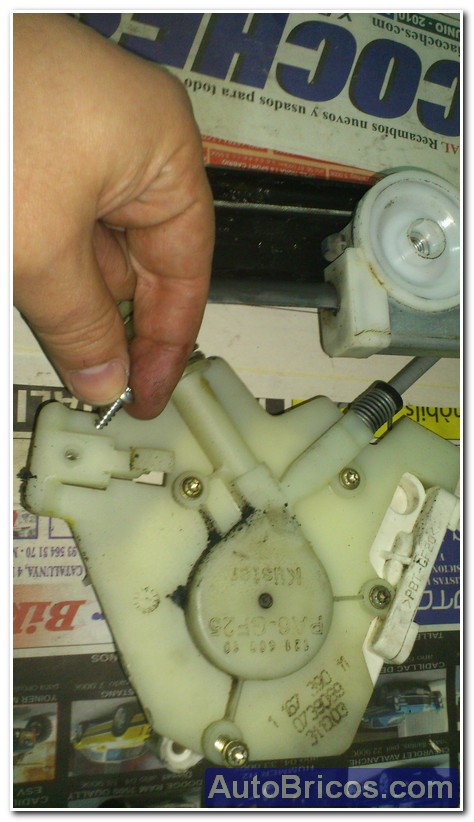 |
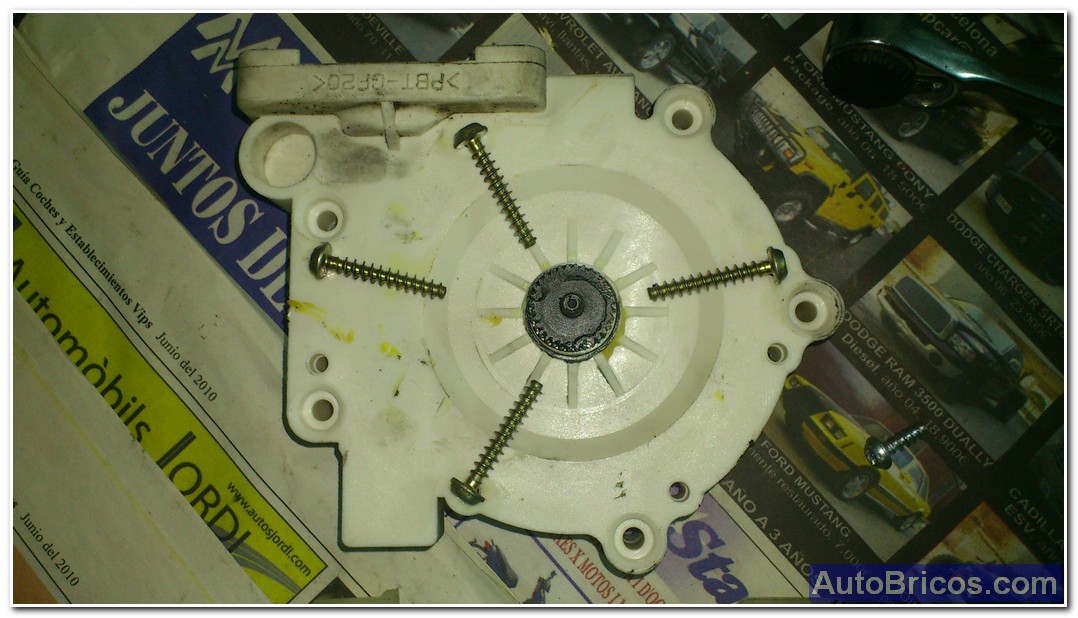
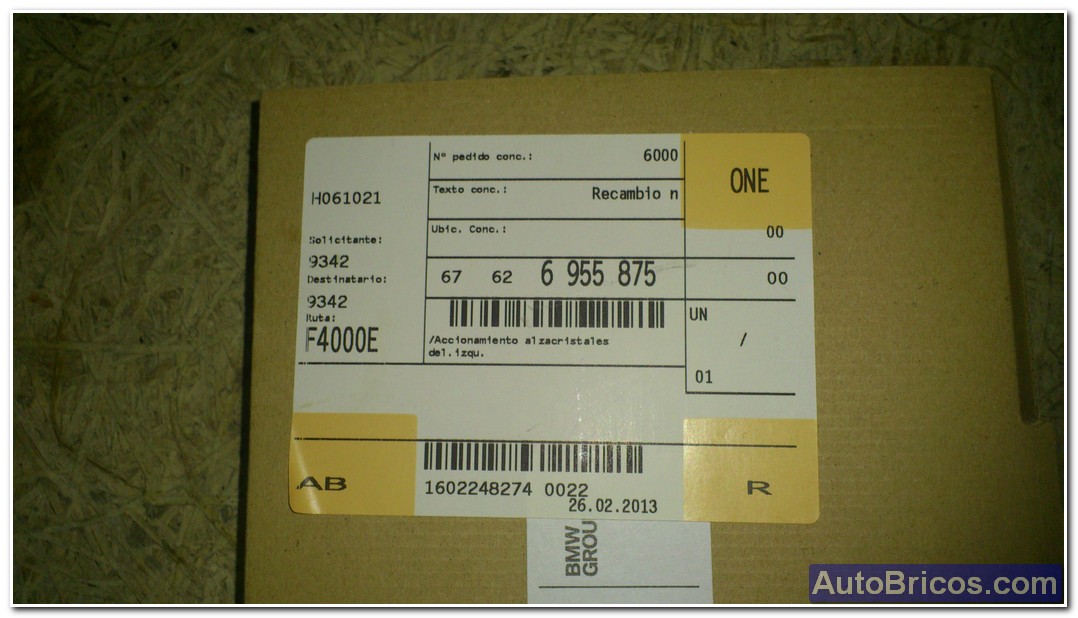
The next thing is to remove the 4 Torx self tapping screws that hold the motor-reducer to reel. We have to be careful not to remove the spool to separate the gear motor. The reel should stay in the structure with cables. I put the original part reference for you to know what is (Ref OEM: 67 62 6955875). After removing the gear motor block and we can change it for the new and for mounting follow the reverse process we followed to remove.
 |
 |
 |
Once assembled everything in the door in principle not have to touch any lower guide adjustment, as they are the same, but if we can play the game with special nuts that anchor the glass to guides, we make several trials and open and close the door carefully and to adjust as much as possible the glass to chassis frame.
We'll have to do a "reset" of glass positioned for us to reach the top. In principle it is as simple as having the door shut and from inside the glass go up lever holding up the glass. If you stop, turn to hold the lever in the up position until it reaches the mechanical stop (well it has worked for me). If that does not work, sounds like there is a way to reset at 2 alzacristales at once, which is about having the ignition off, and give the contact while holding the 2 levers in the POSITION to raise the window until they reach the 2 a mechanical stop.
| Tweet |