

 Oil service interval reset Audi A4 B8
Lapping valves and seals Cylinder change
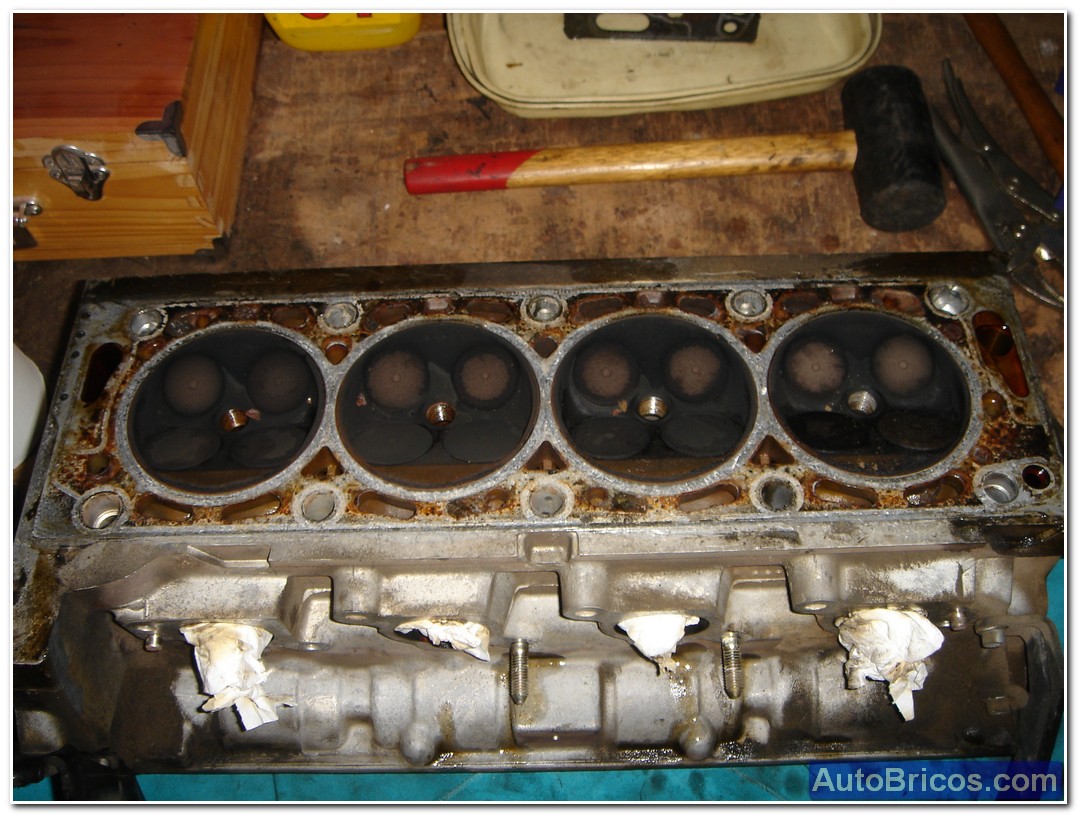
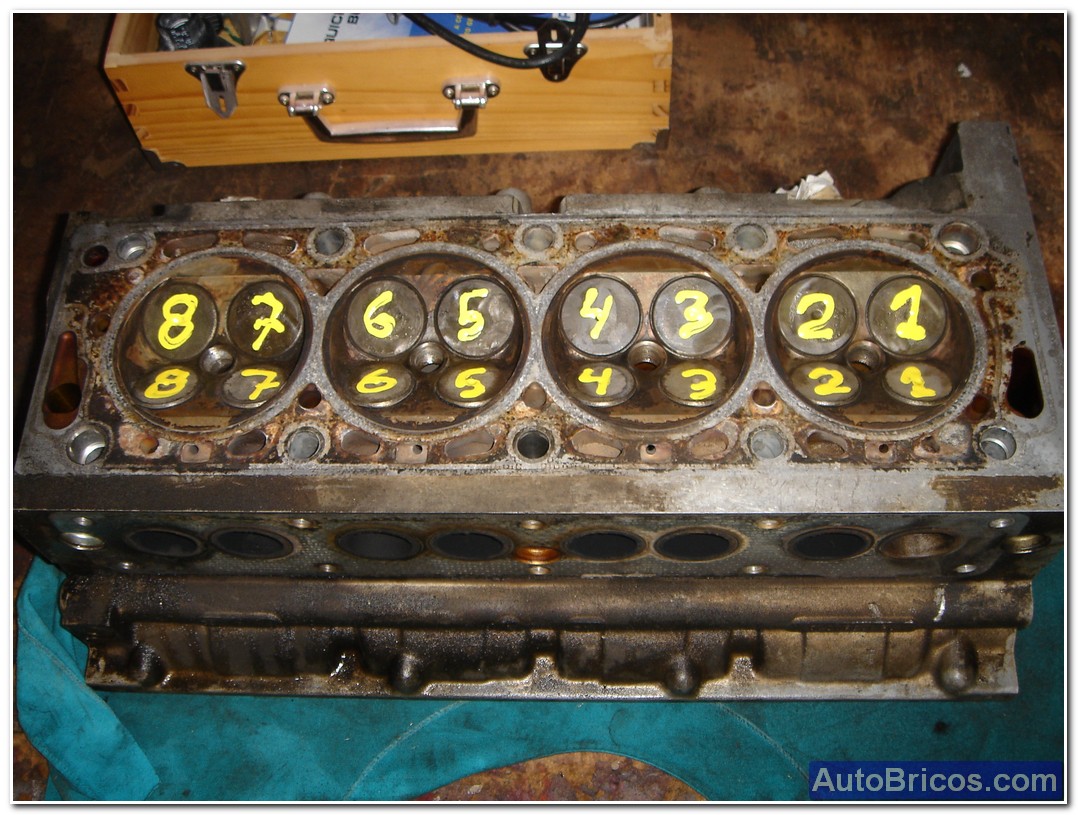
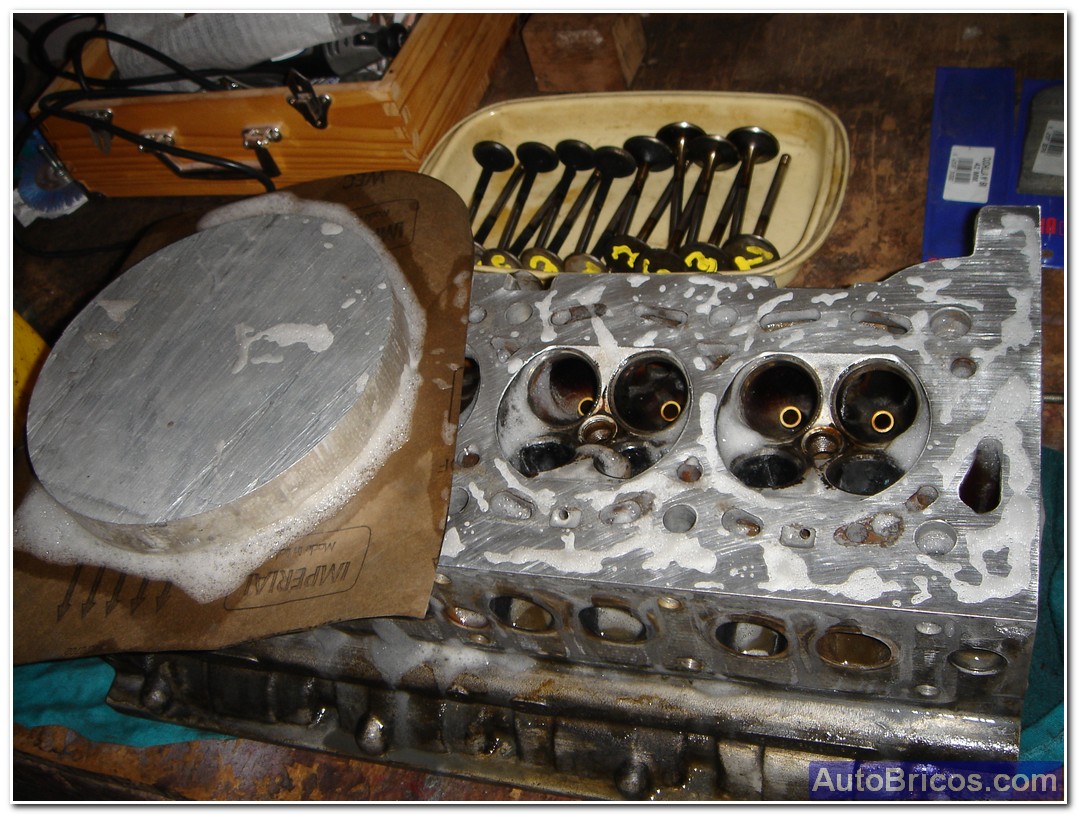
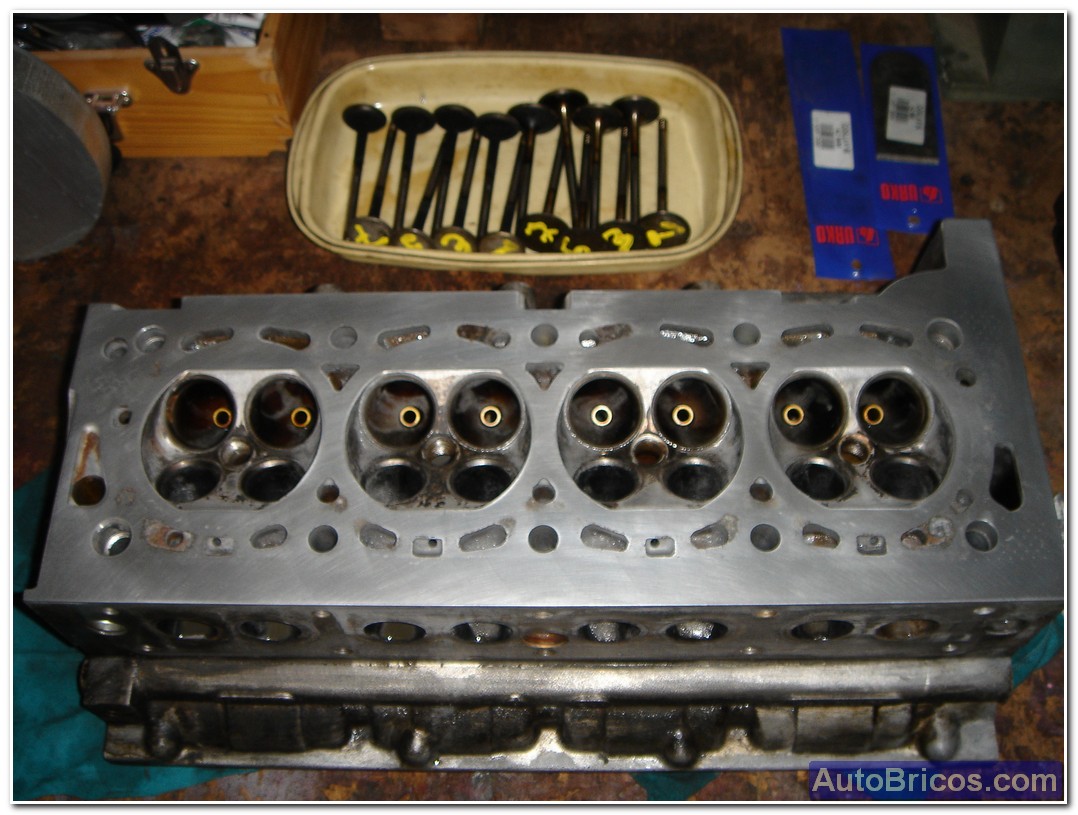
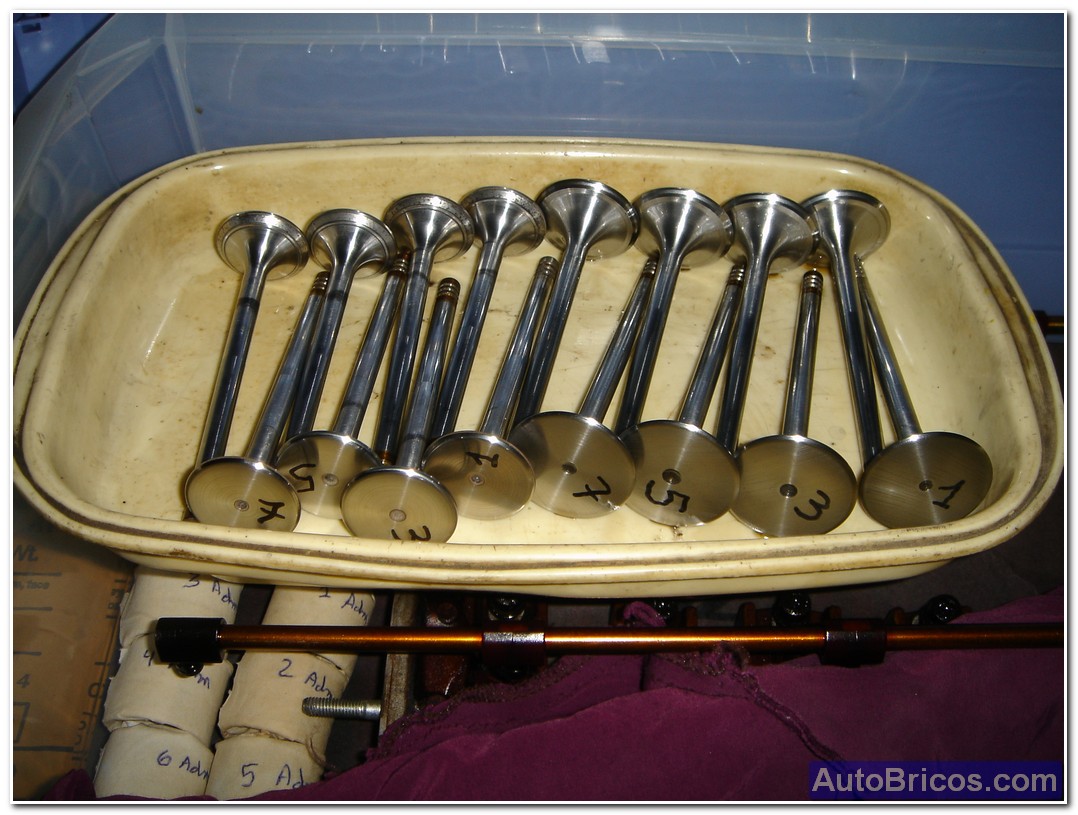
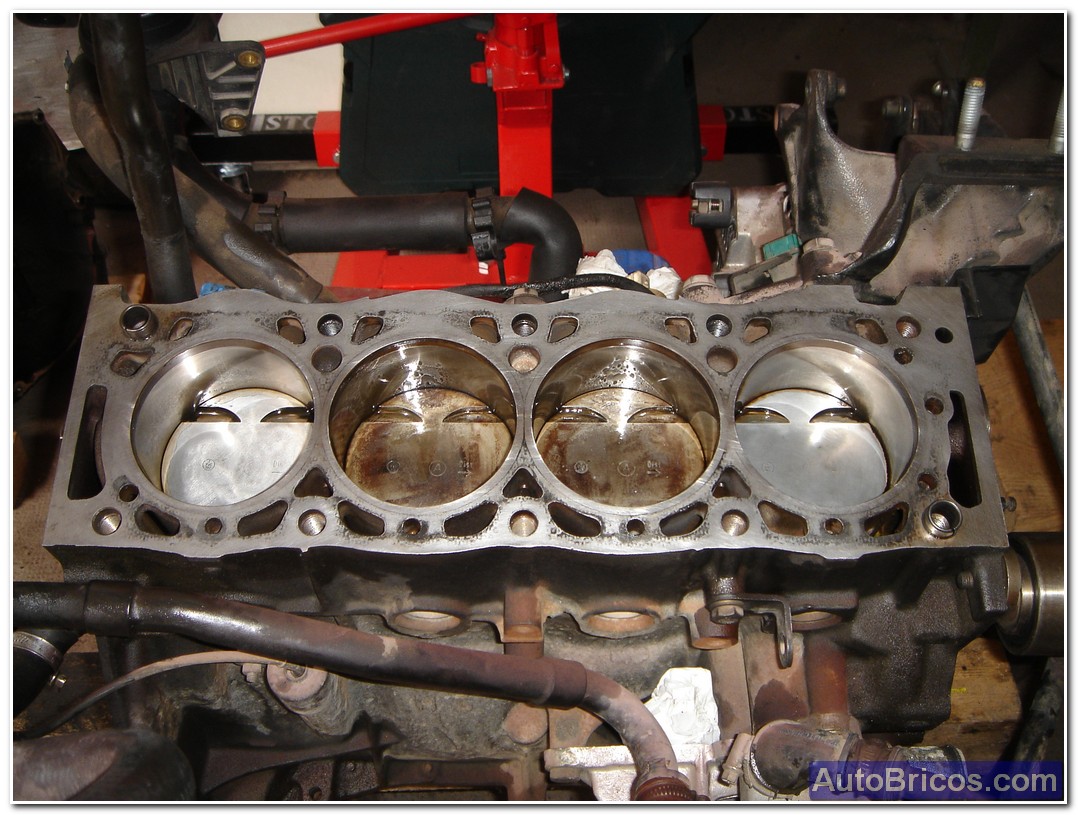
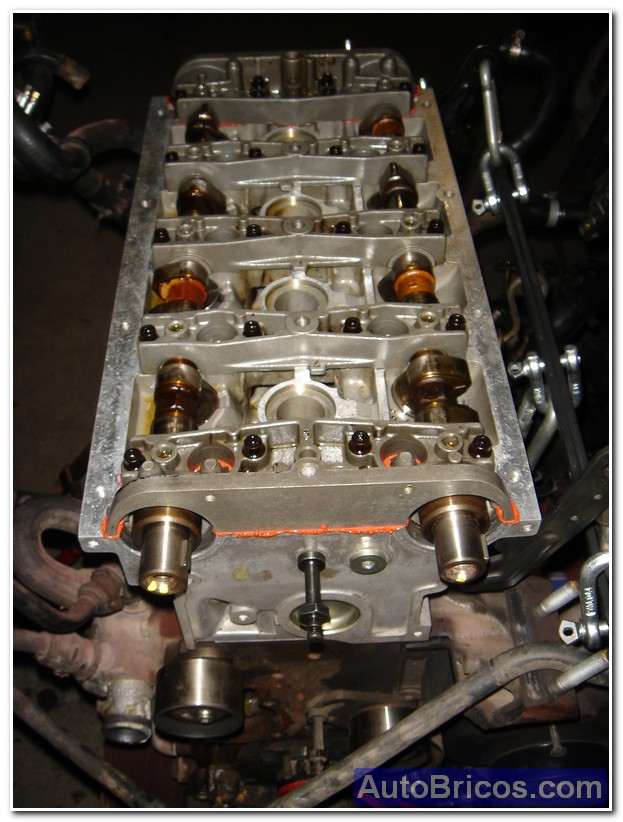
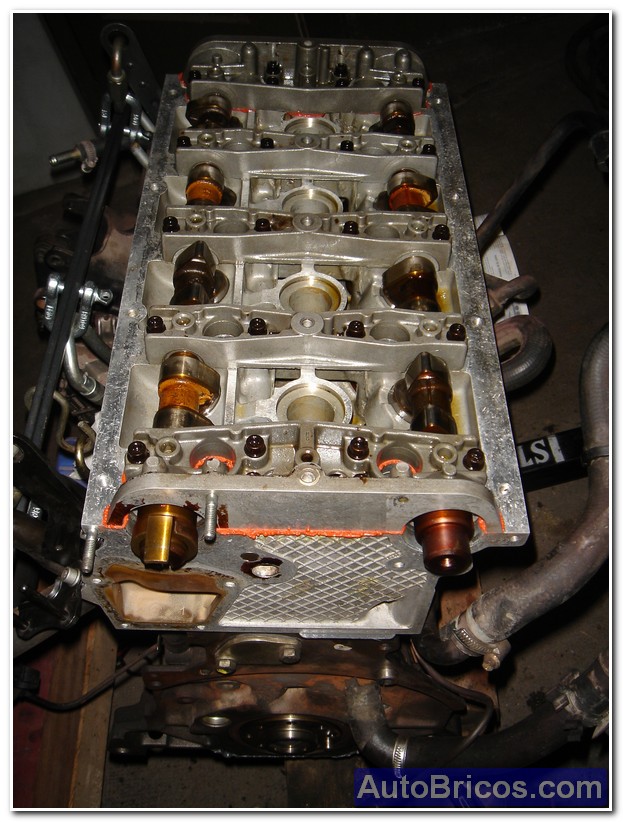
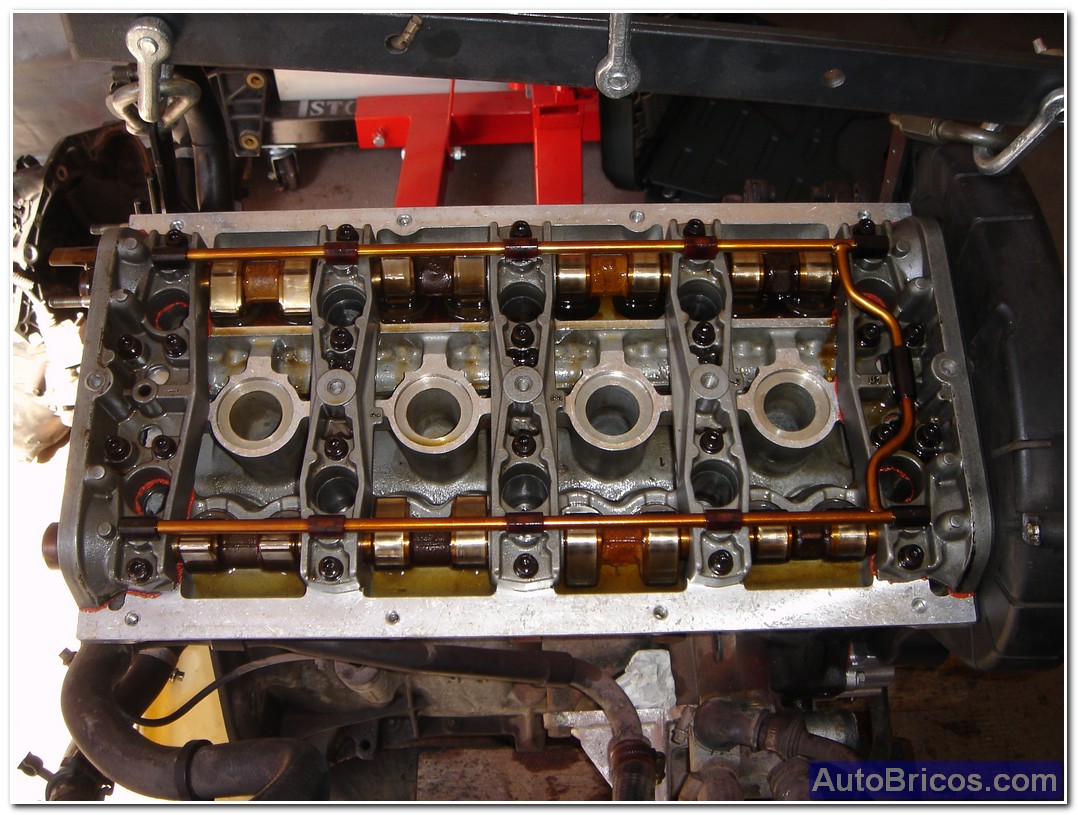
This photo reportage can see the insides of the head, such as the valve guides, seals, valve springs and fasteners. When I did the polishing valves and planned (or rather, cleaned) Manual of the cylinder head, the objective was to restore the original compression engine, and prevent oil leakage through the valve guides.The end result was very satisfying. First I numbered valves both intake and exhaust to always marry your asientamiento as each valve can wear their respective ring asientamiento differently. As seen in photos, valves, springs, and anchor segments to polish the cylinder head and valve seats were removed. To clean the surface of the flat rocker used a piece of machined flat aluminum and ground on one side to sand the surface with waterproof sandpaper in different grains, specifically started with 400 grit and I finished with 1000 grit or the like to a fine finish.
 |
 |
 |
 |
 |
 |
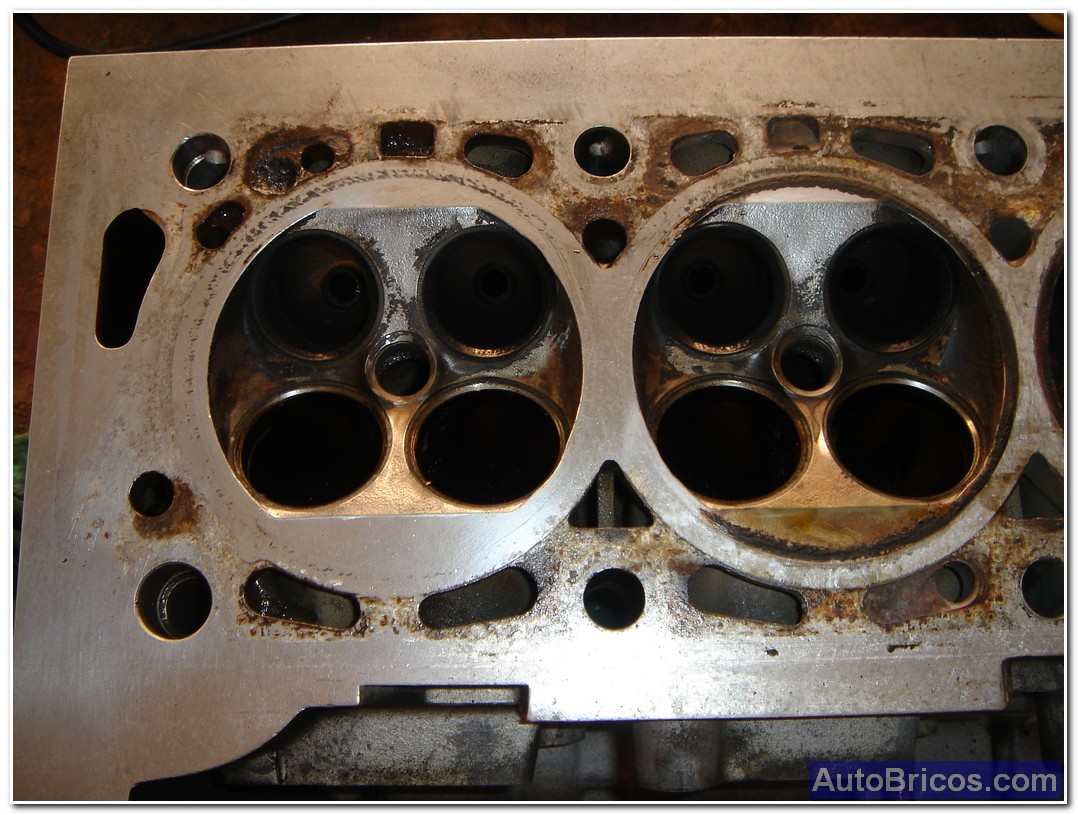
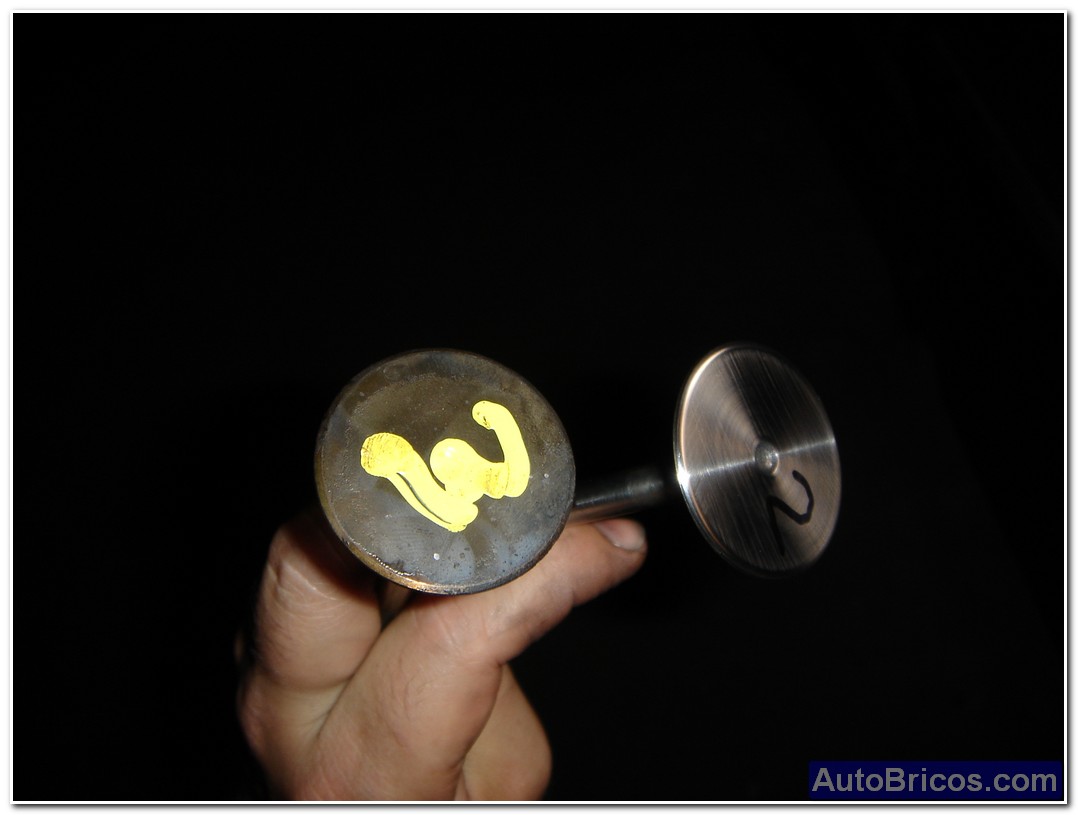
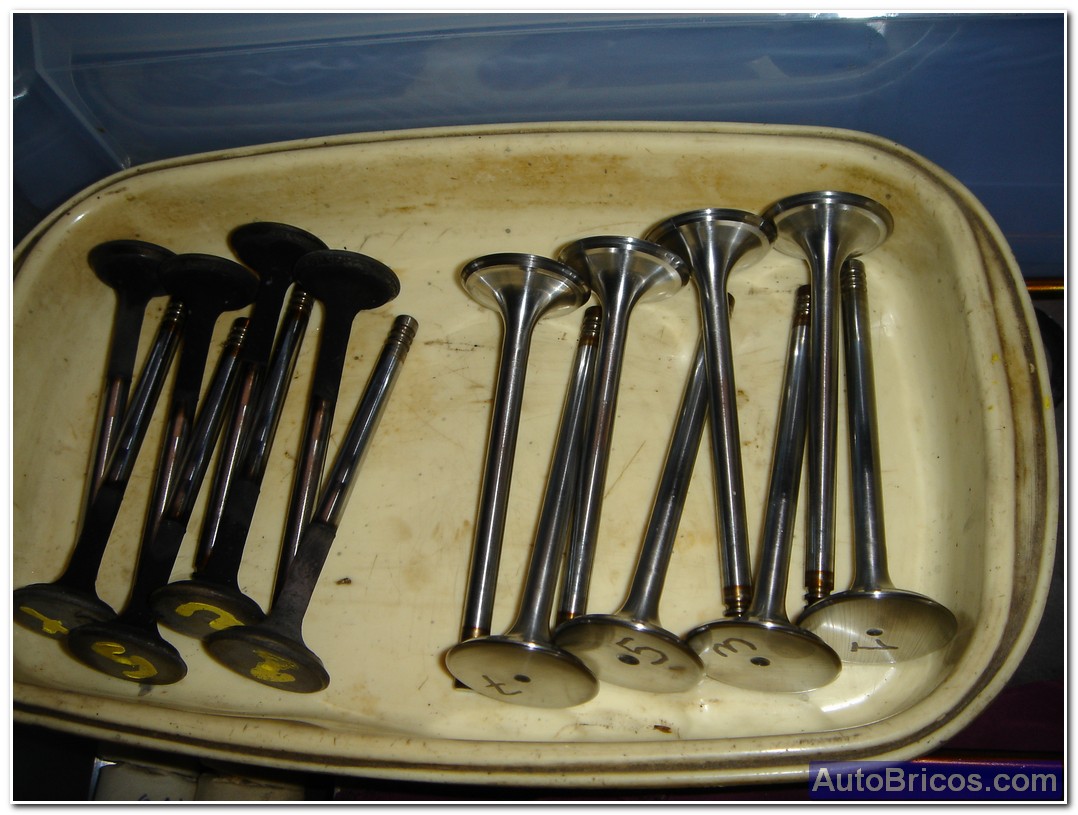
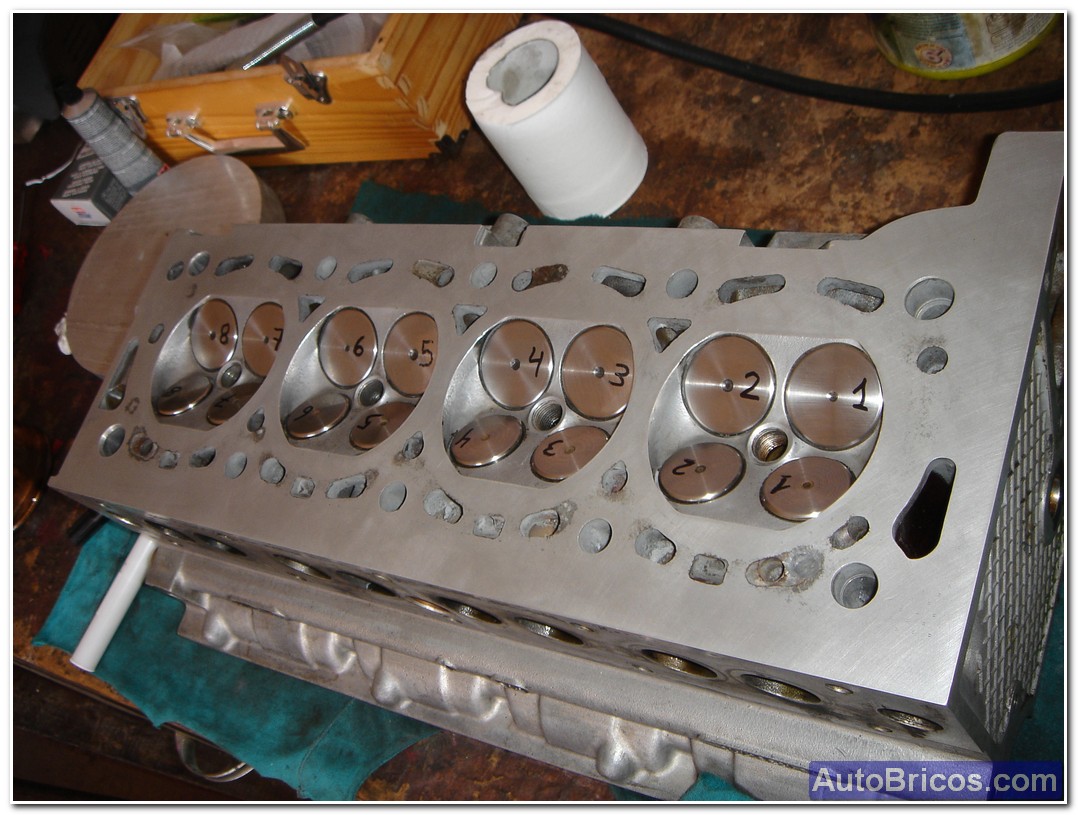
After cleaning the surface of the cylinder head, proceeded to lap the valves, both intake and exhaust, carefully securing them properly by the end of the stem to avoid damaging the surface of the valve stem as this will cause wear premature valve guide. I also had in mind not to mix once again polished the dial to keep the placement order. the result was very good.
 |
 |
 |
 |
 |
 |
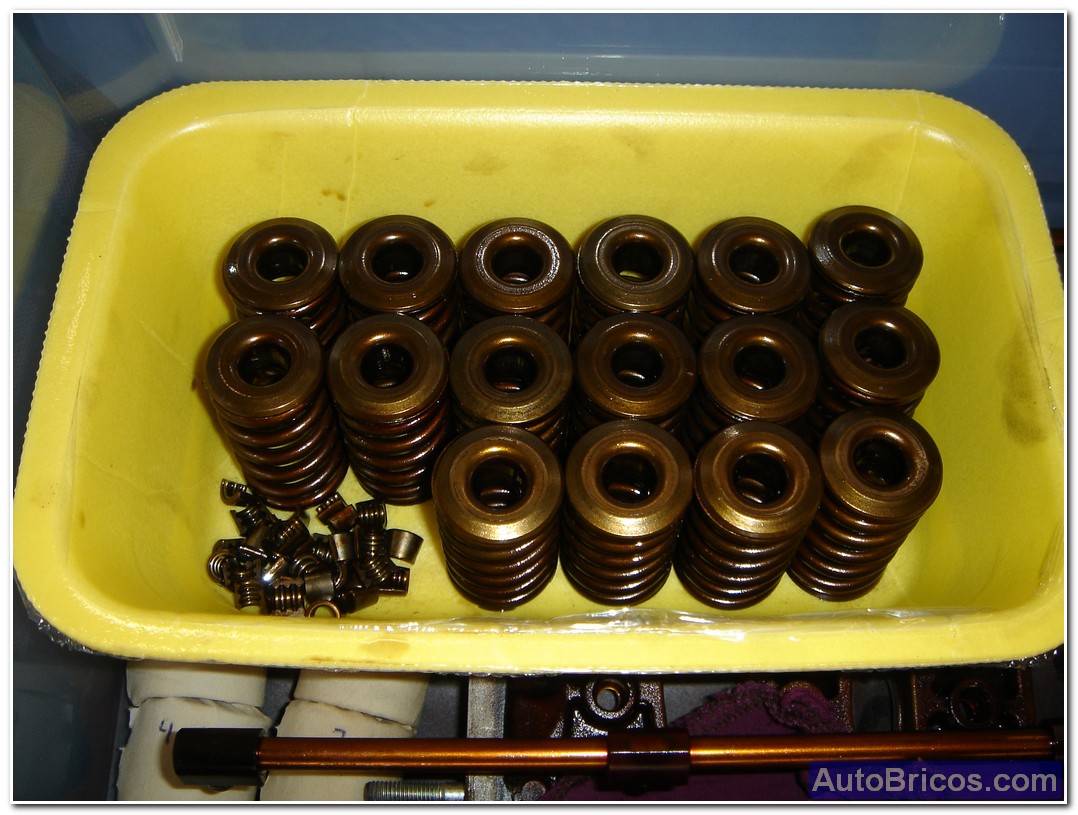
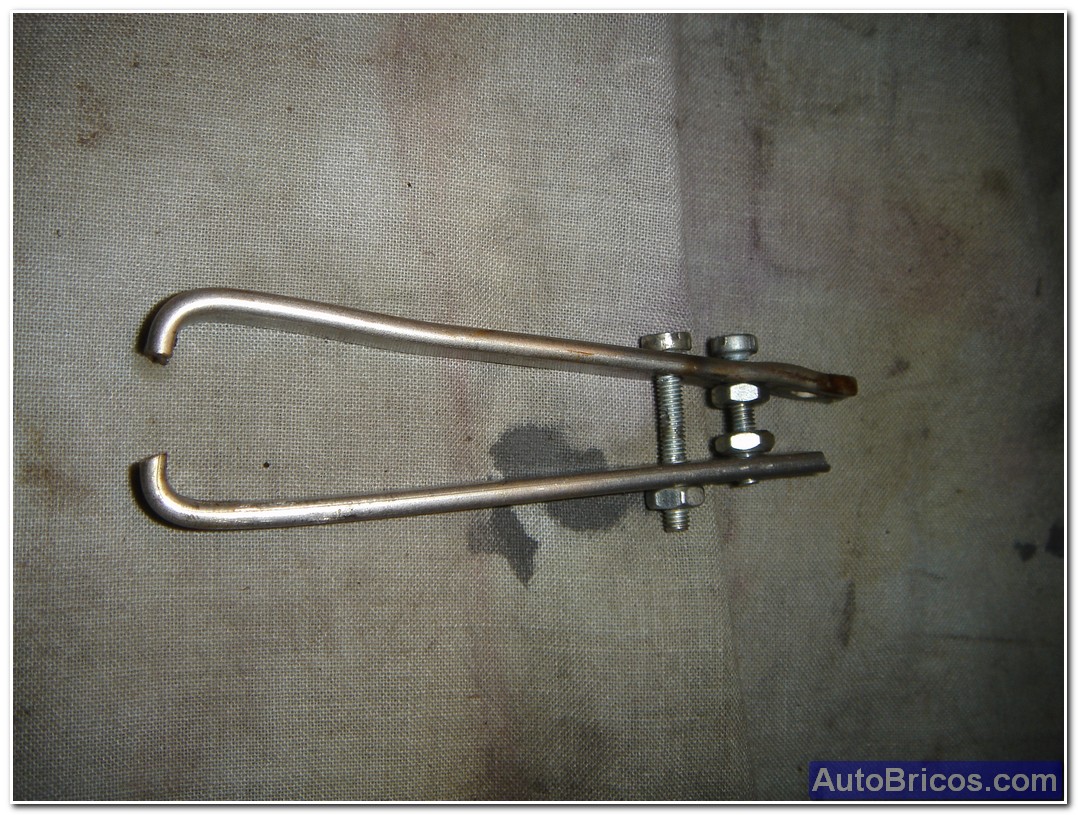
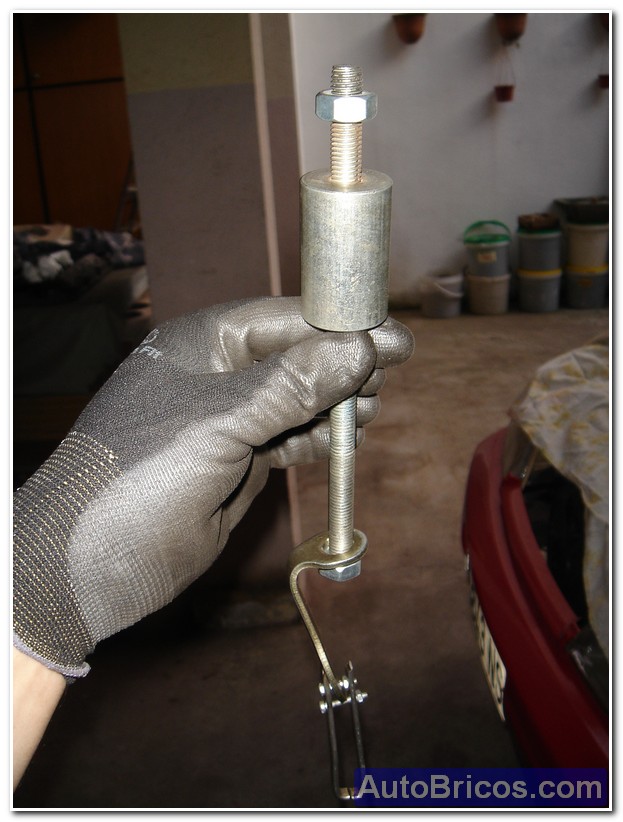
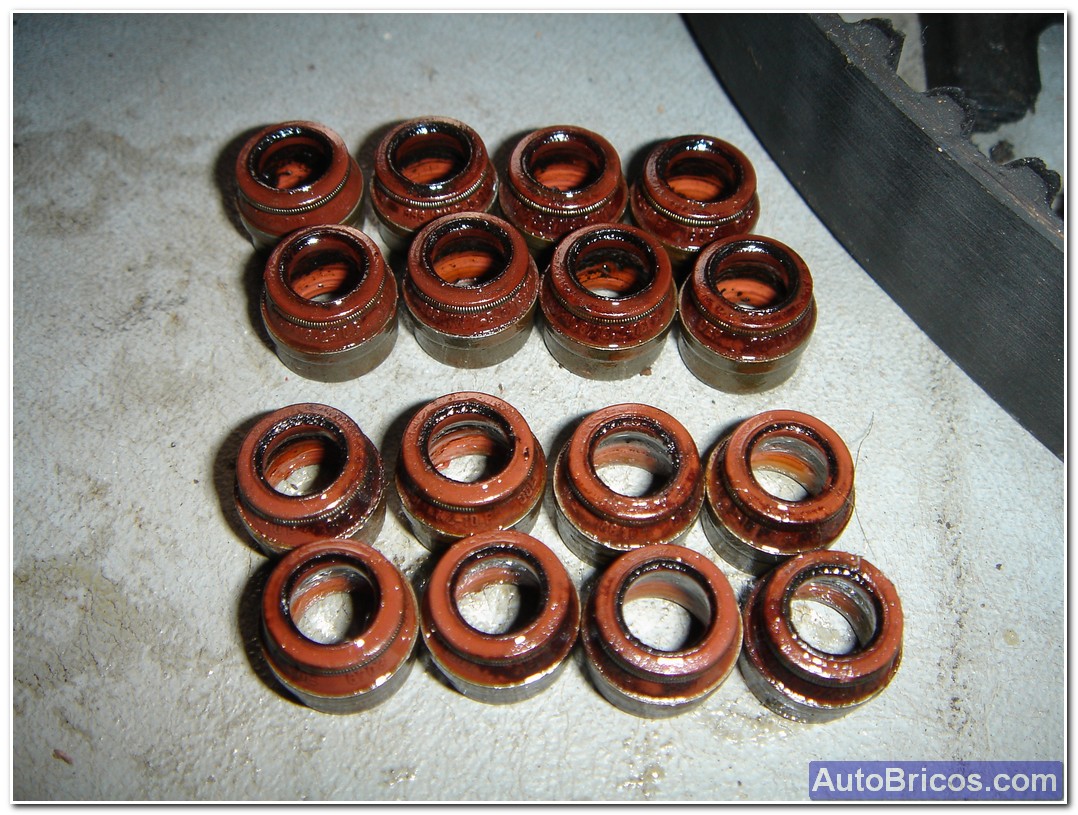
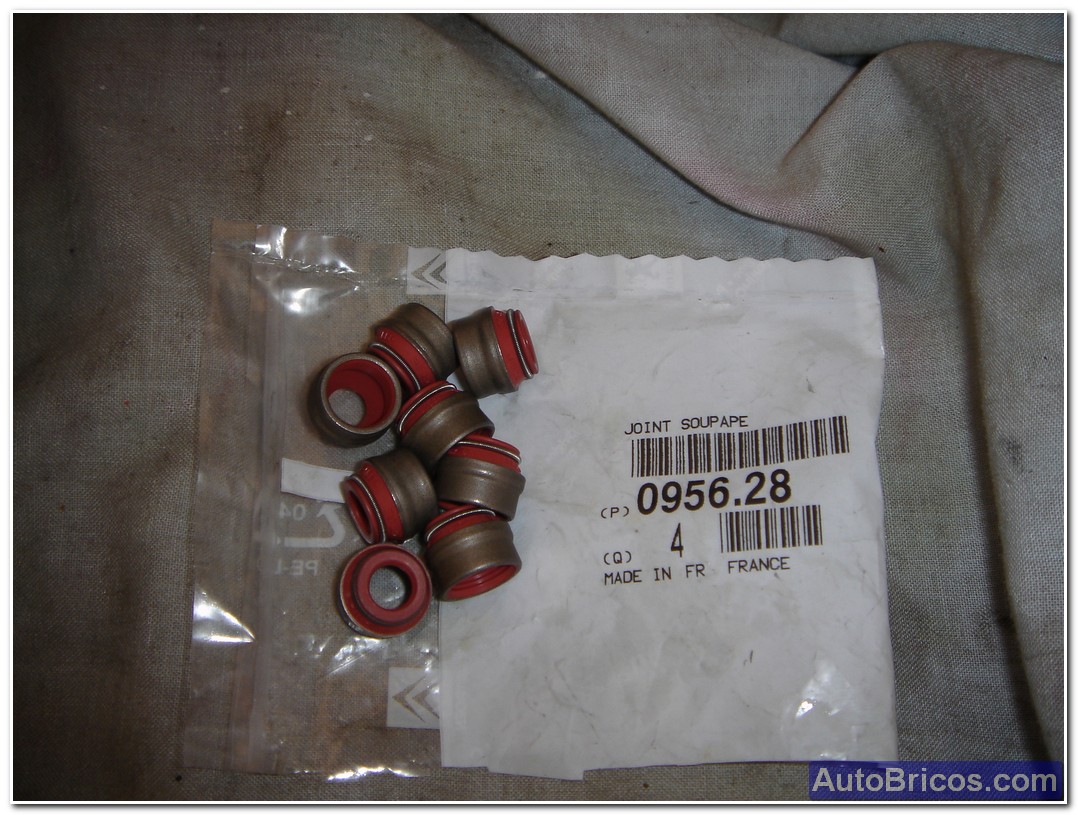
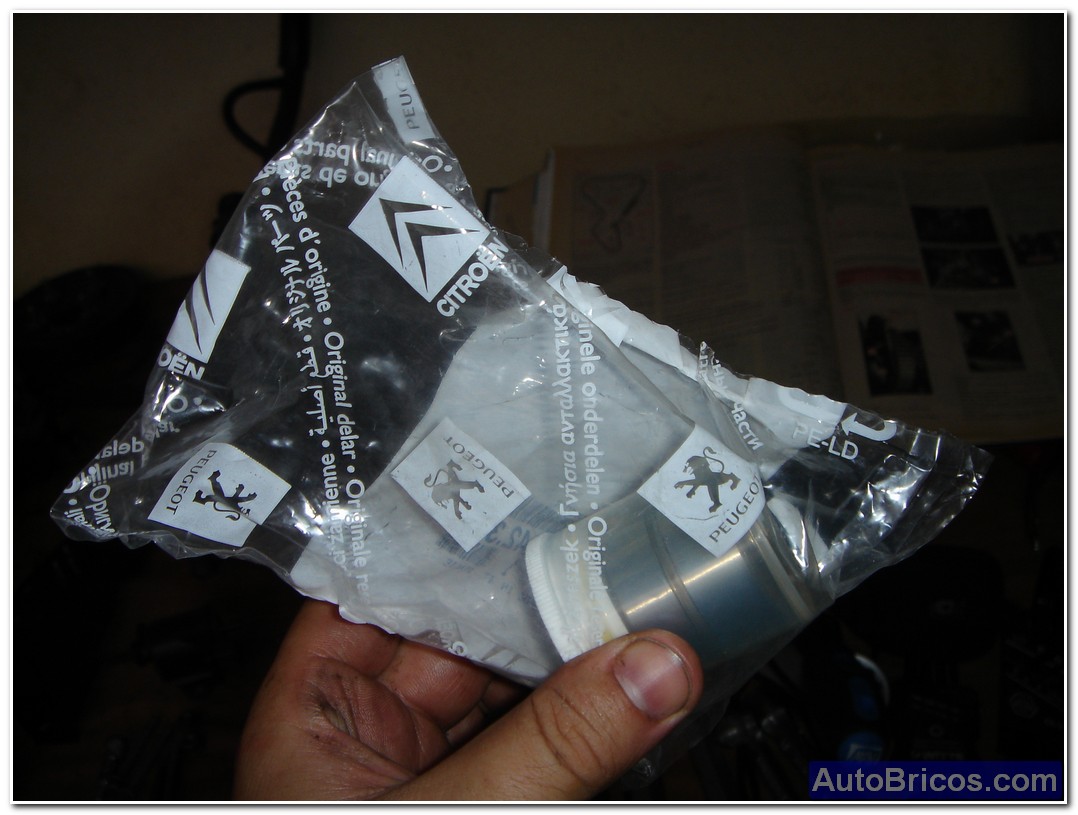
Once polished valves, valve stem seals were changed, for this I made a homemade extractor impact for the occasion, and the truth is that it went very well. All new seals for one complete set of original seals (associate producer reference) were changed.
 |
 |
 |
 |
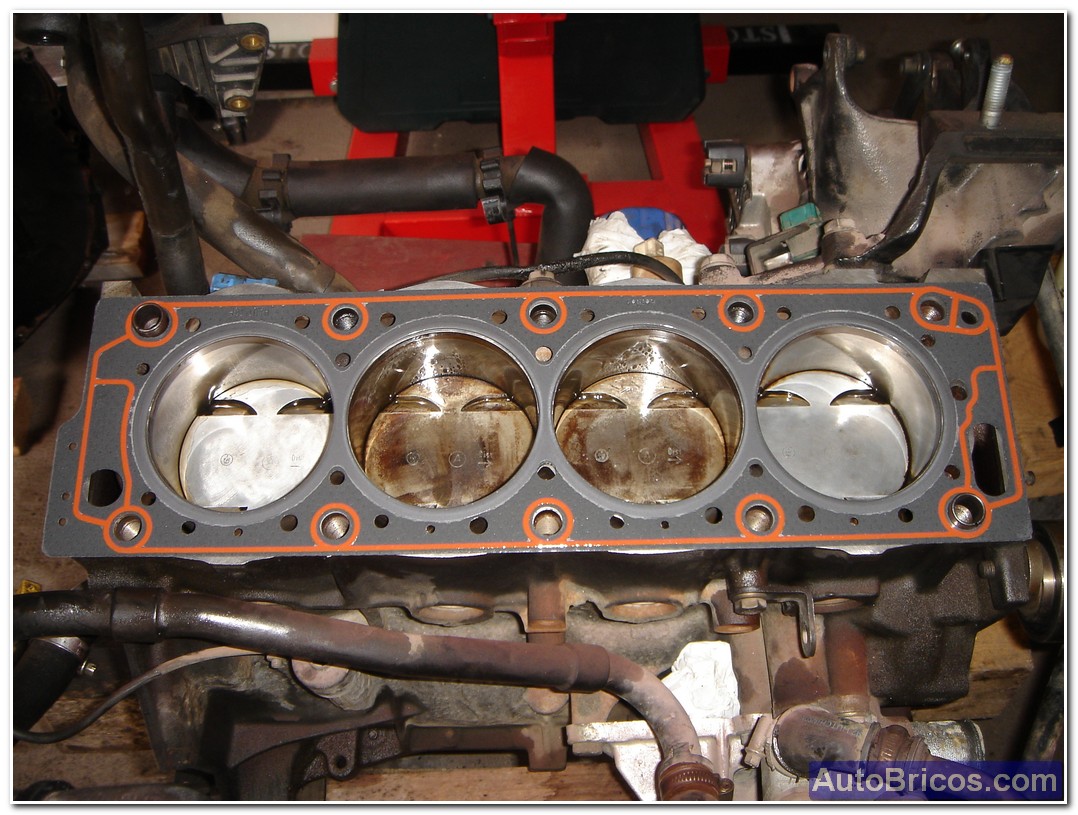
To place the valve stem seals with a tubular tool and a little care is easily placed in the guide, we need to lubricate the valve and seal lip to prevent damage. It should push the stop by the metal outer part to avoid damaging the rubber. Once all the valve stem seals, and can place the valve springs and the upper and lower cups that hold the spring tension and in position; should compress the spring with the valve spring compressor to put 2 segments fixed to the valve spring right in the taper of the top plate. I became a tubular helpful in making this action with an ordinary sergeant. Once all the valve springs, and you can place the head gasket and the cylinder head above the crank to tighten the cylinder head to the engine block. Be very careful that the contact surfaces are perfectly clean and degreased. Of course, this engine need to change the cylinder head screws acollan stretch since the tightening of the cylinder head, and are useless. Pay attention to the torque and then the rotation angle (XXNm + XX º). Also essential to follow the correct order of tightening.
 |
 |
 |
 |
 |
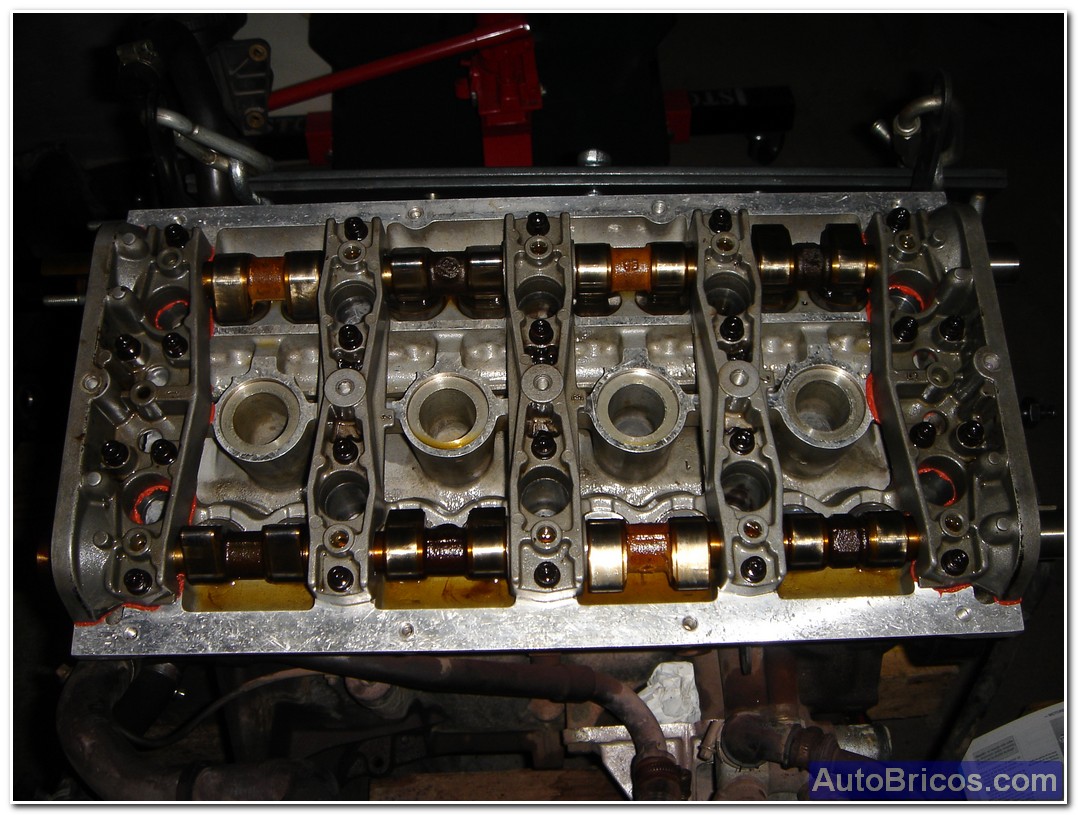 |
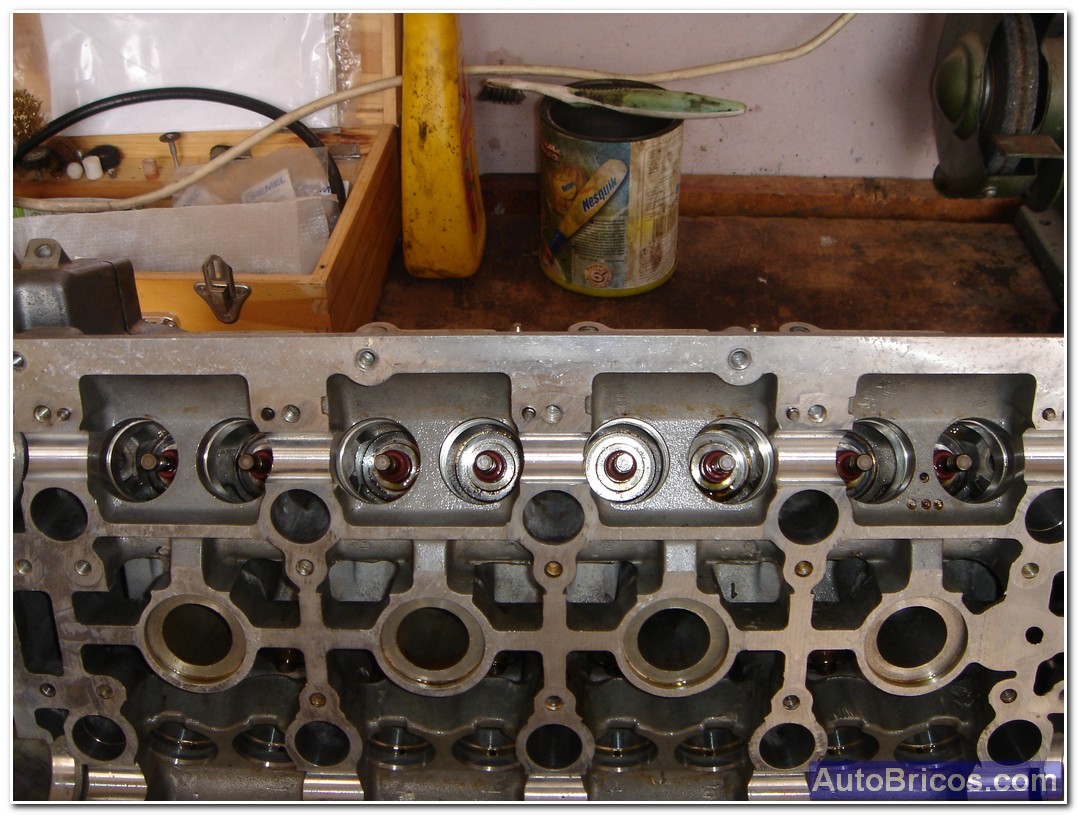
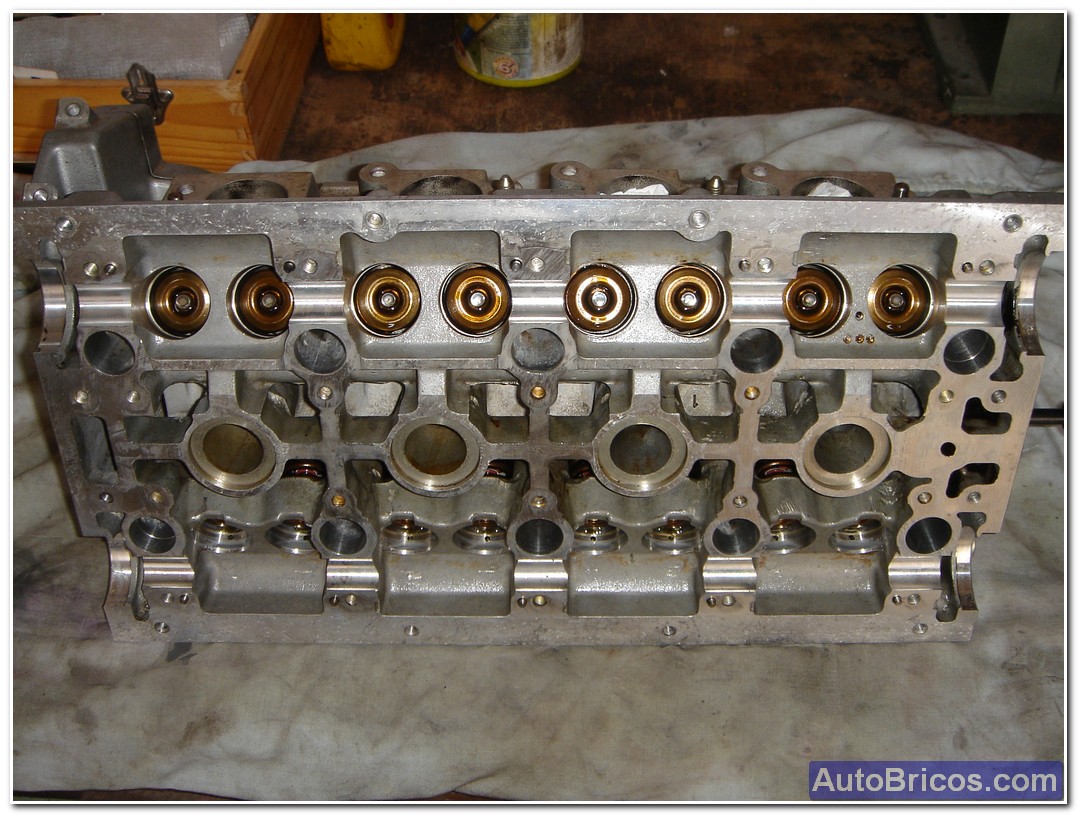
Once tight butt, and we can place the hydraulic tappets, as seen in the photos above, I had to change a hydraulic ram as it was in bad shape as before disassembling the engine sounded like valve itched. With all the pushers in their positions, and can be placed camshafts and screw that hold the bridges. We must also follow the order and the correct torque from non camshafts (avoid excess stress them. After tightening all his bridges with oil resistant sealant (on the bridges of the ends), and is you can place the ramp injection oil that lubricates the critical points of the camshafts, and then you can place the retainers camshaft.
 |
 |
 |
 |
 |
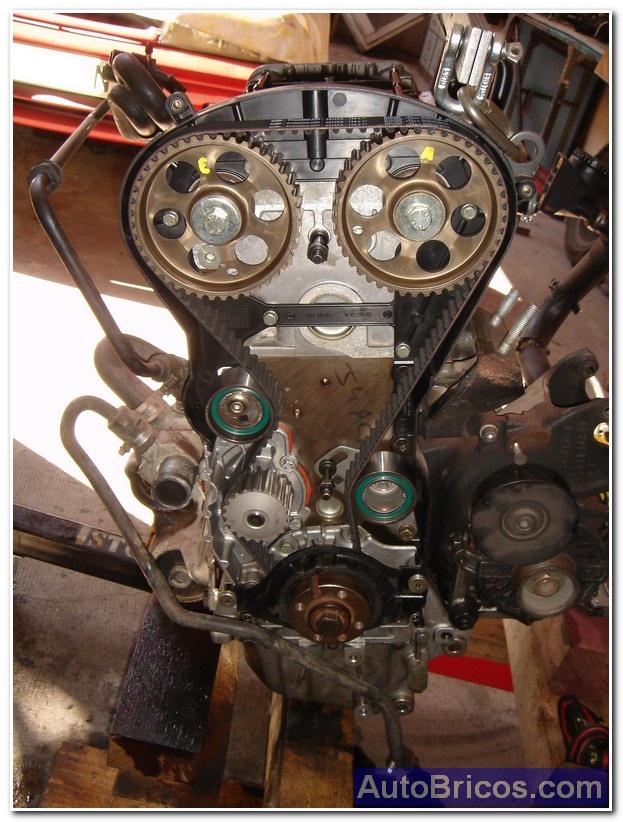 |
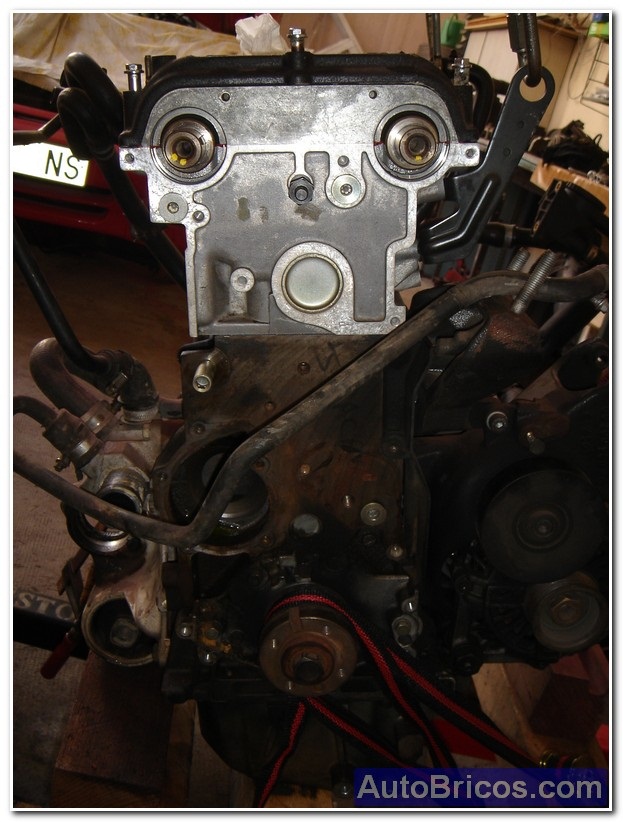
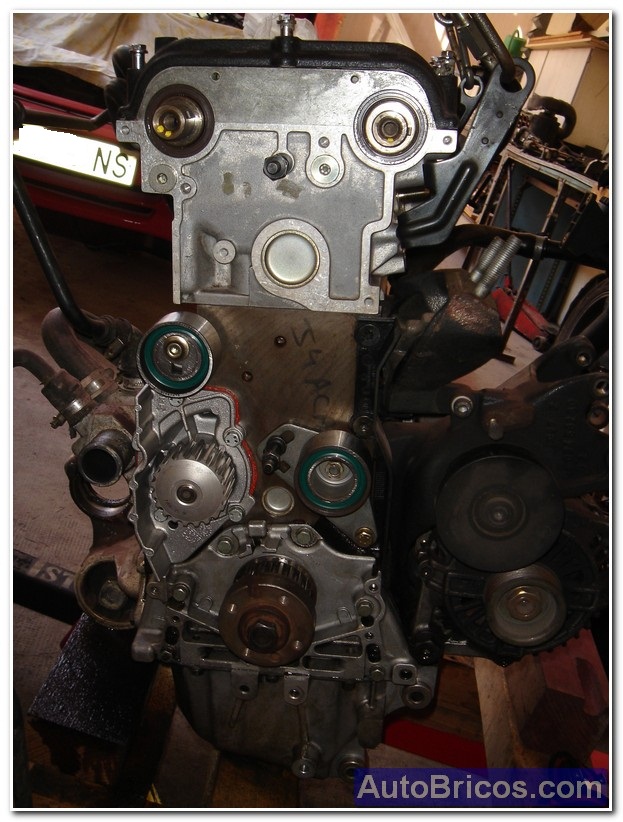
As seen in the photos above, once placed seals camshaft, you can put the cover of the timing belt, pulleys and relevant tensioners, and water pump, and you can make the draft distribution, ensuring that the pulleys of camshafts and crankshaft are trademarks of the set distribution. Properly tension the timing belt and check that at least 2 turns giving the crankshaft, the setting is correct on the three pulleys.
| Tweet |