

 Oil service interval reset Audi A4 B8
Replacing the radiator:
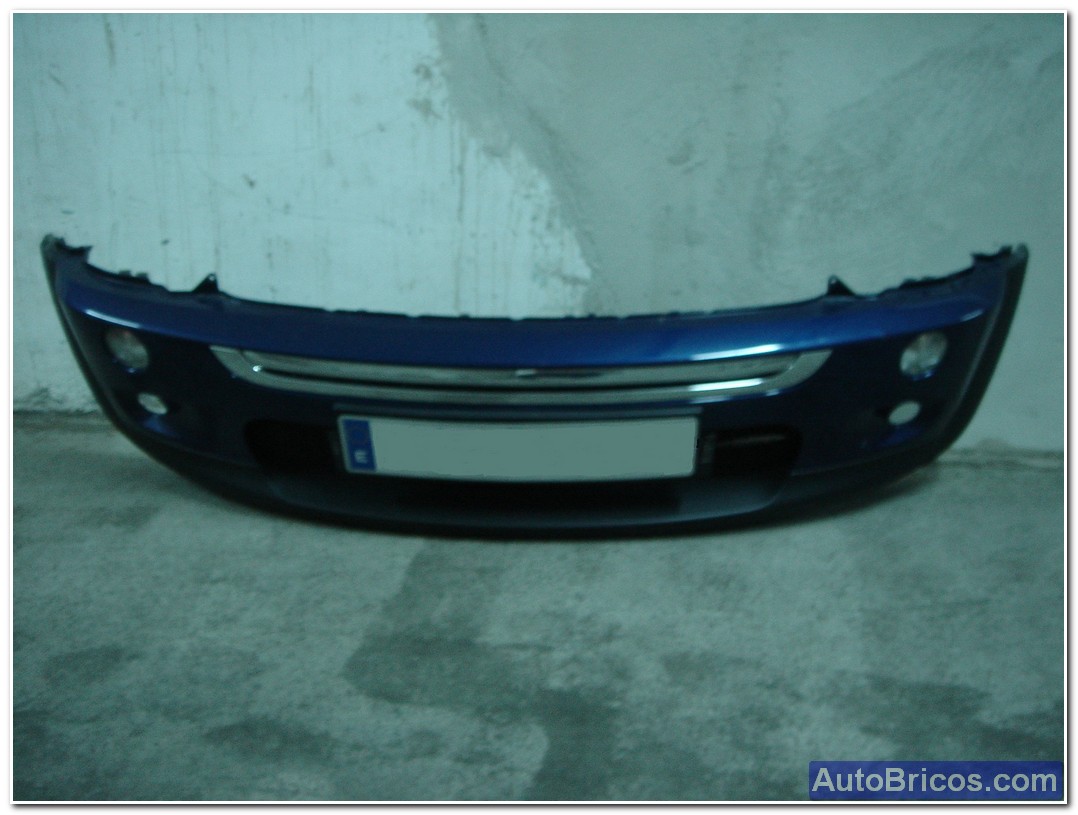
To replace the radiator must first remove the front bumper. You have to unscrew 2 screws Torx front that can be seen when you open the hood.These screws hold the two top tabs seen in the photo. We also need to remove 4 screws (2 on each side) that are of hexagonal type. These 4 screws are located at the ends, and allow us to slightly adjust the defense to make it perfectly aligned with the body. Two of these fall into the wheel arch, but you can access them with a tool small enough without removing the front wheels. Below you will also get some self tapping screws to finish releasing the bumper. By removing the bumper, you have to be careful with the outside temperature sensor is located in the lower bumper area. We can easily desanclarlo bumper.
 |
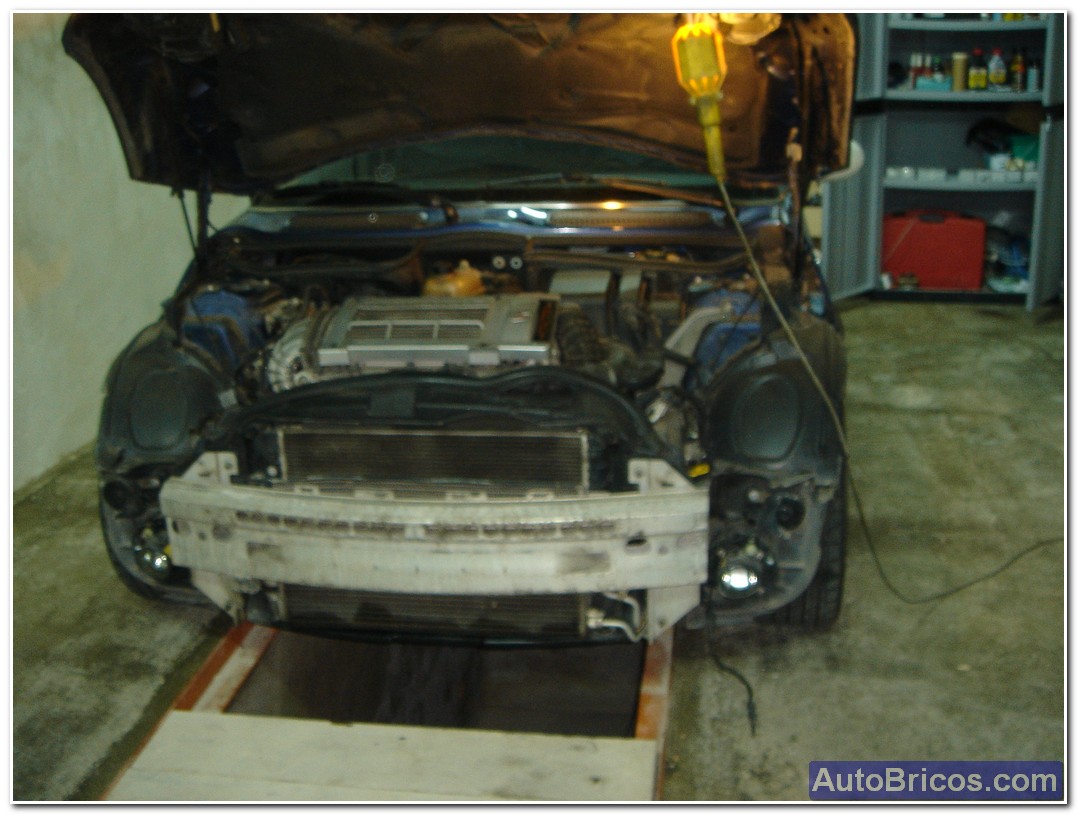 |
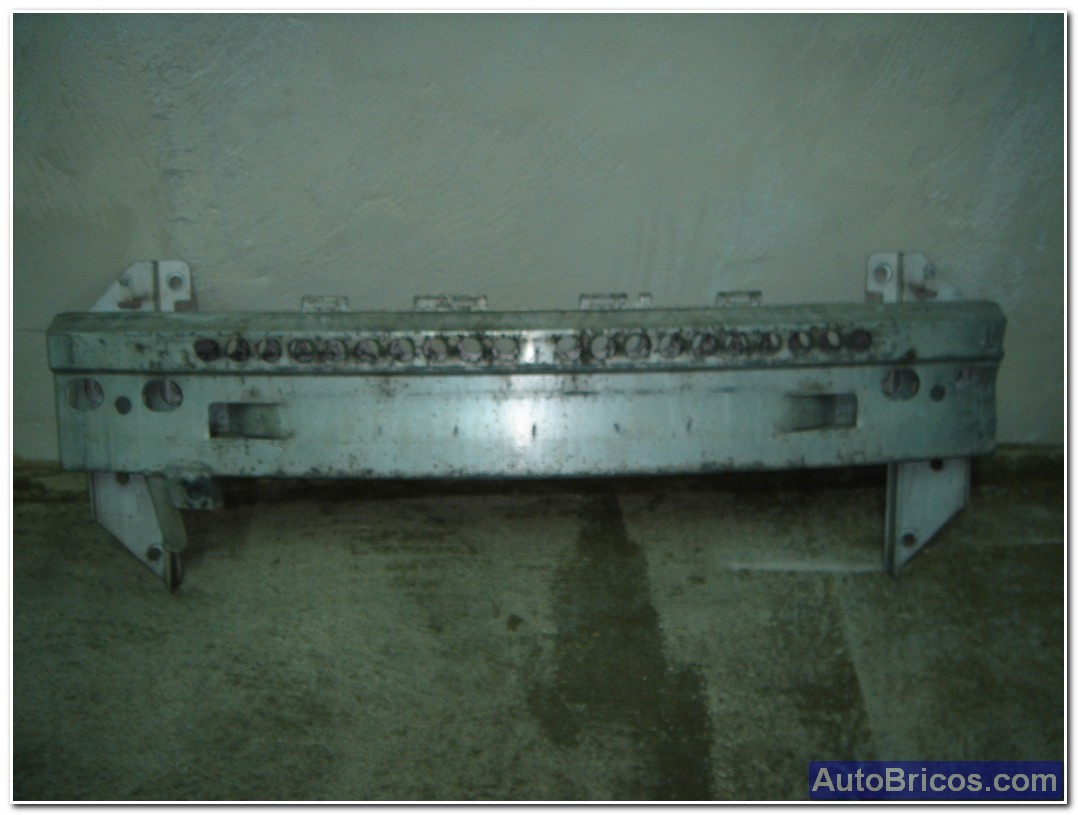
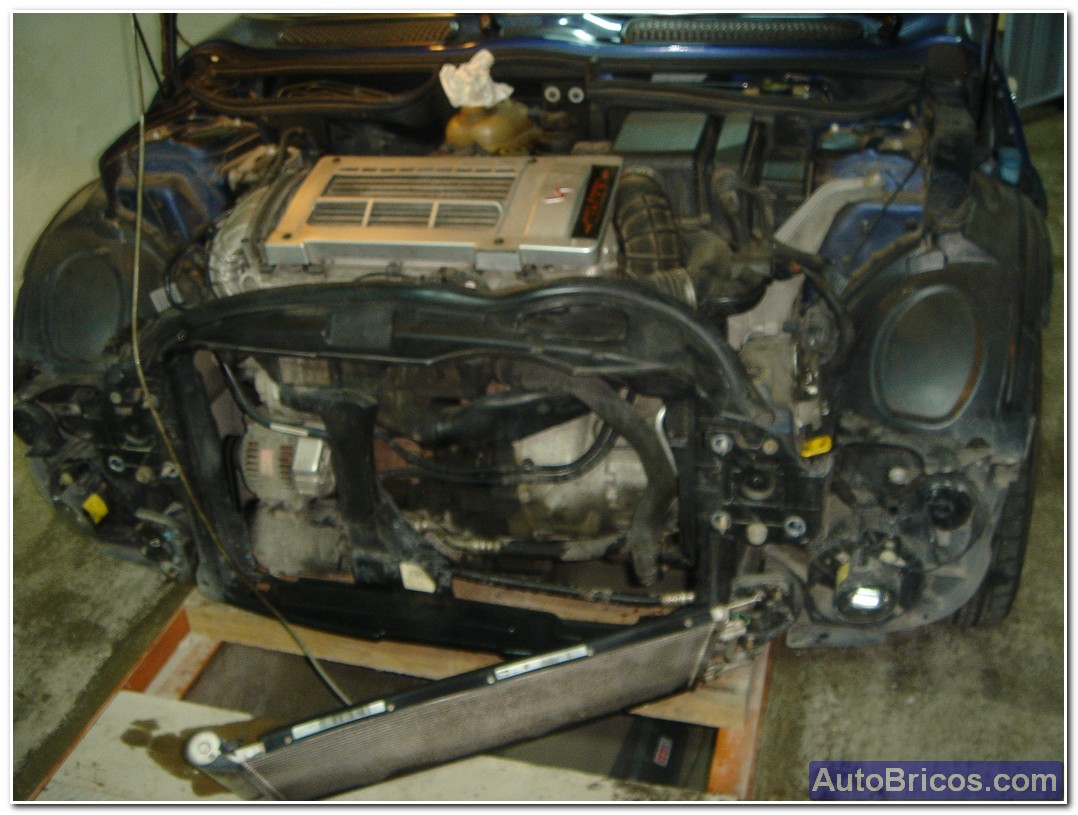
After removing the defense, we must get the aluminum body gives strength to the front. It has several screws on each side to be removed to separate the chassis aluminum block.
 |
 |
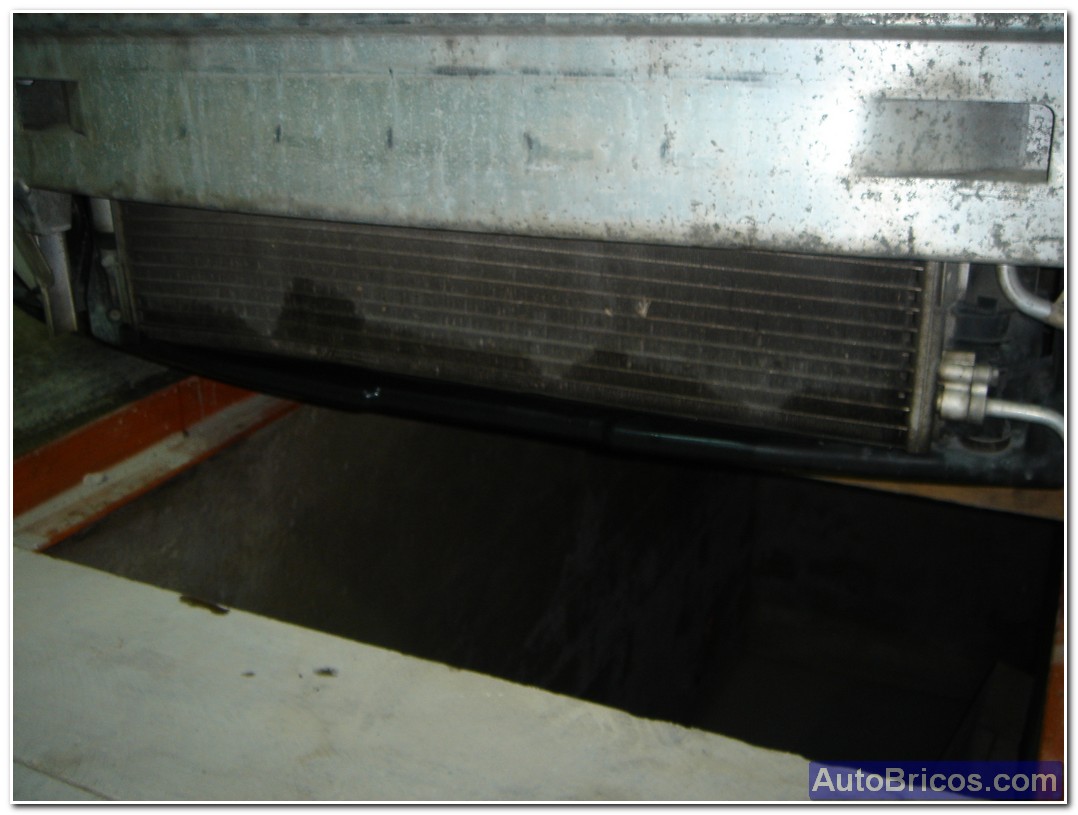
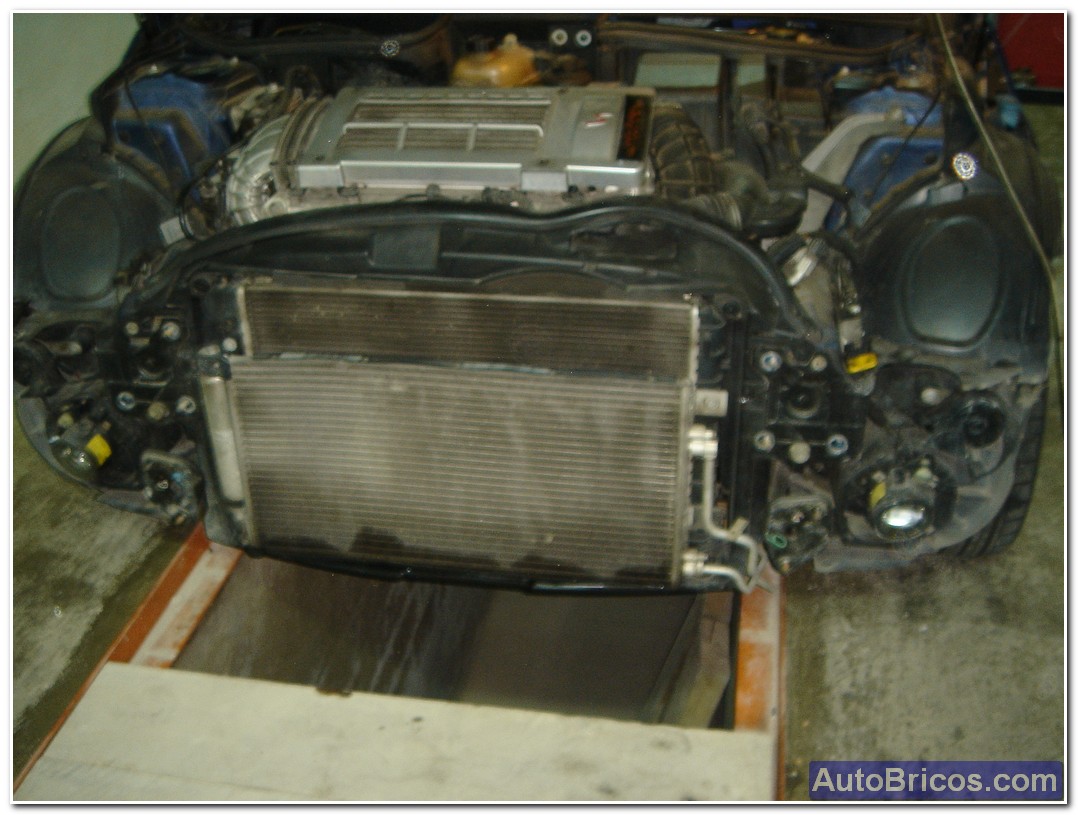
The next step is to divide the air conditioning radiator to gain access to the engine radiator. The radiator air conditioning is the one right in front.There have to be very careful not to force any piping to prevent breakage and subsequent gas leaks.
 |
 |
 |
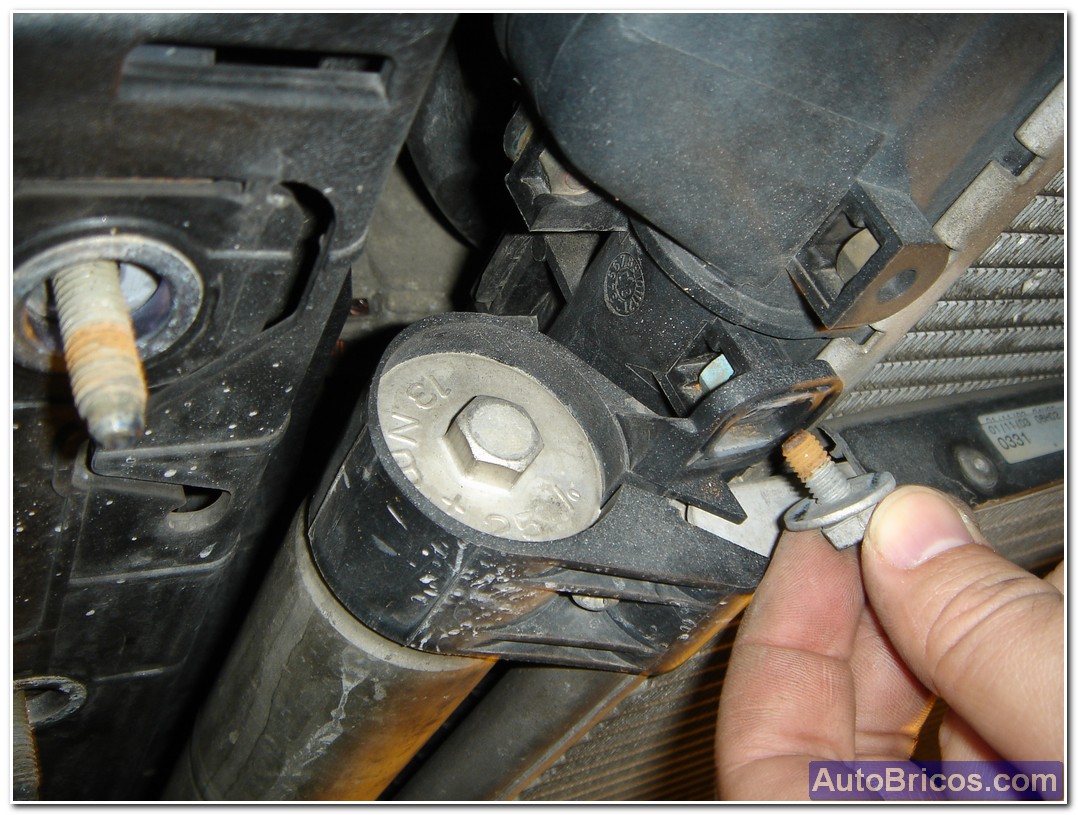
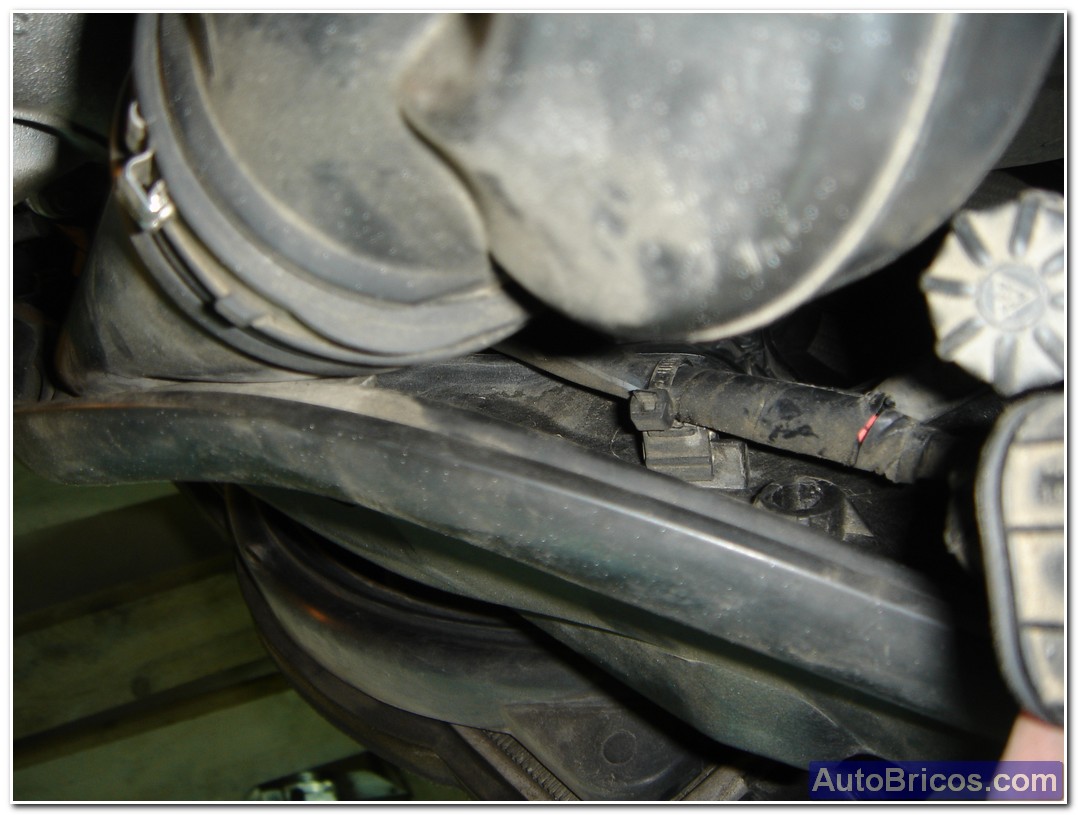
To remove the air conditioning radiator, we will remove the hex screws holding it in engine radiator. This will allow us to release it and remove it from the bottom of the engine radiator, but before that best remove a clamp that holds the gas charging pipe, that will give us a lot more movement and less stress on the pressure tubes of air conditioning.
 |
 |
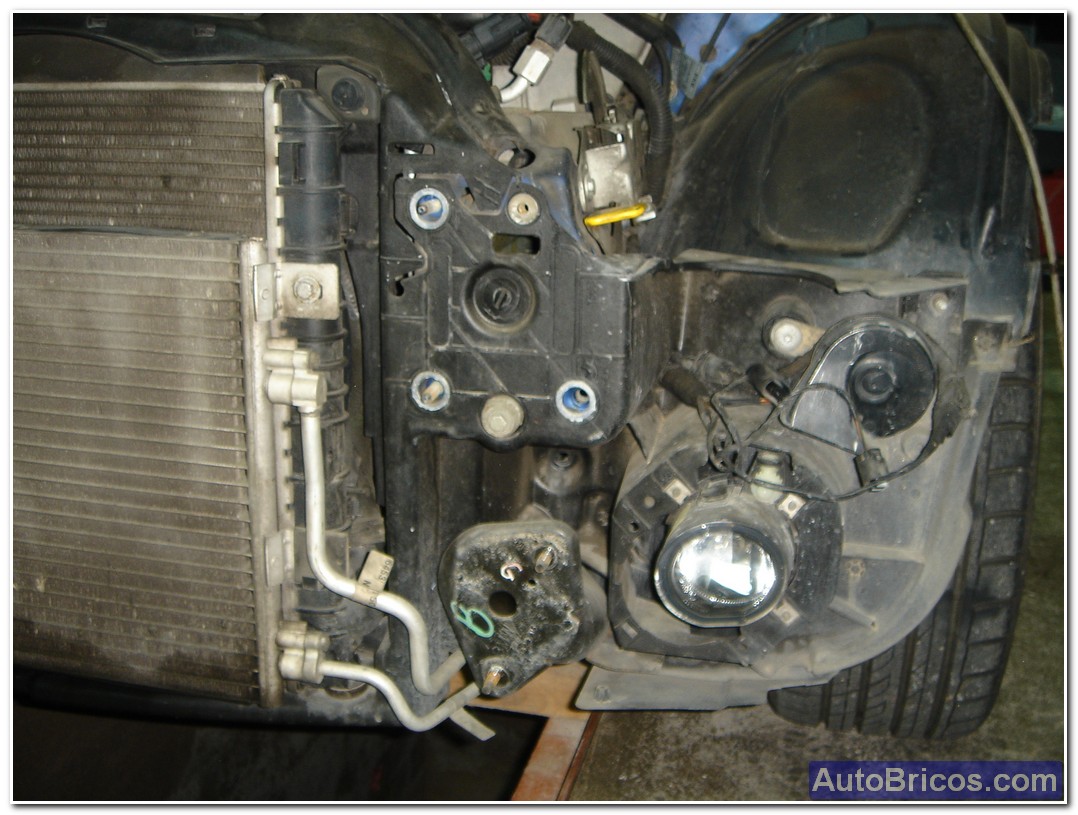
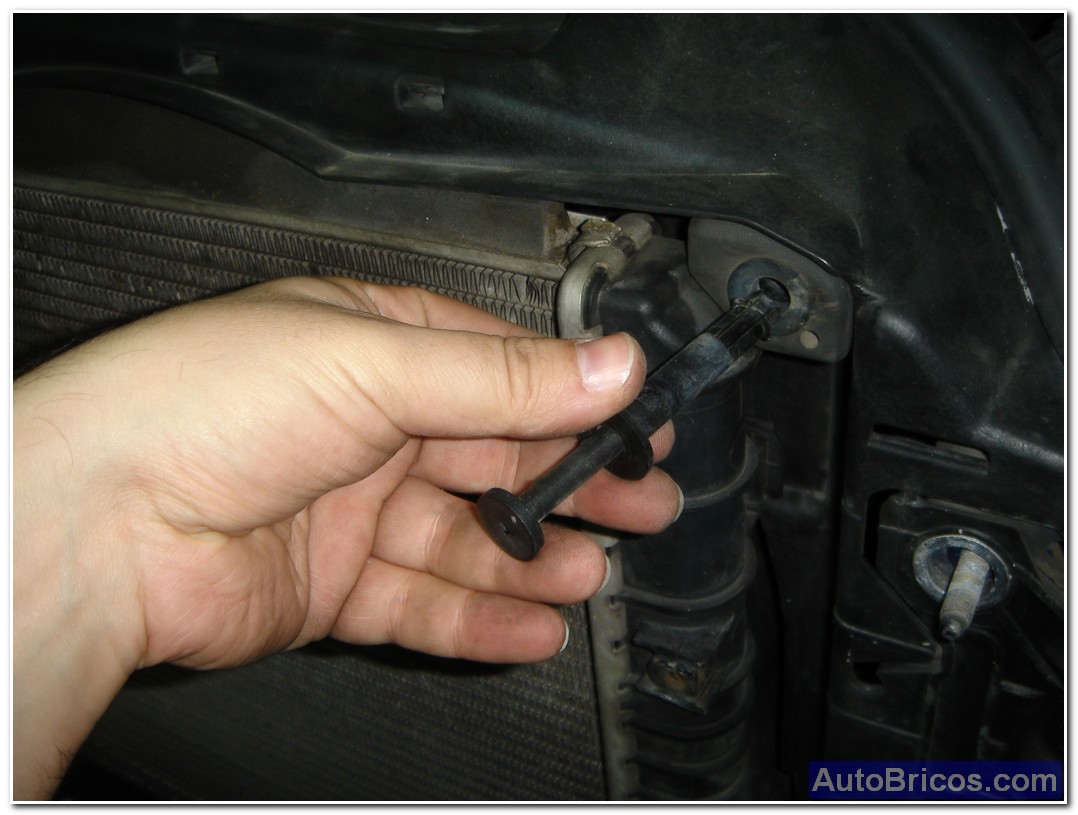
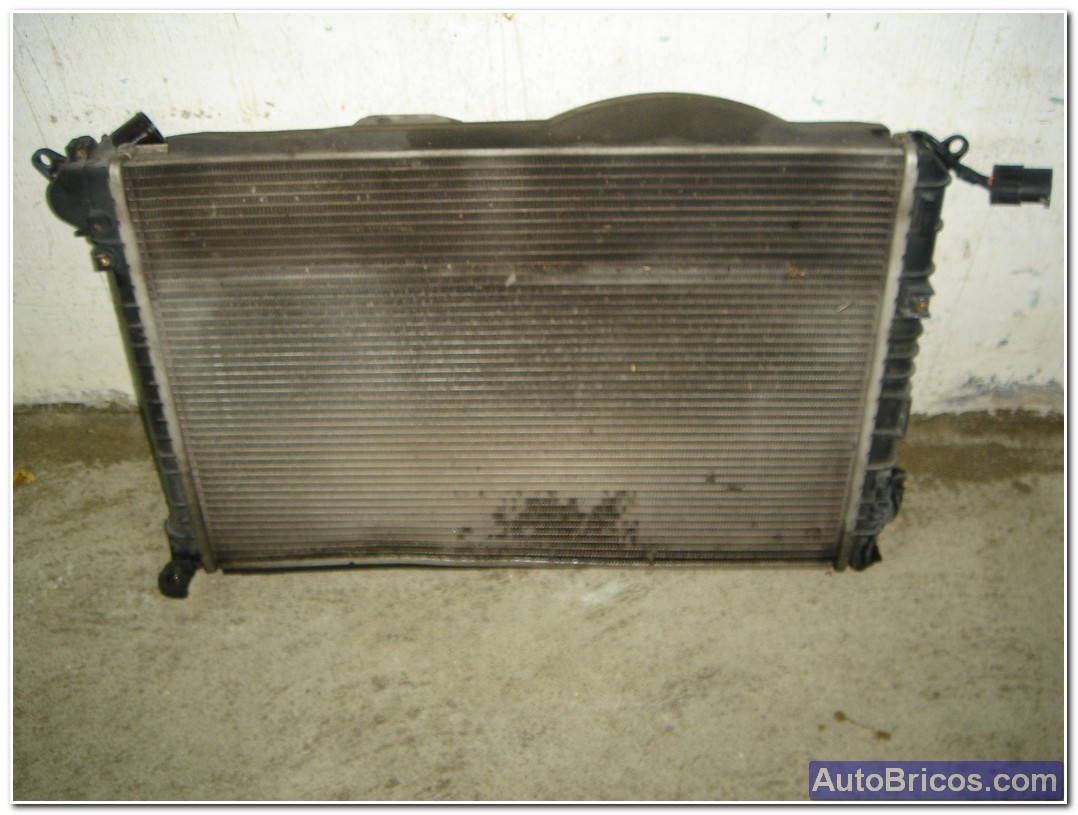
After removing the air conditioning radiator, and you can remove the plastic clip type pin that secure the radiator to the black fiber body front.Before removing the radiator, we should draining the cooling system to prevent drips of refrigerant on engine components. My advice is to disconnect the lower radiator hose, and open the trap that is in the upper radiator hose. After removing the coolant, release also upper sleeve, and you can lay the radiator forward to remove it more easily.
This is one of the 2 pins plastic clip securing the radiator. You need to extract the core outward to remove the whole clip.
 |
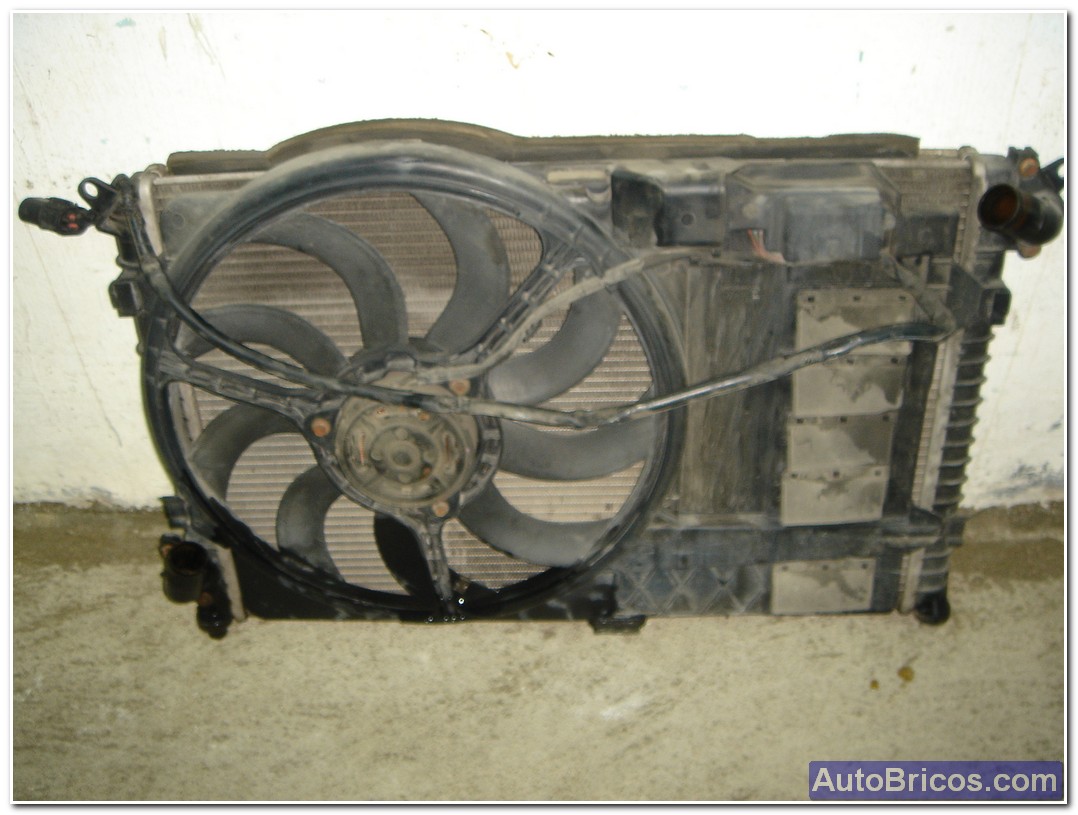
To be able to easily lay the radiator will have to loosen the straps holding the cable that goes to the radiator fan assembly. the ideal is to release everything to the connector to completely remove the fan, and hit also repasillo, do not forget than a typical failure in the R53 is the failure of the 1st speed electric fan radiator (slow), and that's because to burn a resistance that limits the current to the electric motor of the fan and is located in the plastic body electric fan (top), there is a respect for being able Brico repair it will fail with a never resistors greater potency and quality.
 |
 |
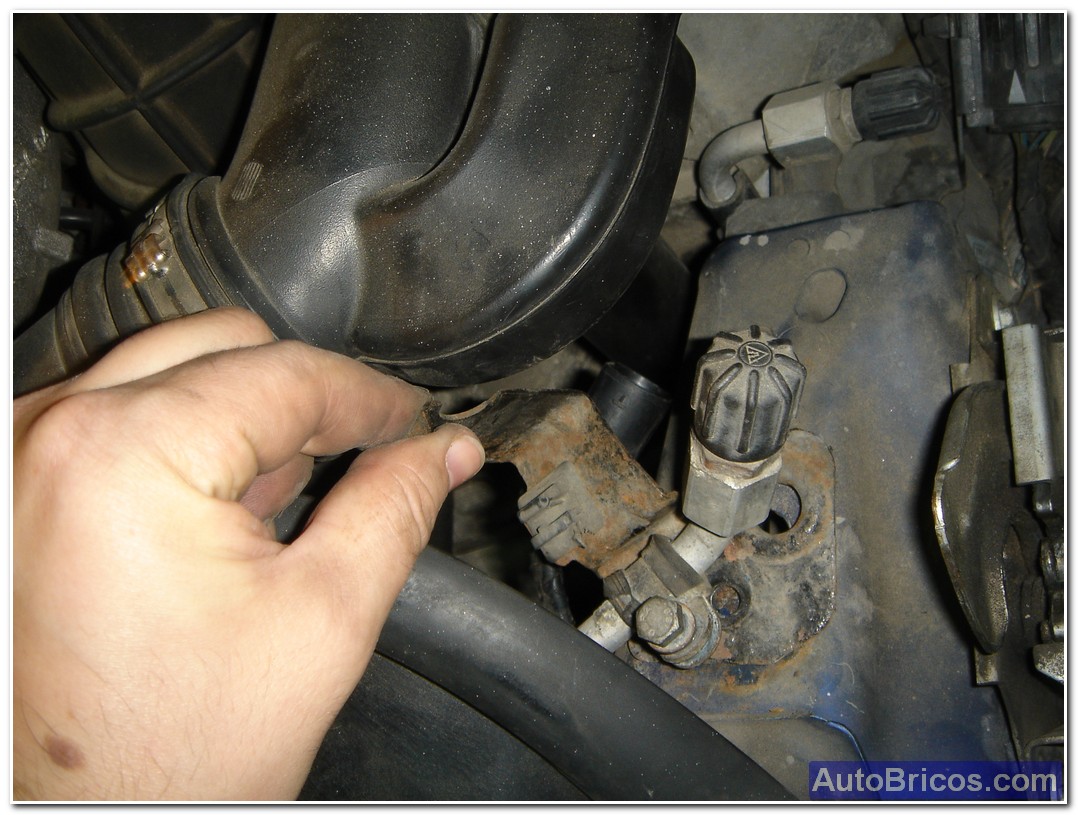
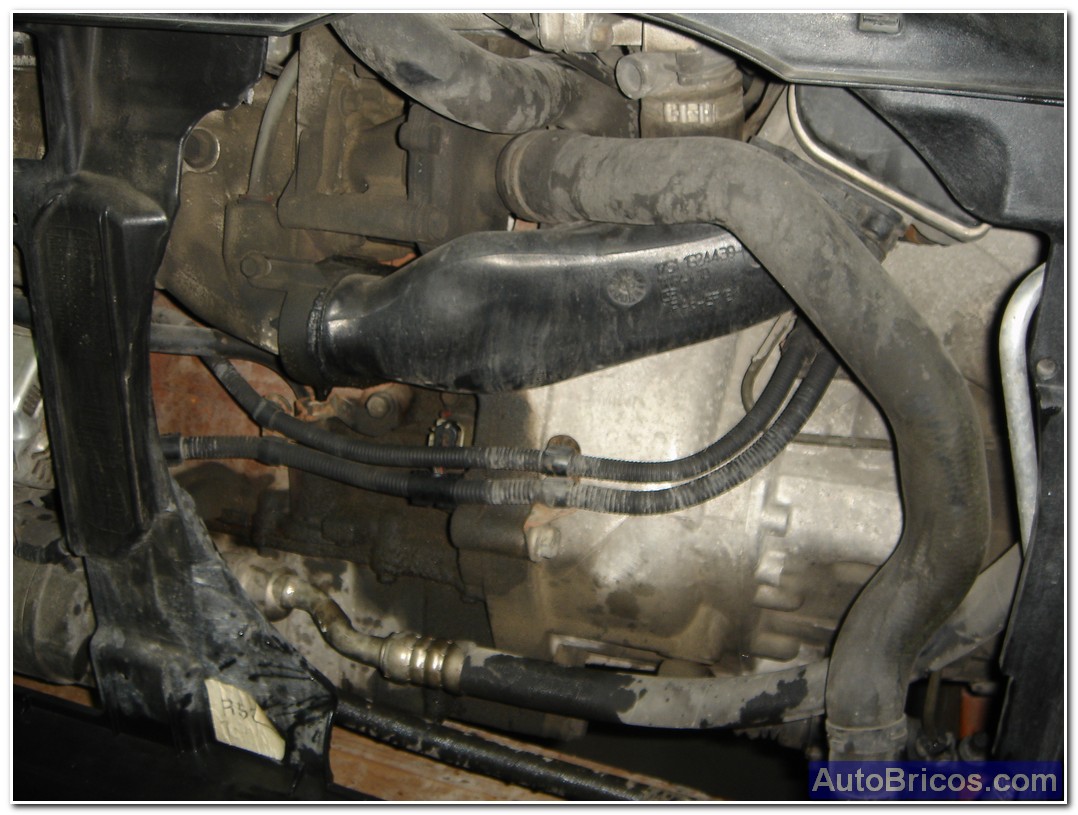
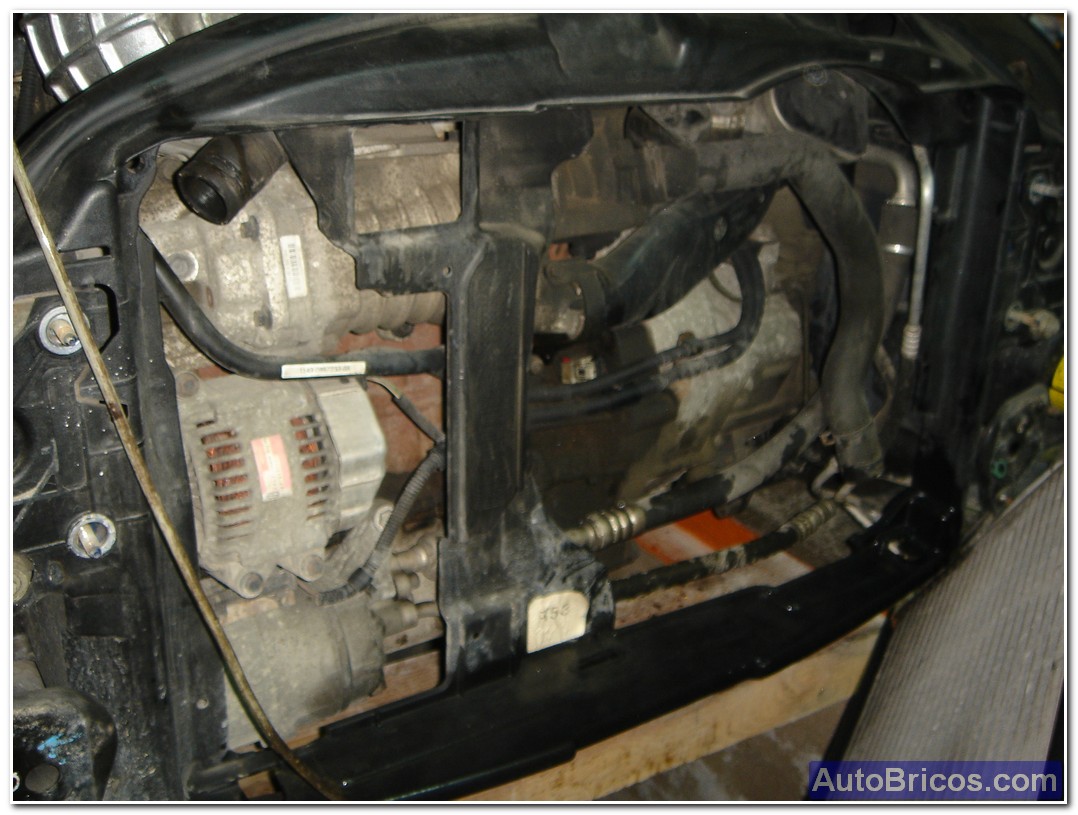
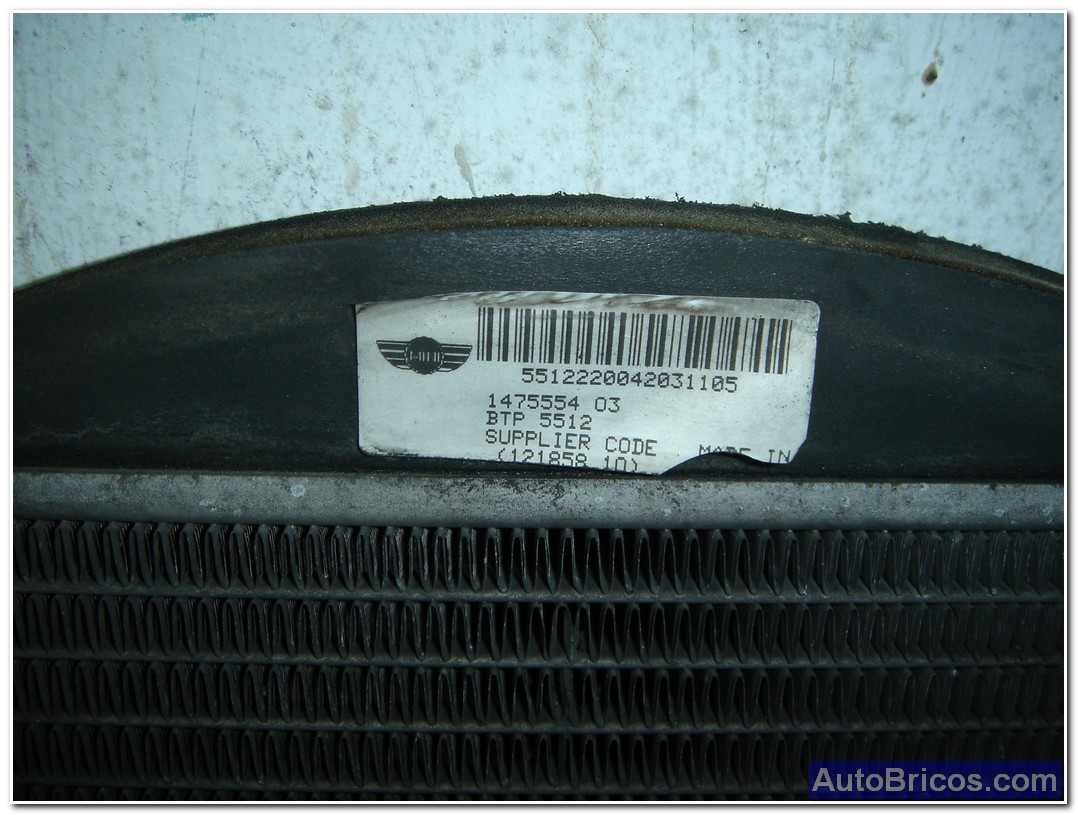
Here we see in detail the engine having removed the radiator, took the opportunity to review the input and output sockets that are not damaged and have no rubbing that may cause future leaks coolant ..
 |
 |
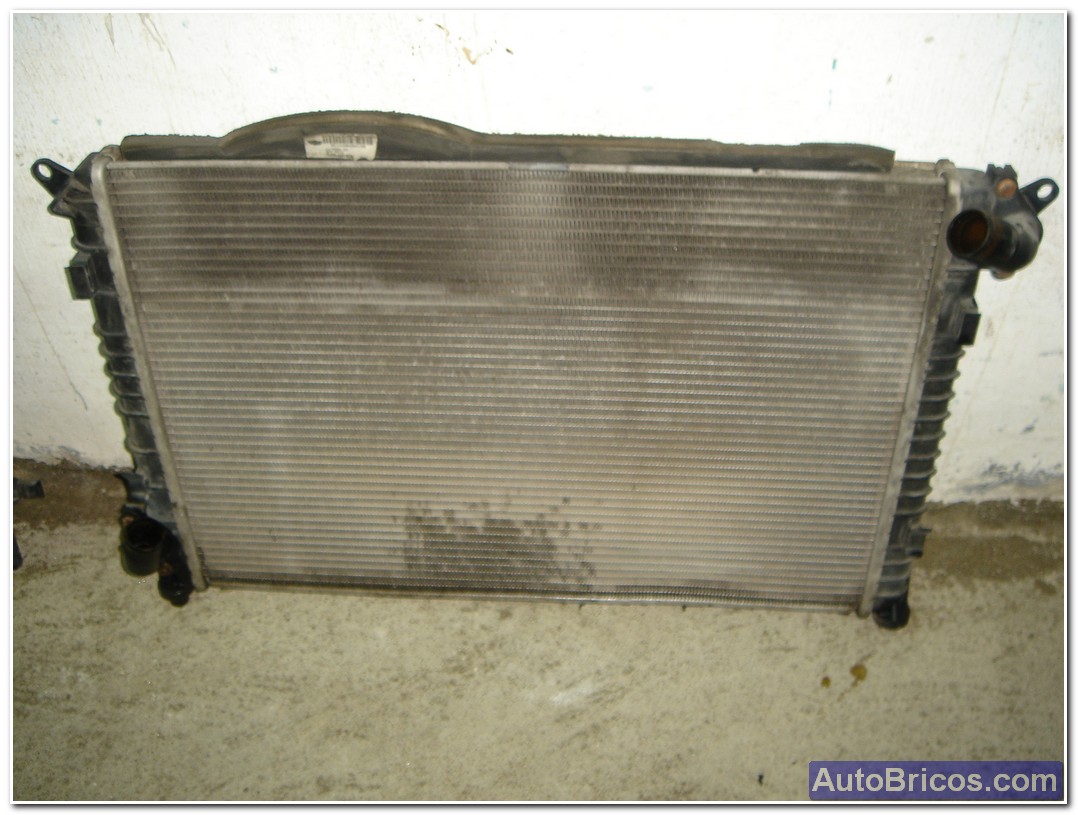
After removing the radiator block-heater fan, and proceed to remove the fan housing flanged-clip to put the fan in the new radiator. I advise also change top and bottom foam that has stuck the radiator so that the new radiator is perfectly embedded in the front fiber frame.
 |
 |
 |
 |
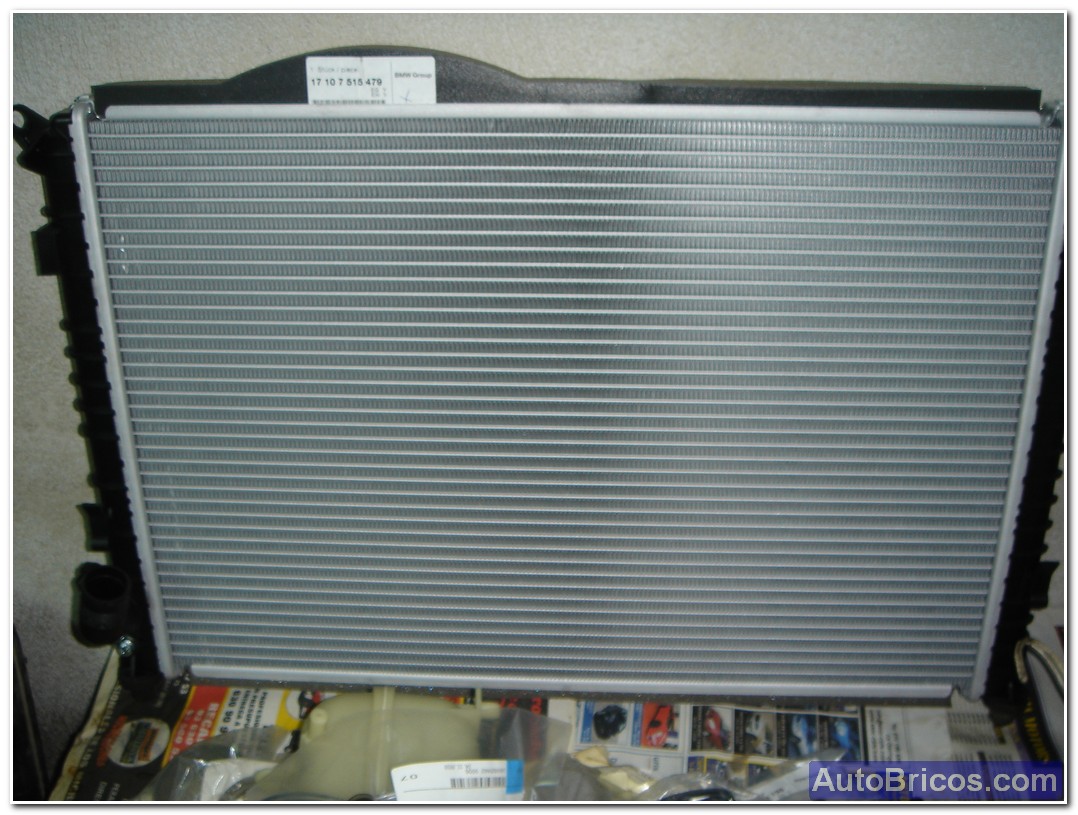
Here we have the new radiator placed foams. For the assembly process exaxctamente follow the same process as we have done in reverse order, with the particularity that the end of the process will fill and bleed the cooling system properly to avoid surprises.
 |
| Tweet |