

 Oil service interval reset Audi A4 B8
Changing oil pan gasket
This Brico is quite long, it's about changing the oil pan engine gasket in order to stop oil leak (if you leave any traces of oil in the ground, of course).
If oil leaks evident, the first thing to look for leaks is above the oil pan, it is important to look at the upper joint of the rocker cover, also commonly fatigue over time (there is also a boric about it), if the board of the rocker cover is also, it is also interesting to look for oil leaking from crankshaft seals (band DMF pulleys and belt), and have a look at the side cover where the pulleys compressor belt, if no obvious leaks in these parts, most provable is that it is the oil pan gasket.
Broadly, which will essentially be the following:
-> Drain crankcase oil and remove oil filter (you better do this til it touches an oil change and kill two birds with one stone)
-> Remove the belt (the compressor).
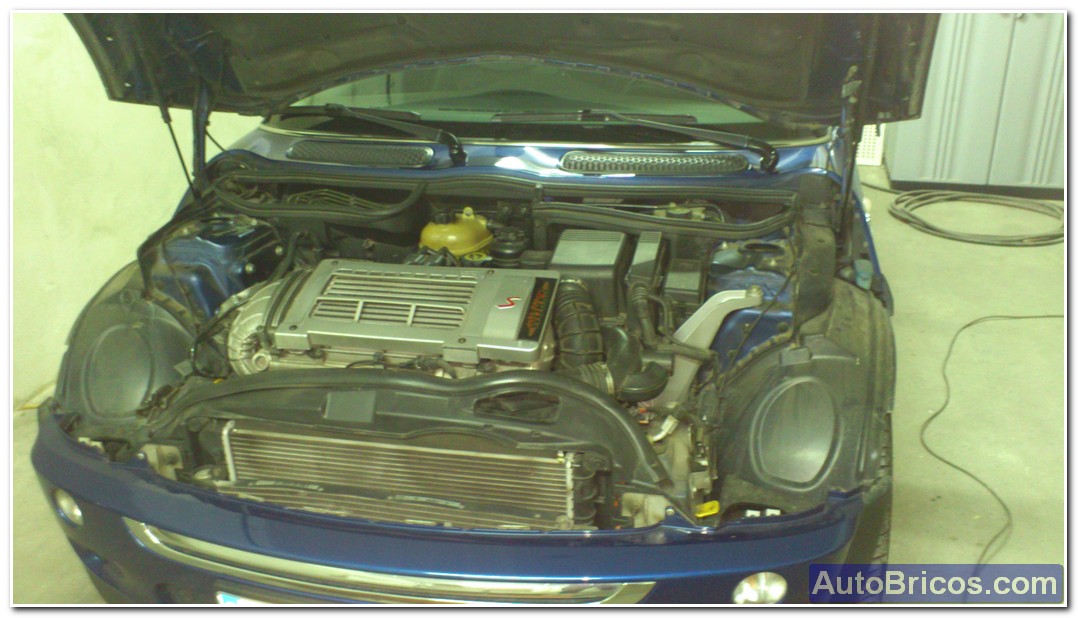
-> Remove the front bumper and a bit removing the front assembly (resin body with the engine radiator and the air conditioner)
-> Disconnect the compressor A / C.
-> Remove bottom bracket pin (rod) engine and remove the additional fan power steering.
-> Unscrew the oil pan.
-> Change oil pan gasket.
-> Finishing: Follow the reverse process, put new oil filter, and finally fill with LongLife oil.
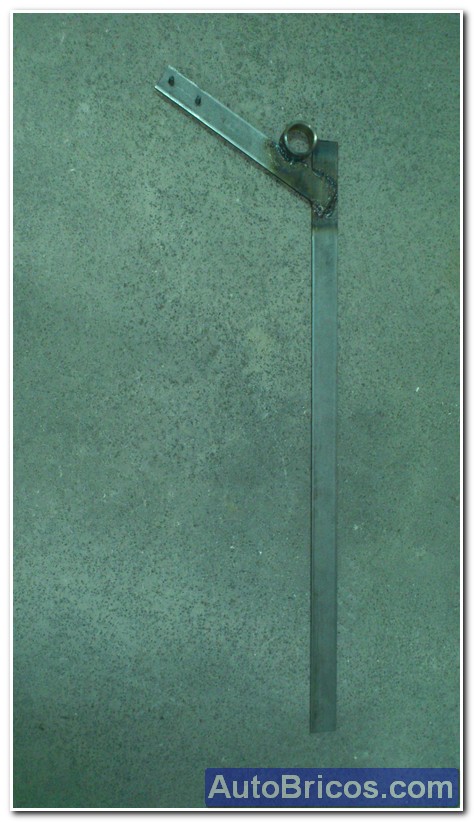
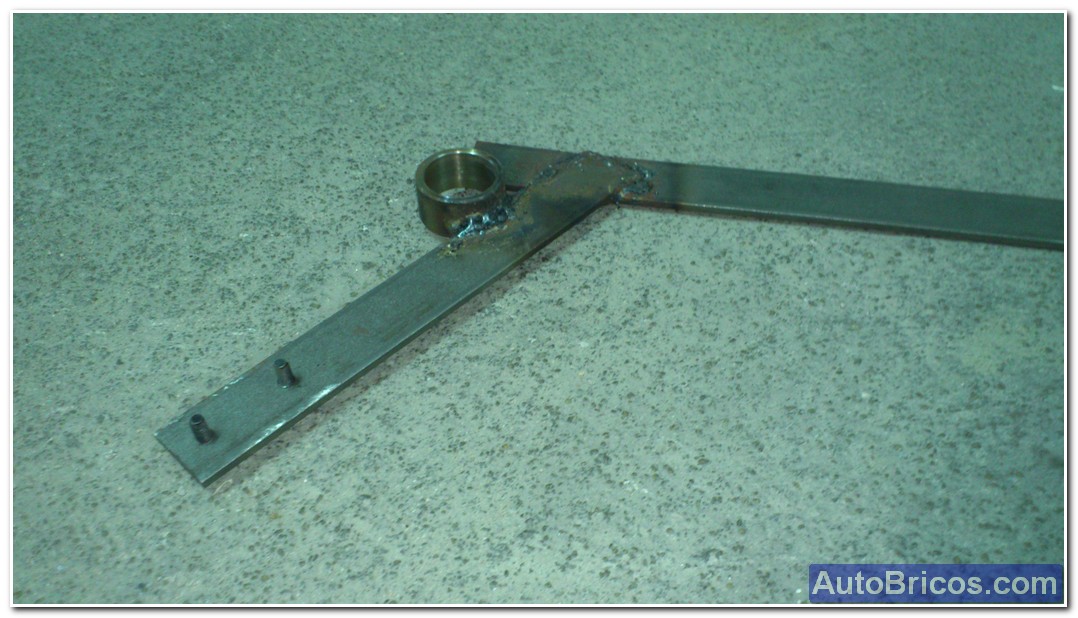
NOTE: Keep in mind that to remove the alternator belt requires a special tool, and to separate the front too. In my case these helpful me I have made in a home, but can be purchased if desired. They also say they need space under the car if you want to work comfortably, ideally lift the car with a lift, or also have a moat.
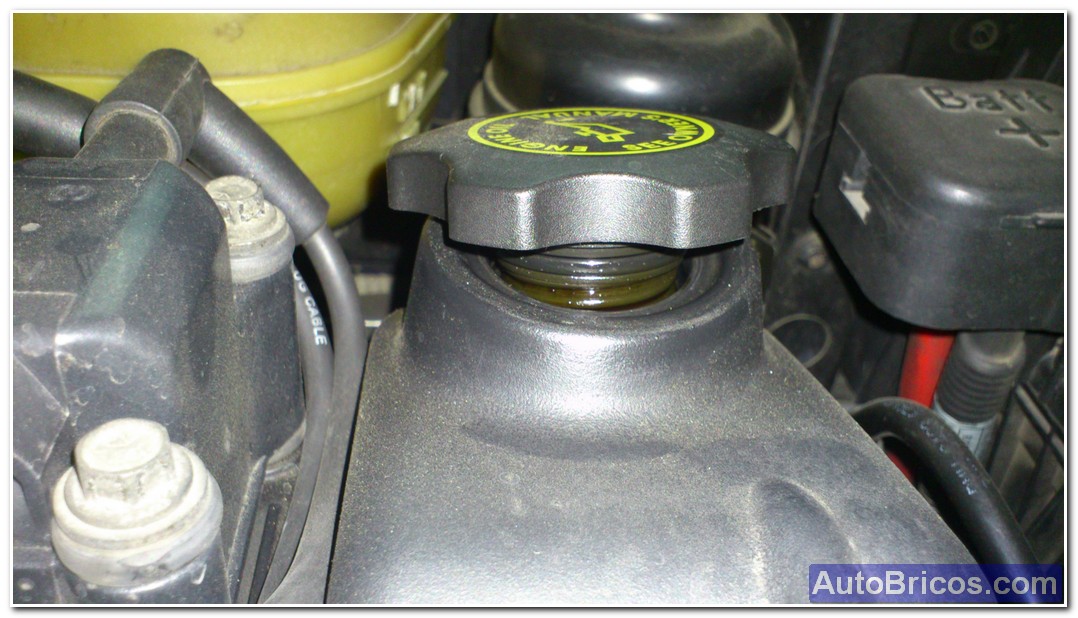
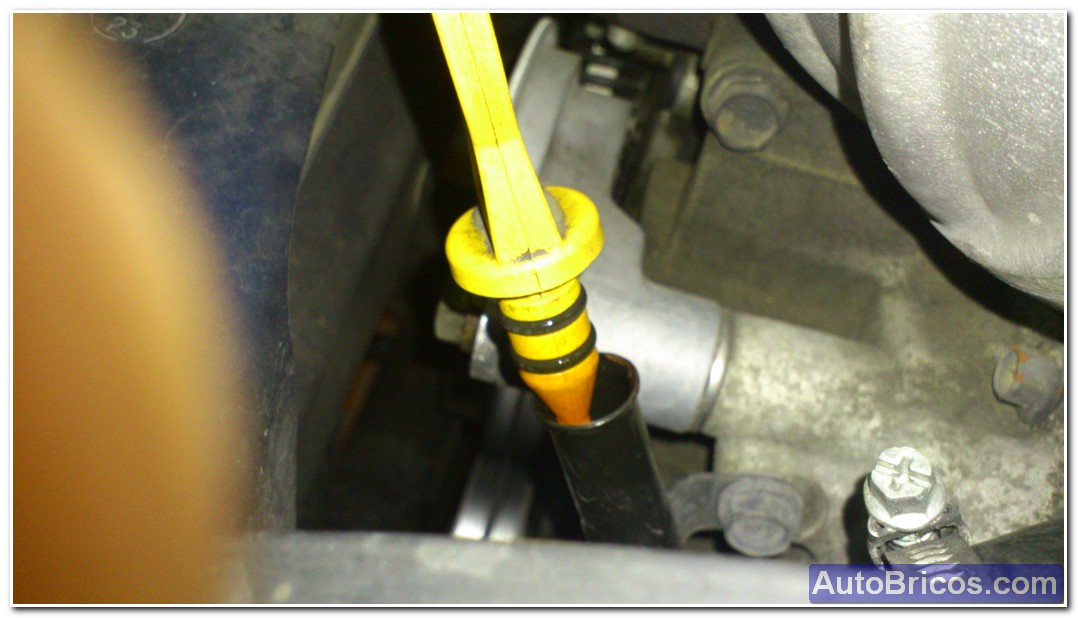
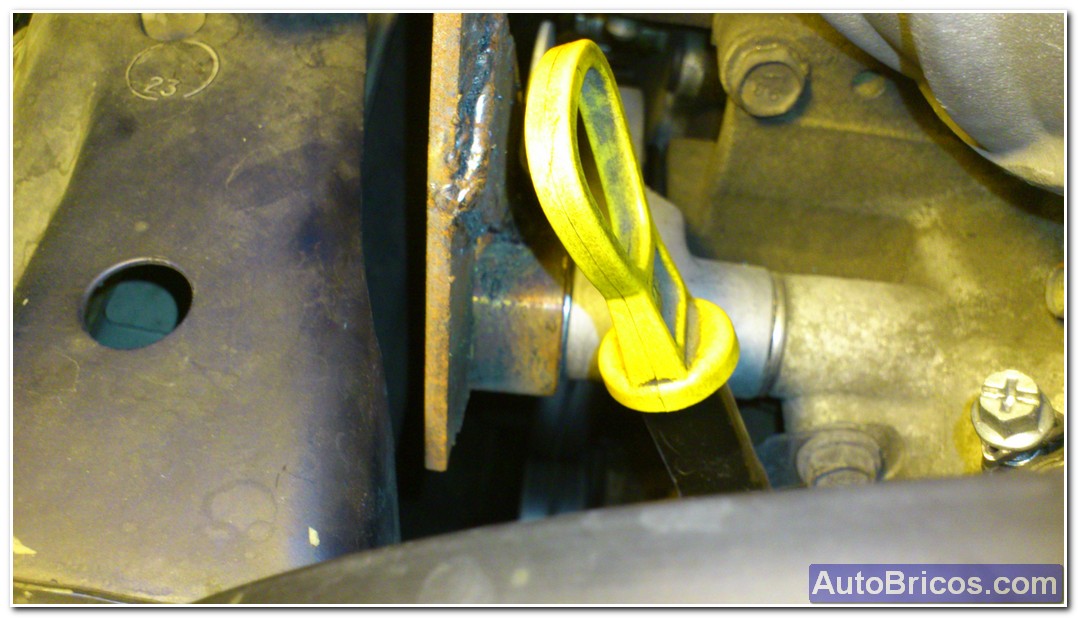
We started the Brico, first we open the oil filler cap and take a little dipstick to allow for better oil drain.
 |
 |
 |
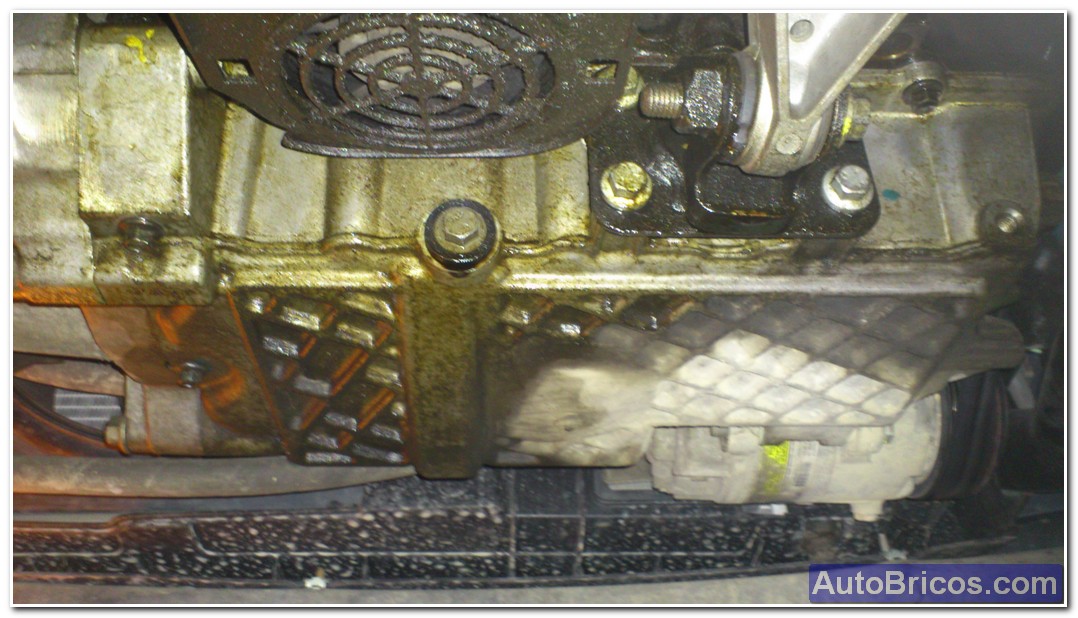
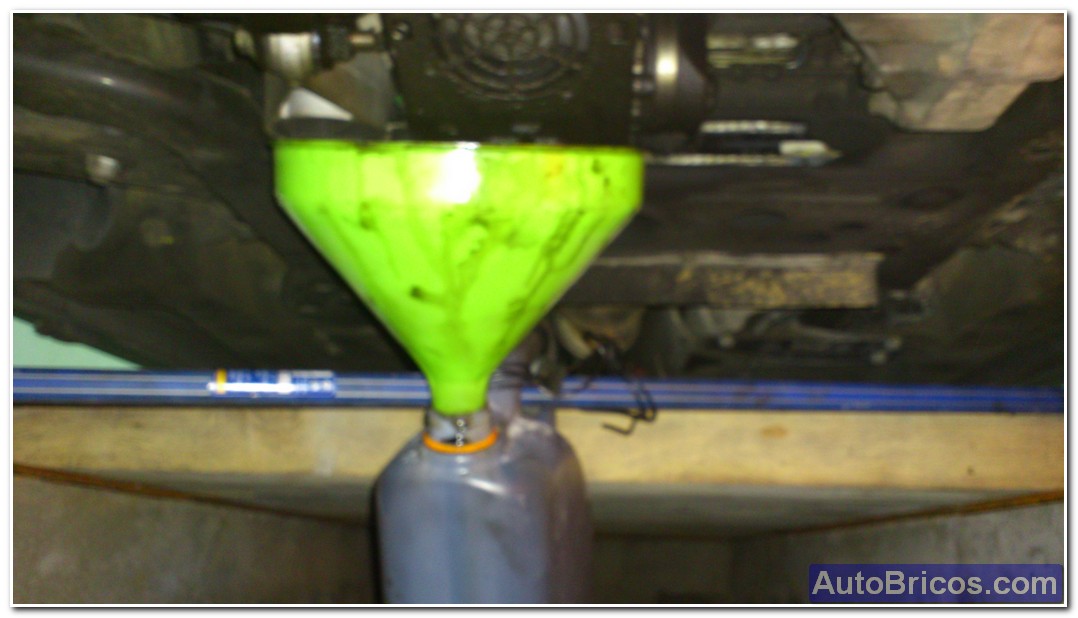
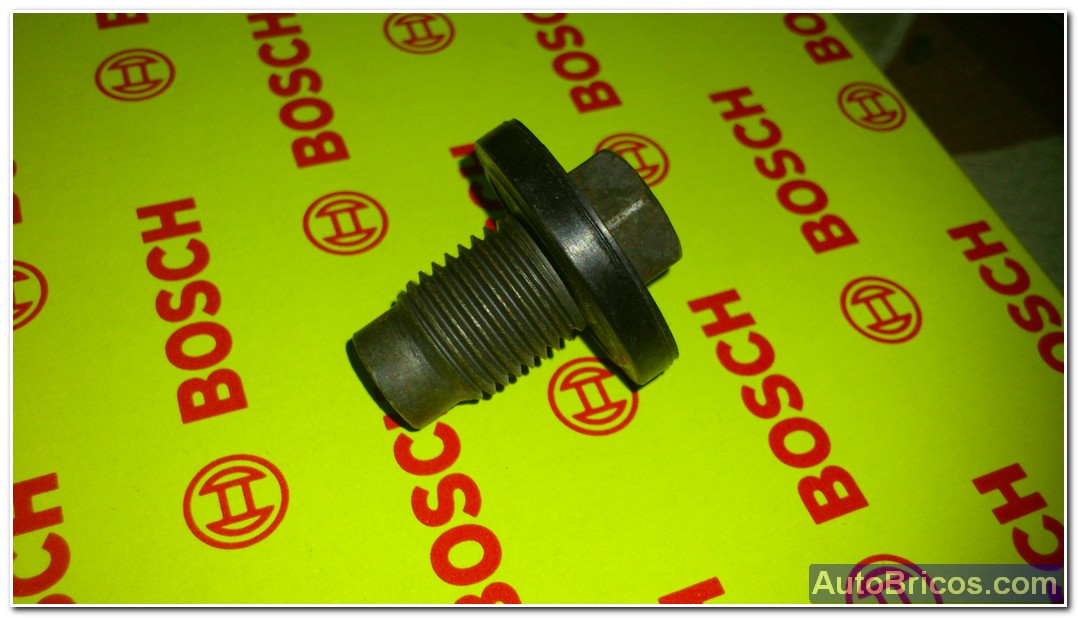
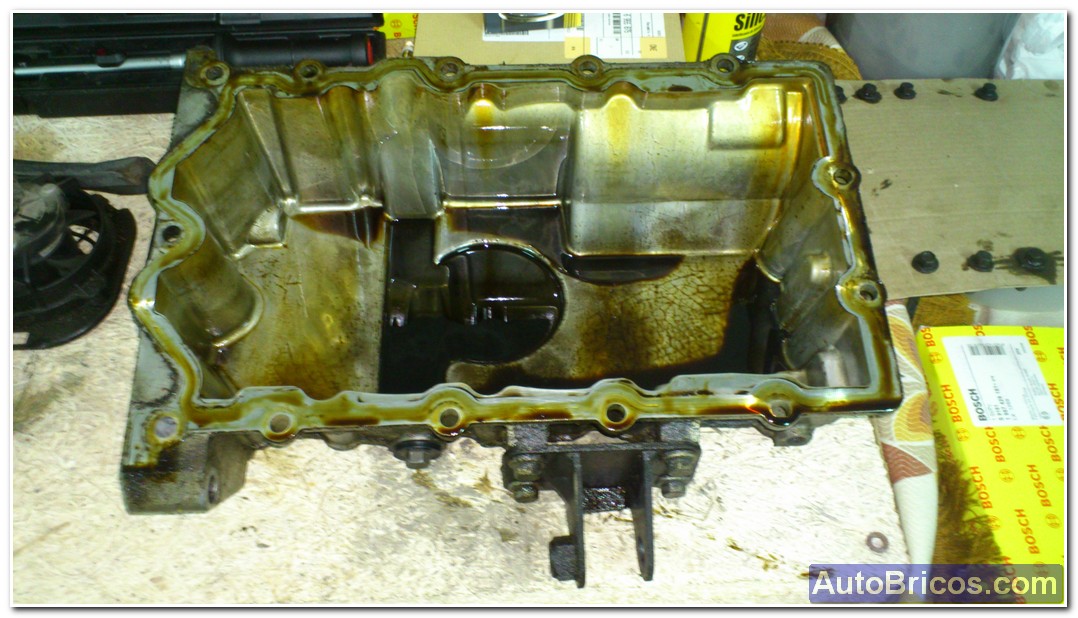
Then we can get the sump plug and drain all engine oil. It is advisable to leave it empty for a while so that when we remove the casing, drip as possible. In the pictures you can see the state it was in before changing the sump gasket (with drops of oil to fall to the ground).
 |
 |
 |
 |
 |
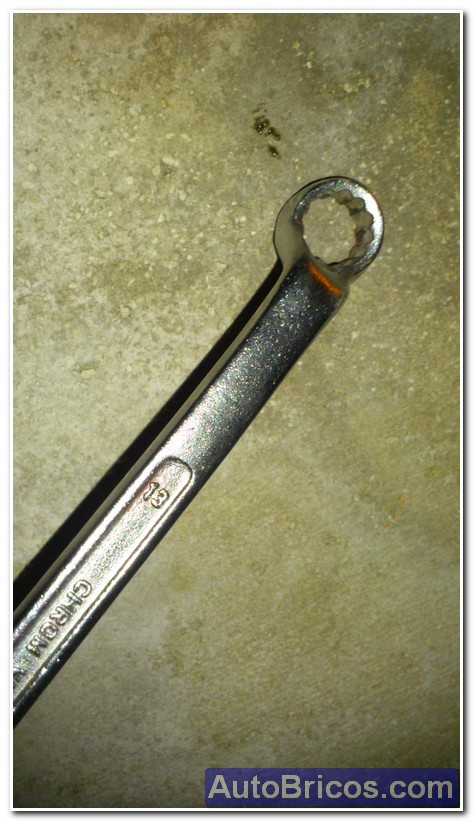
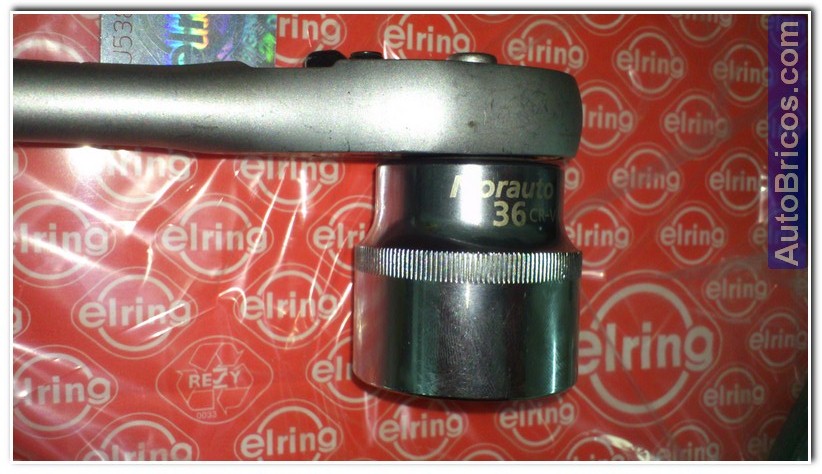
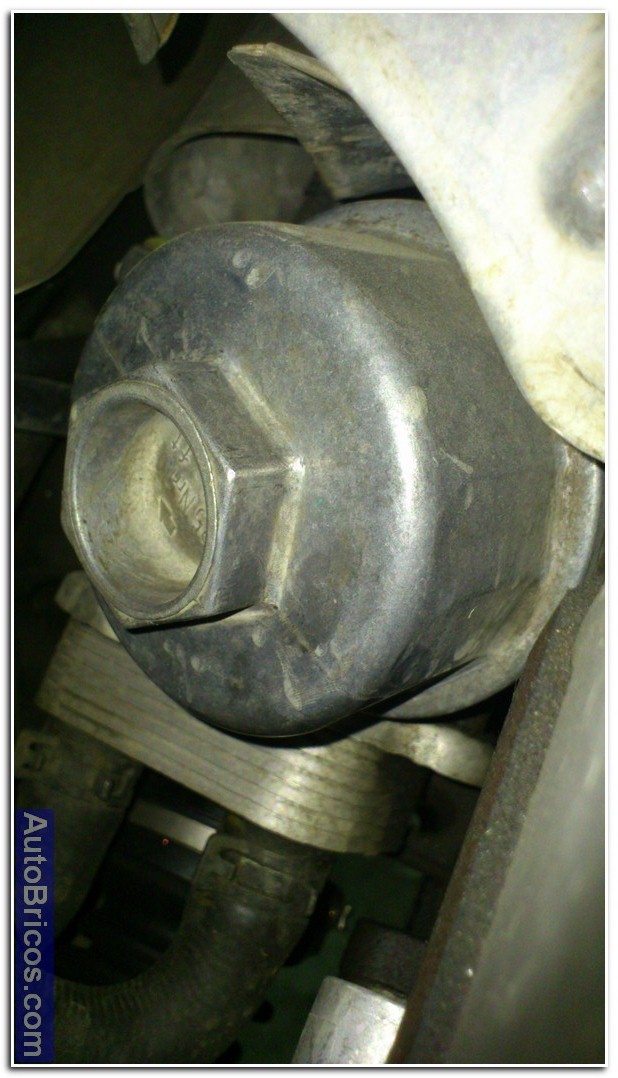
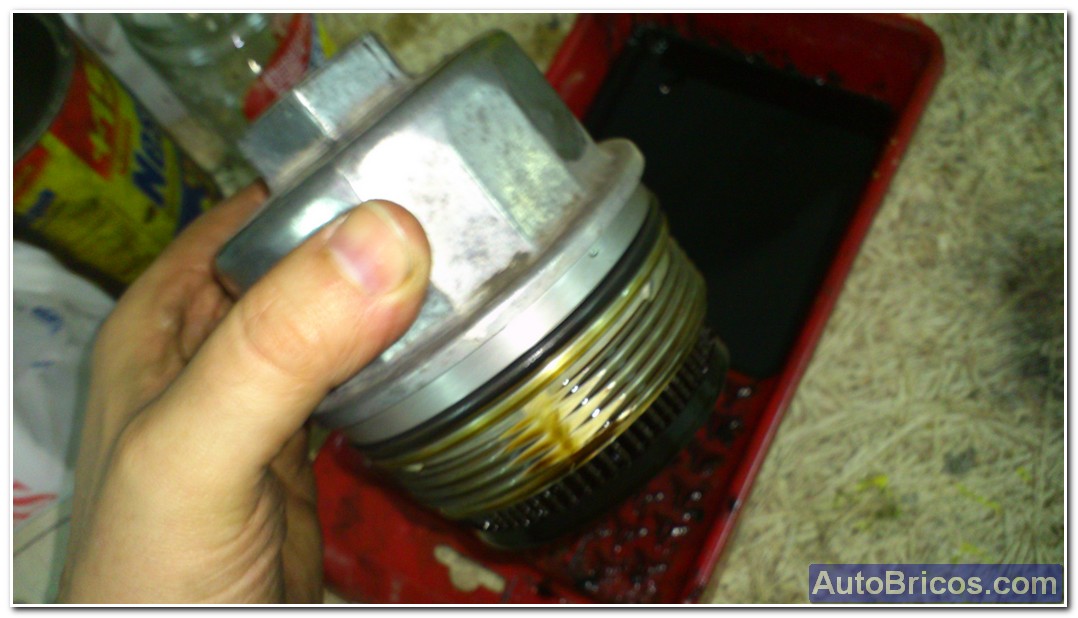
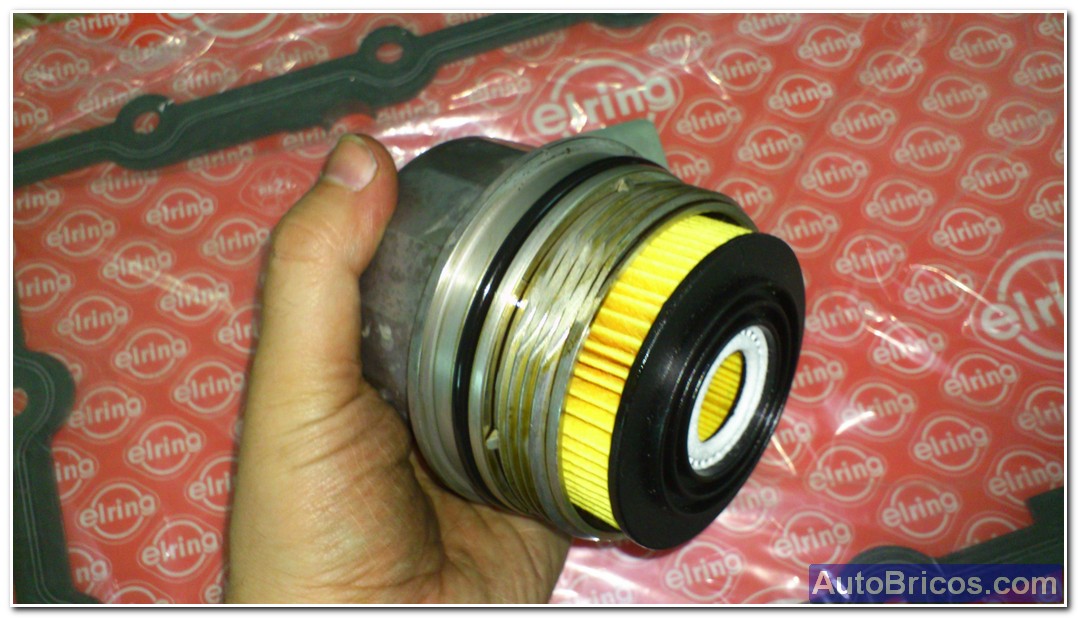
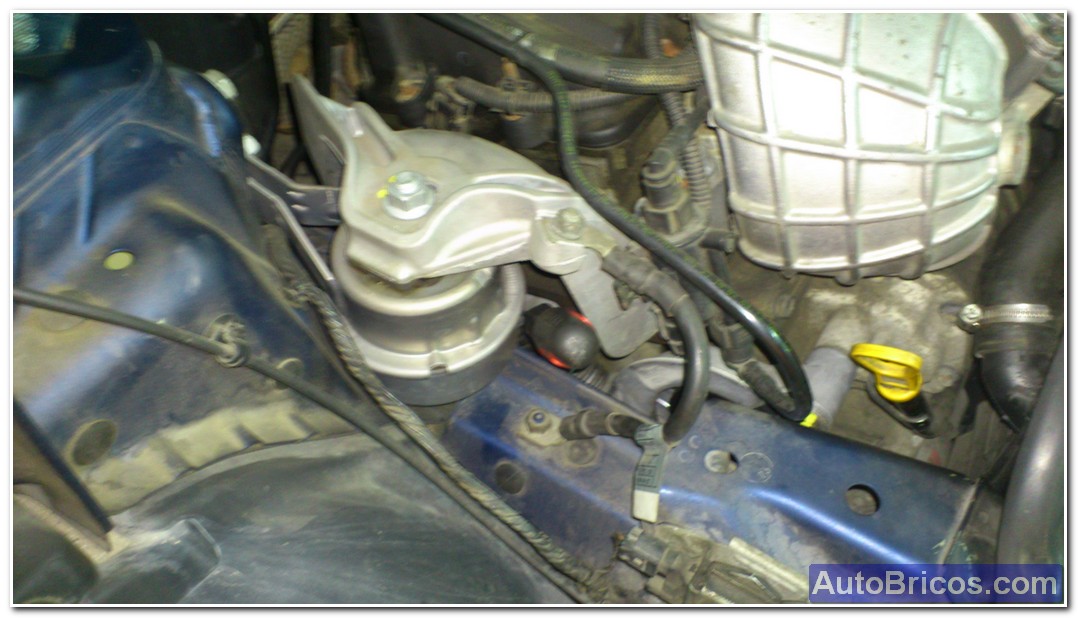
Taking advantage we have to empty the oil, we get the oil filter, which is near the exhaust manifold (rear of the engine). To remove need a hex socket of No. 36. You have to remove it slowly and let it drain to not pour too much oil out. By the way, the drain plug key is hexagonal and is No. 13.
 |
 |
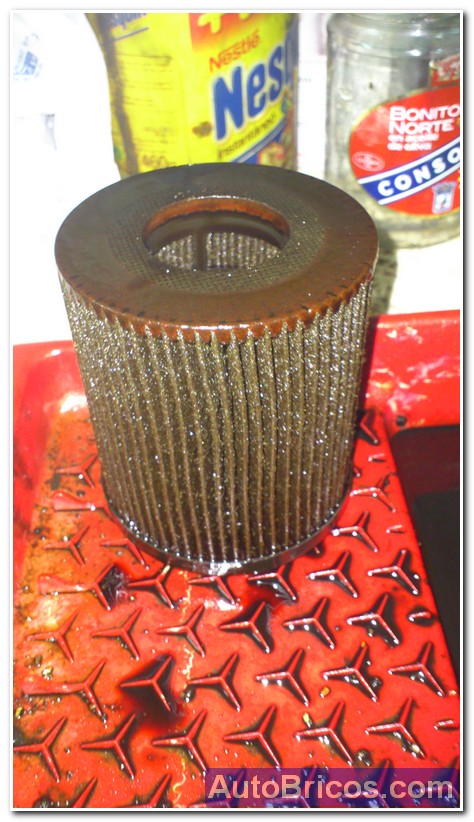
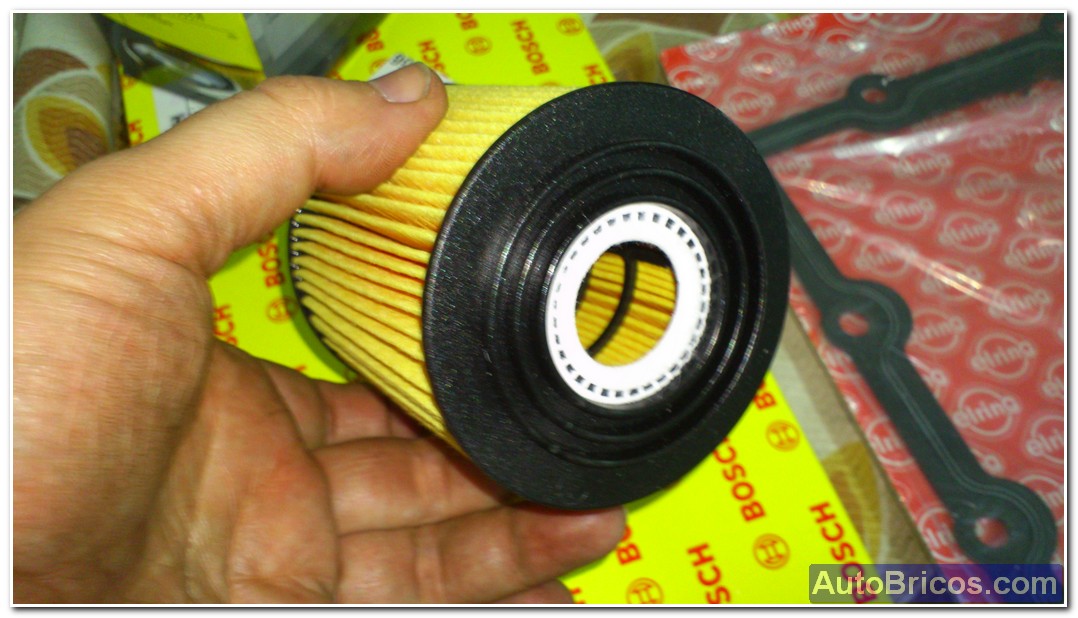
We remove the old filter:
 |
 |
 |
 |
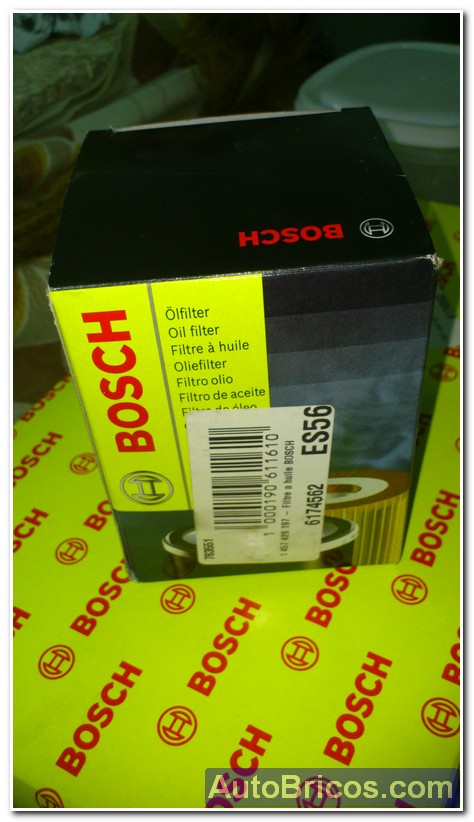
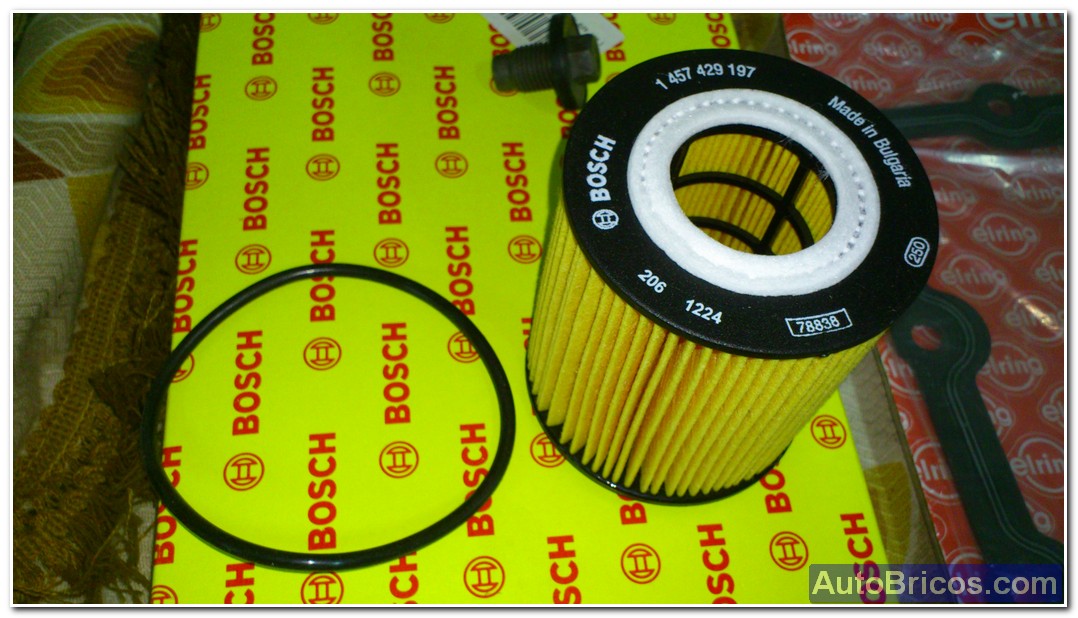
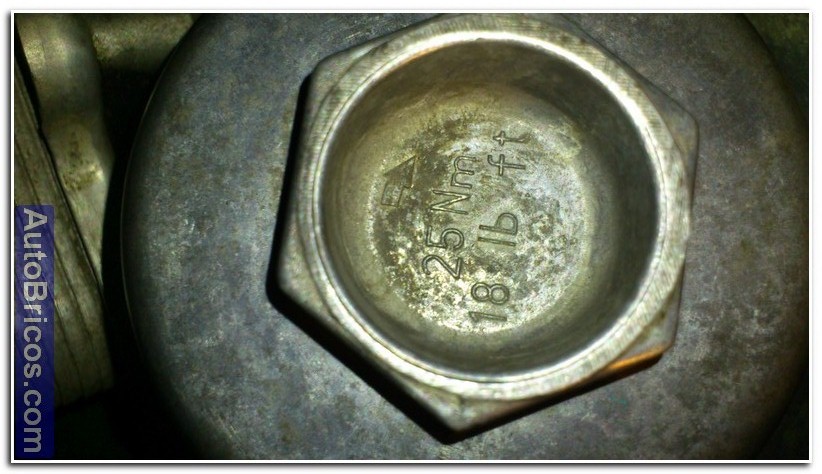
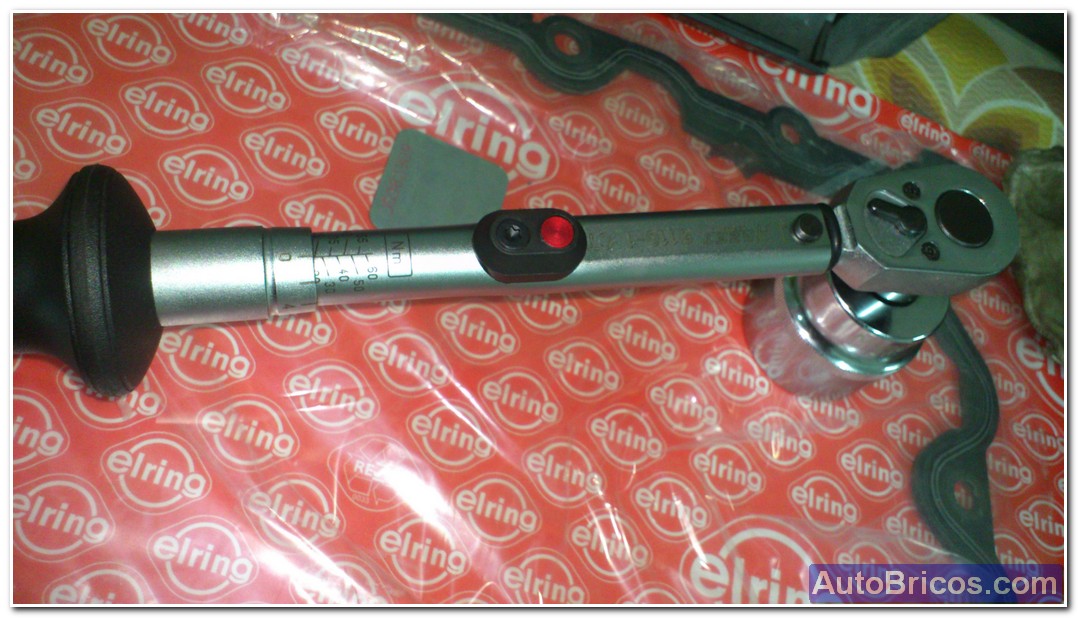
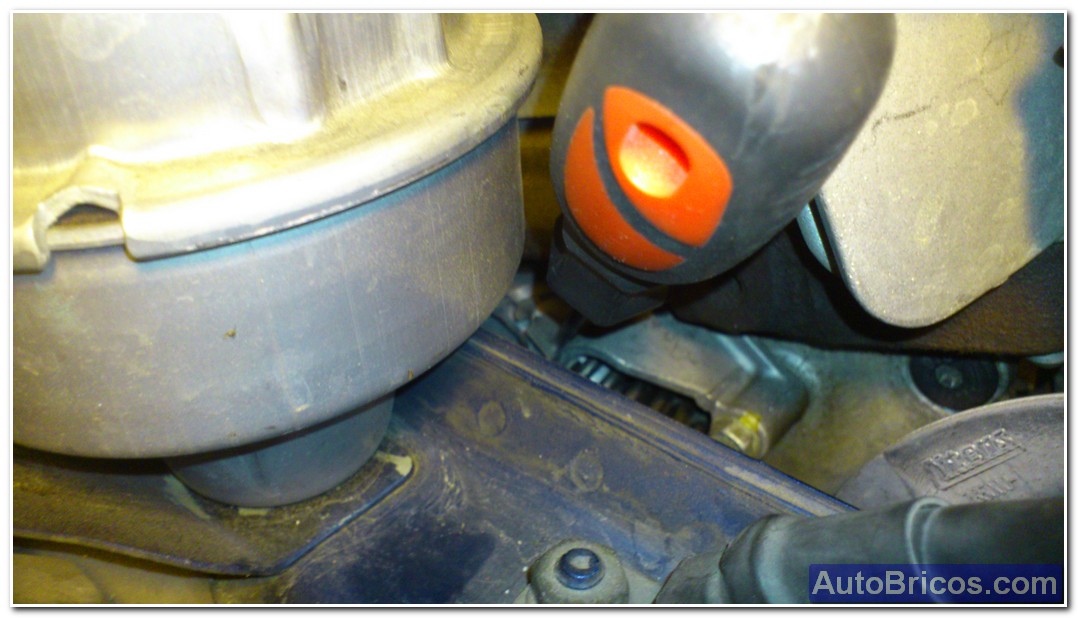
You can insert the new filter with new O-ring and we put, make sure the filter is in the correct position will press with a torque wrench to 25Nm
 |
 |
 |
 |
 |
 |
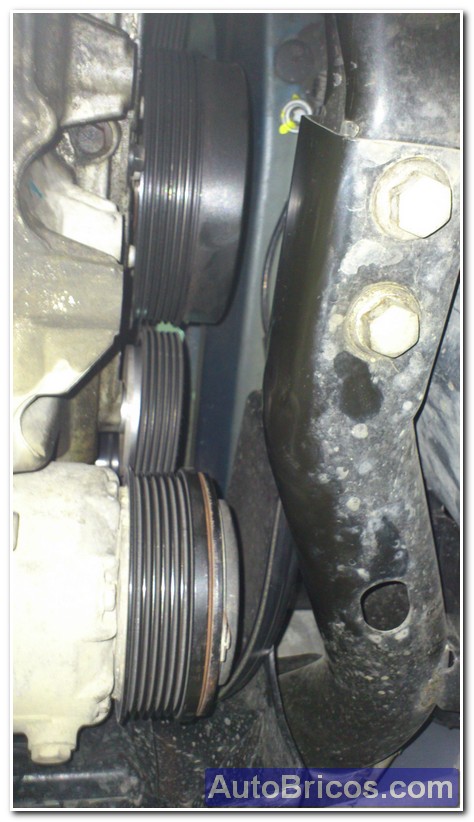
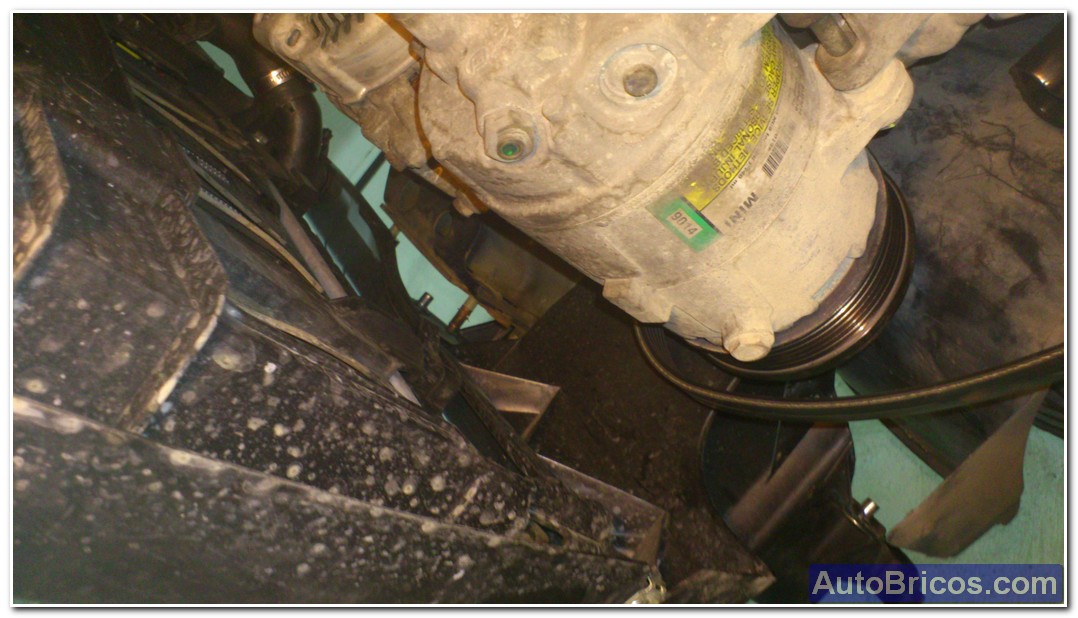
After installing the new oil filter, we can remove the drive belt and later unpin compressor A / C. To remove the accessory belt tensioner loosen need you have, and this requires a special tool that makes lever to overcome the force of the tensioner. In my case I made a homemade tool from some images I had seen of this tool. When we compress the tensioner spring, we put a pin through a hole that has to be kept in that position, and so allow us to safely remove belt.
 |
 |
 |
 |
 |
|
 |
 |
 |
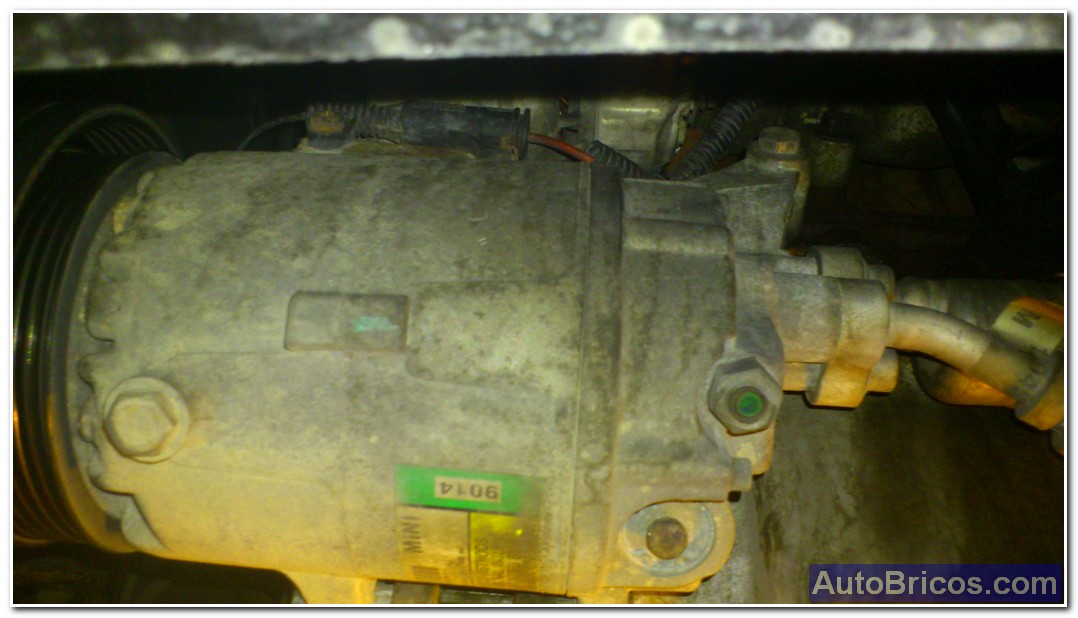
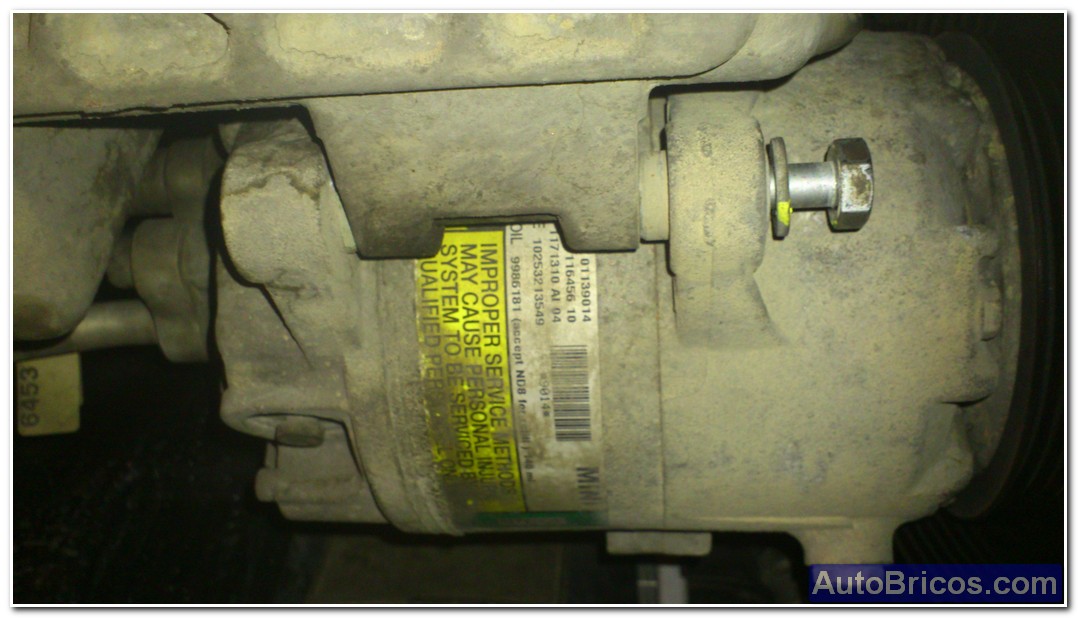
After removing the belt, the goal is to unpin the compressor A / C. To do this we have access to 3 screws. One on the bottom (long) and easy access, and two above and inaccessible (we have the radiator-fan set very close and we provide convenient access with a key. The solution is to remove the front and a separate centimeters to unscrew these two screws with relative ease.
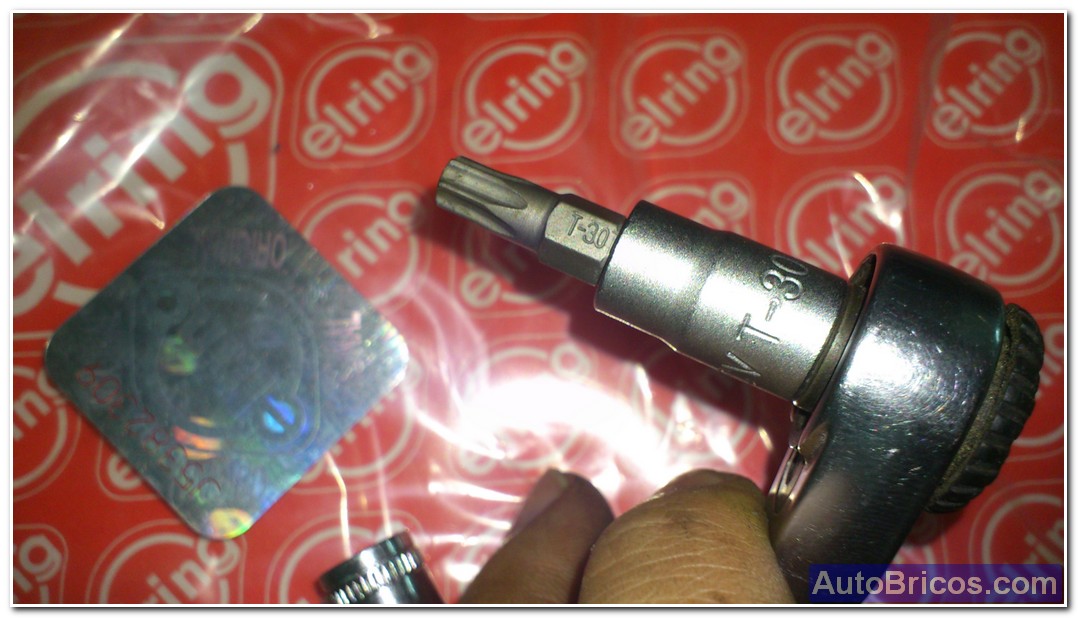
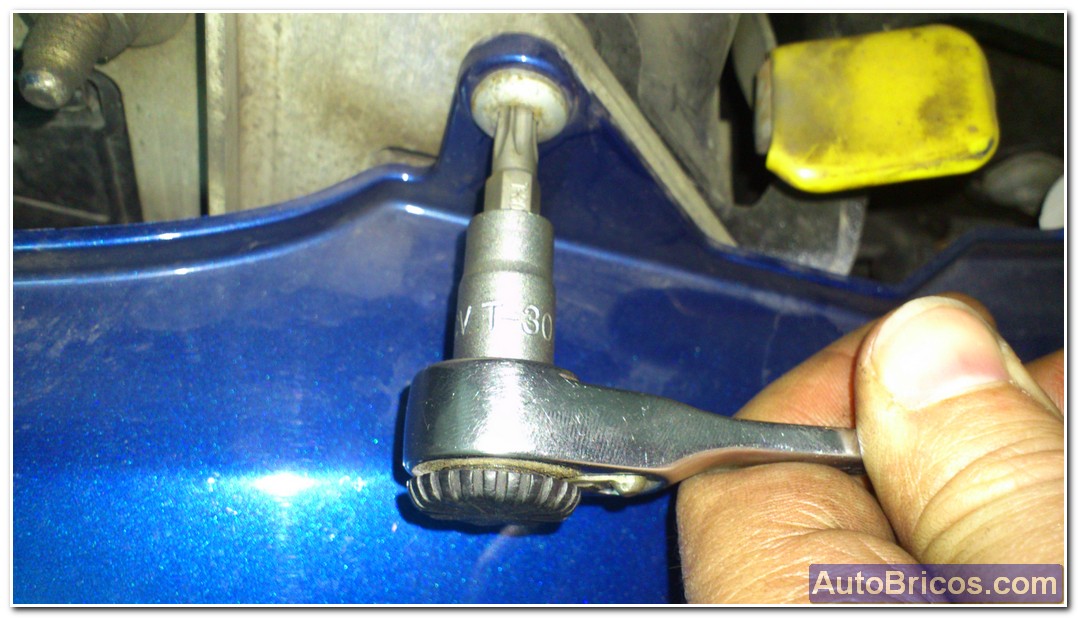
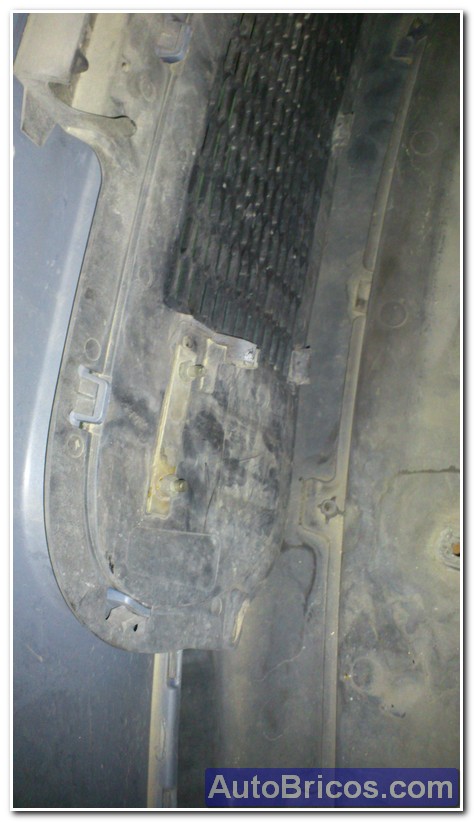
We will remove the front bumper, there are 2 Torx screws No. 30 front, 2 hex screws that hold the ends of the bumper, and 3 or more hex head sheet metal screws in the bottom of the plastic bumper. We took them all to extract the plastic bumper.
 |
 |
 |
 |
 |
 |
 |
 |
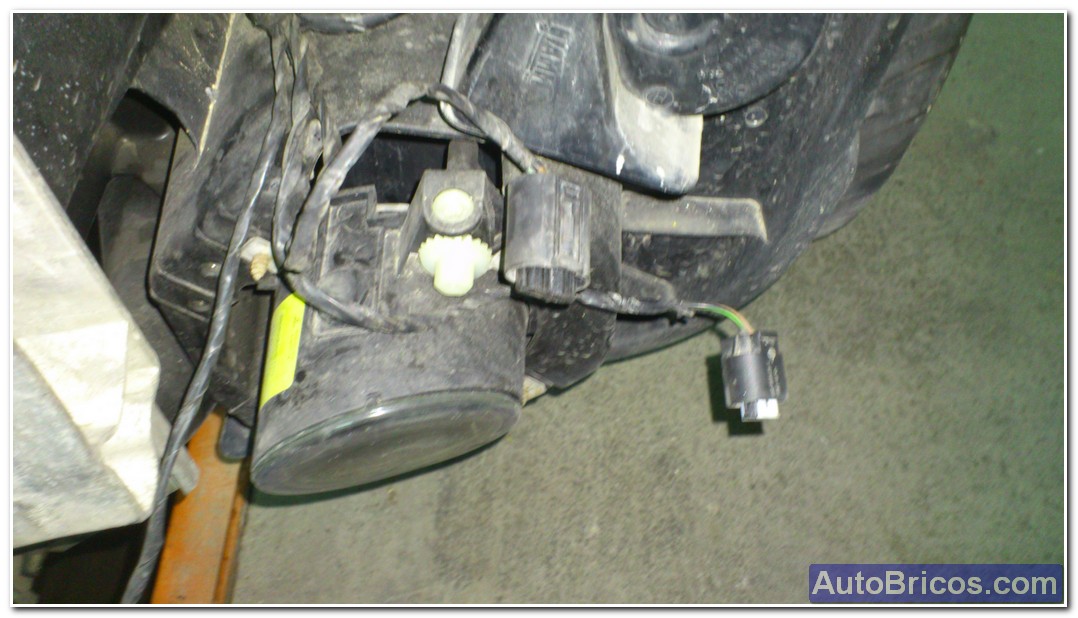
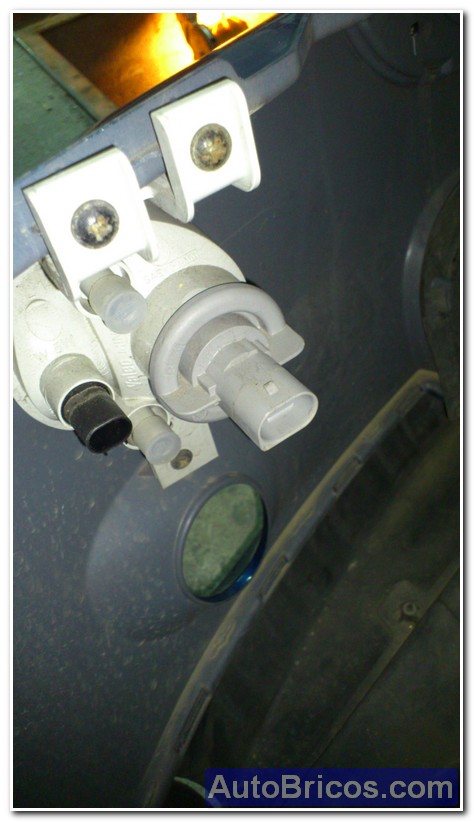
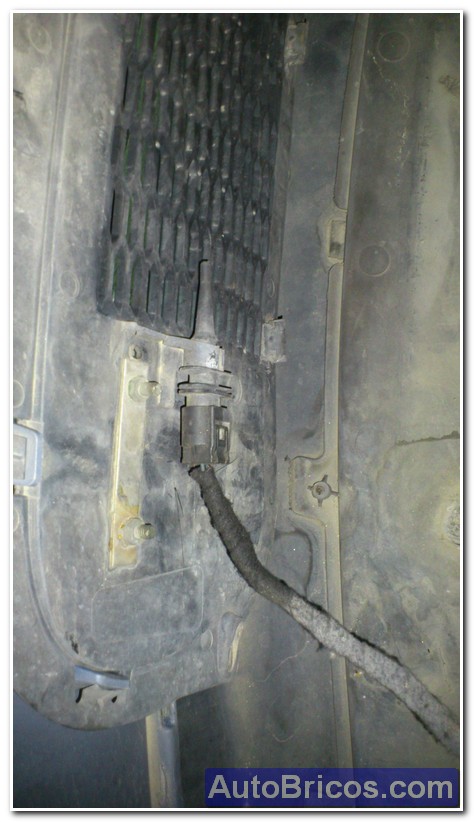
After removing the screws, and you can remove the bumper, but bear in mind that you have to unplug the lamp connectors on both sides, and unpin the outside temperature sensor is in the lower bumper grill.
 |
 |
 |
 |
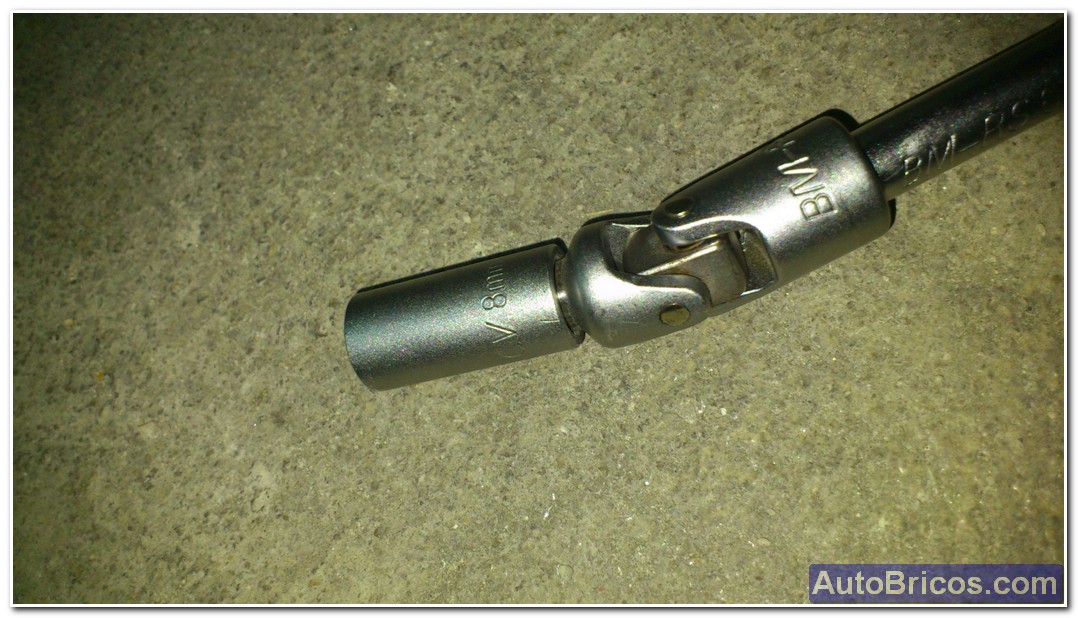
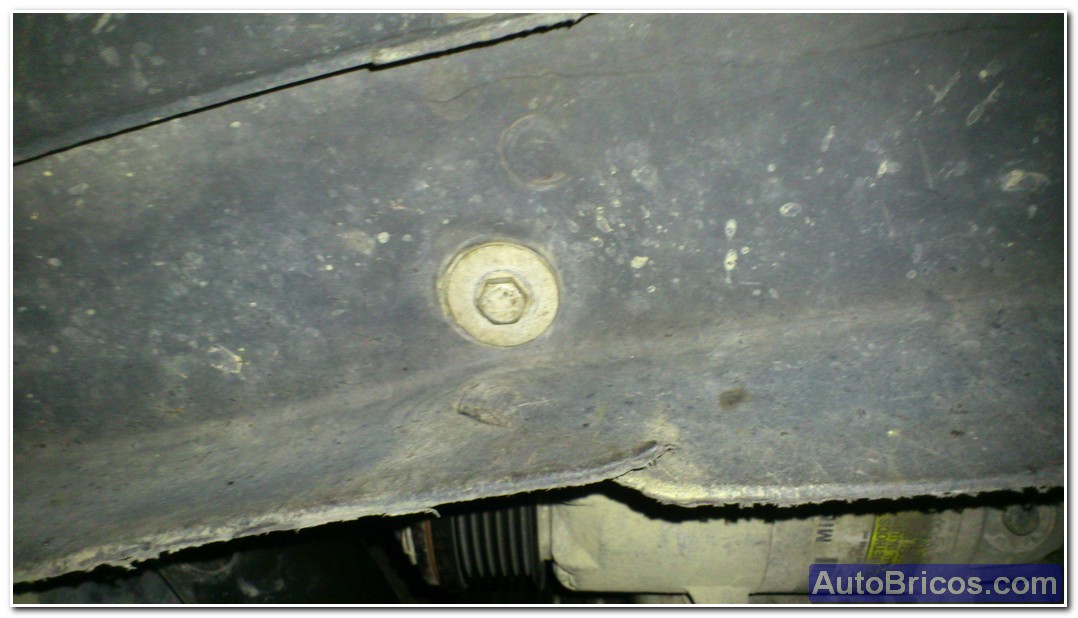
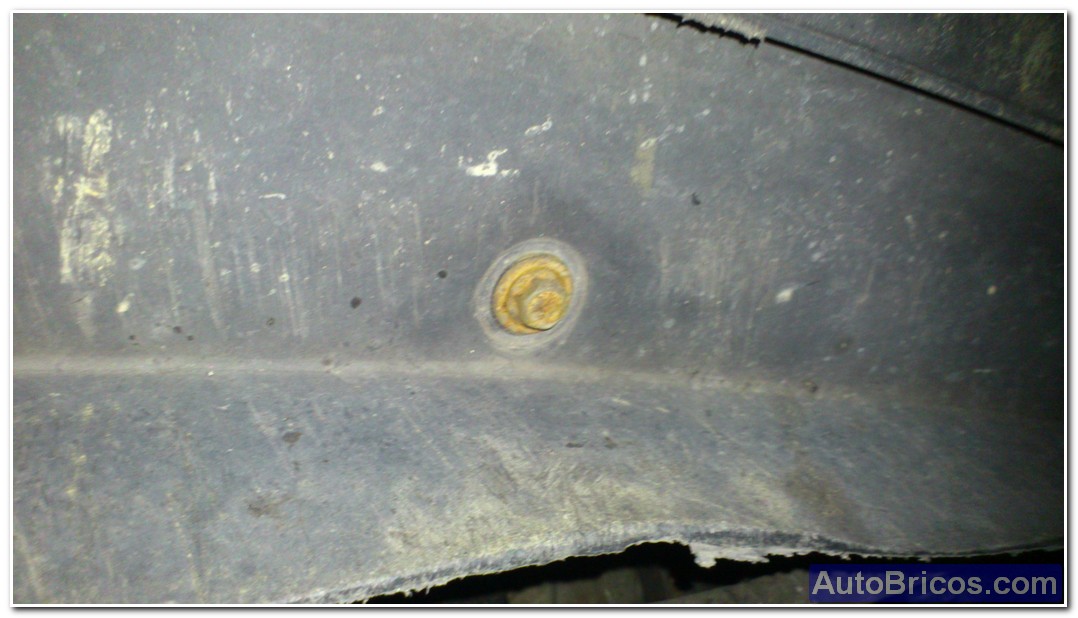
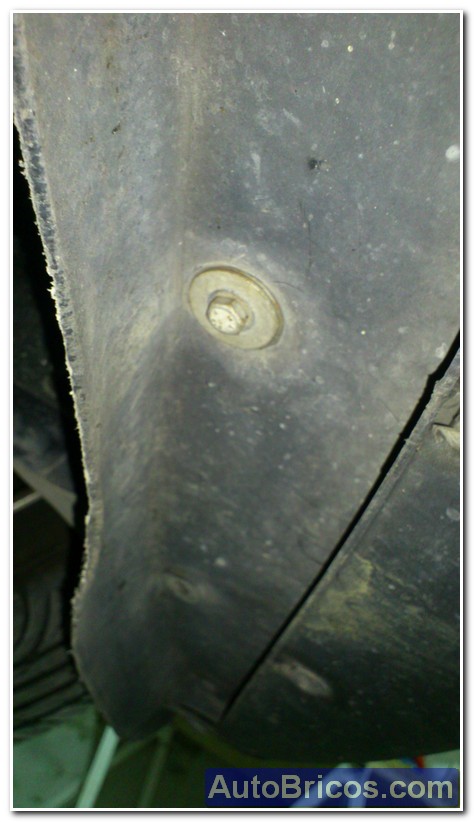
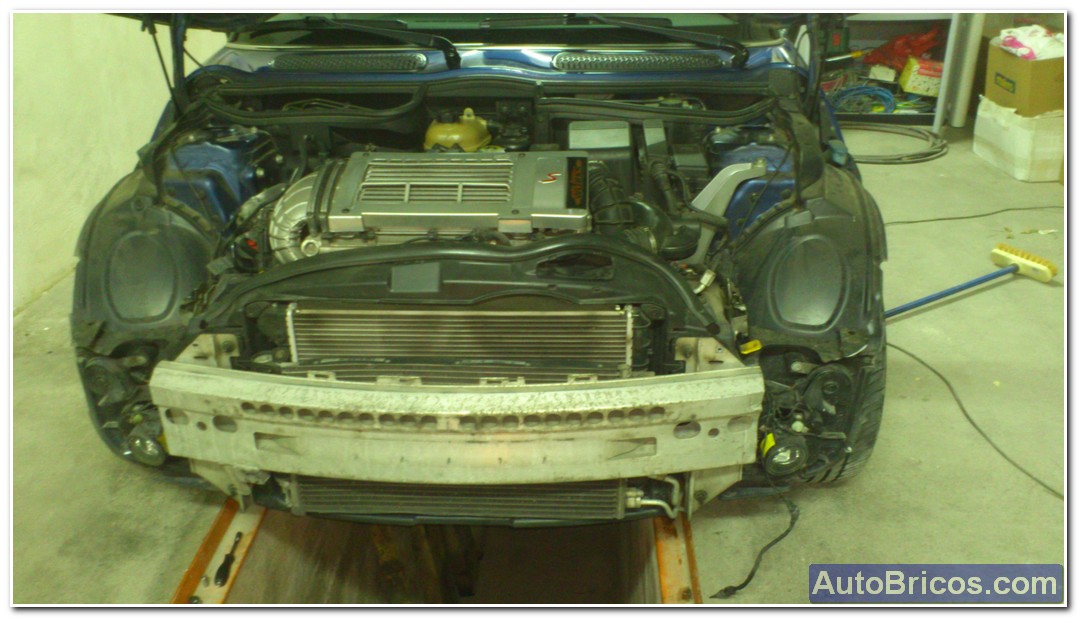
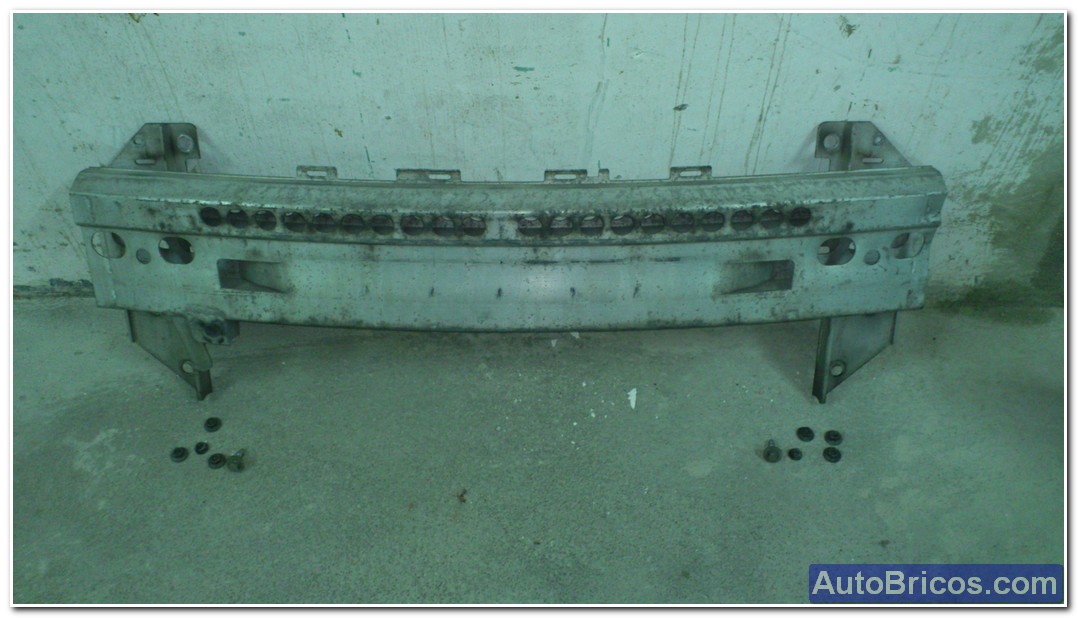
The next thing is to remove the front aluminum chassis. Són 4 nuts and 1 screw on each side. Once removed, we can remove the front chassis.
 |
 |
 |
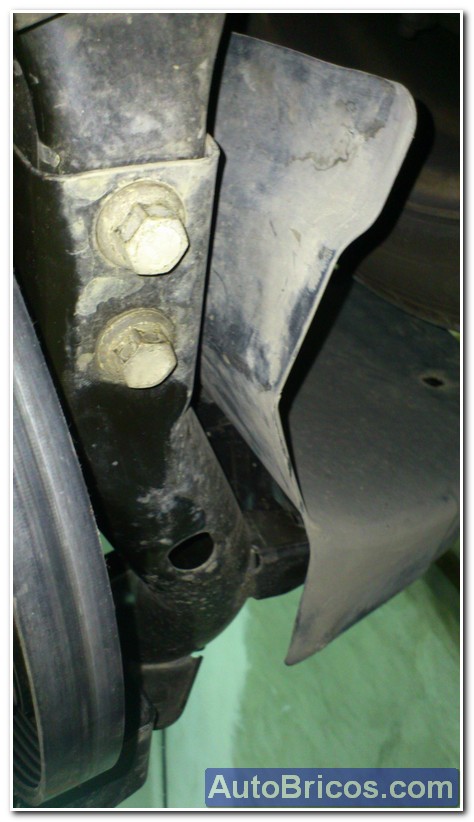
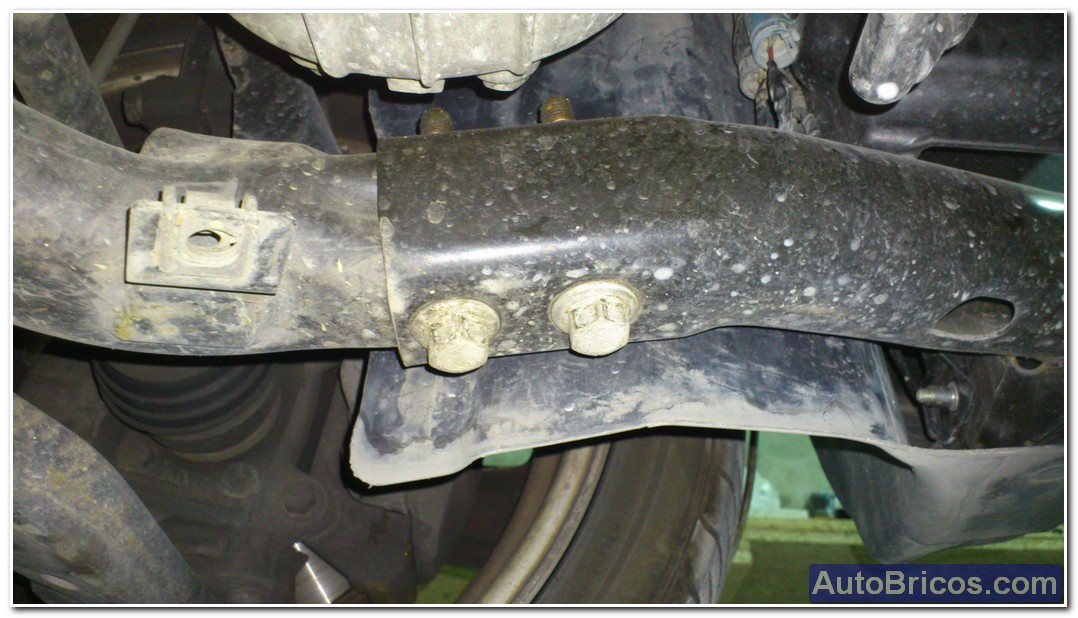
After removing the aluminum front, we can remove the two lower pilaress iron. That will allow us to move the front. To remove the pillars lower, unscrew the 2 hexagon screws M12 that each pillar, and front screw (also, one for each pillar) holding the plastic front each pillar. Once removed the 4 screws and 2 screws M12 front, we can remove the 2 lower iron pillars.
 |
 |
 |
 |
 |
 |
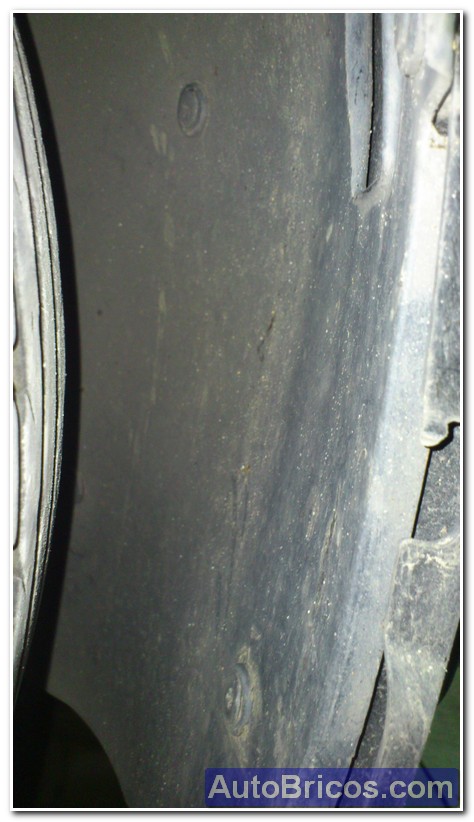
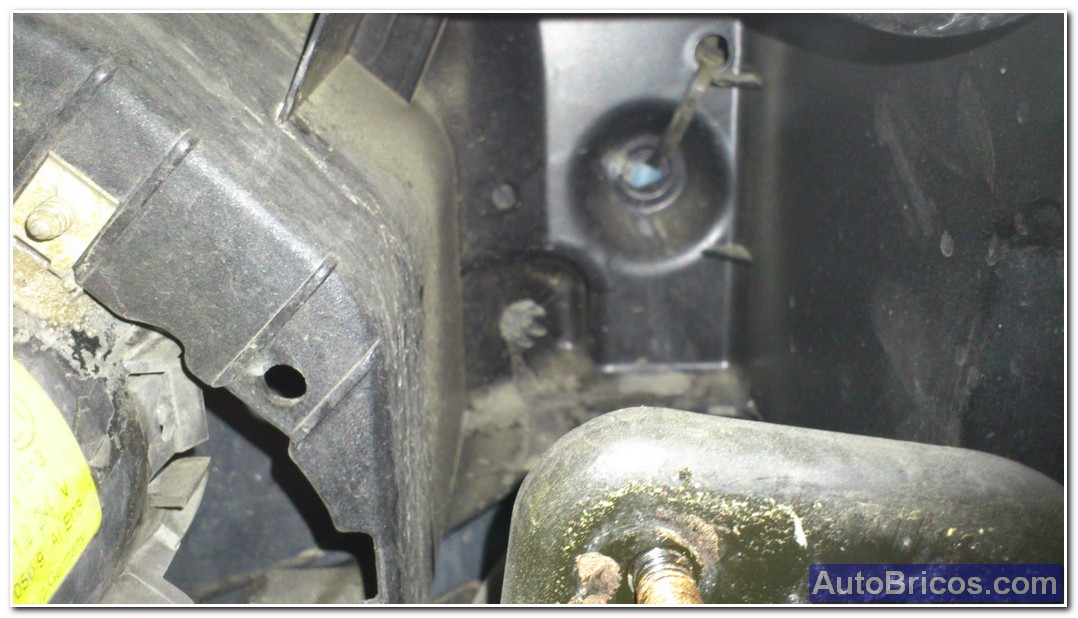
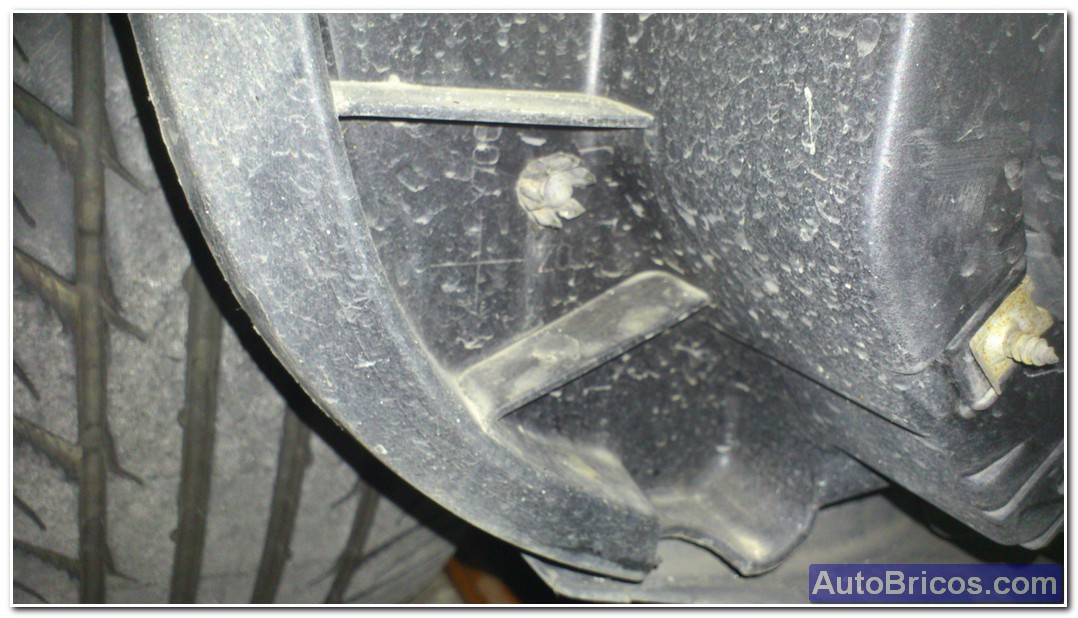
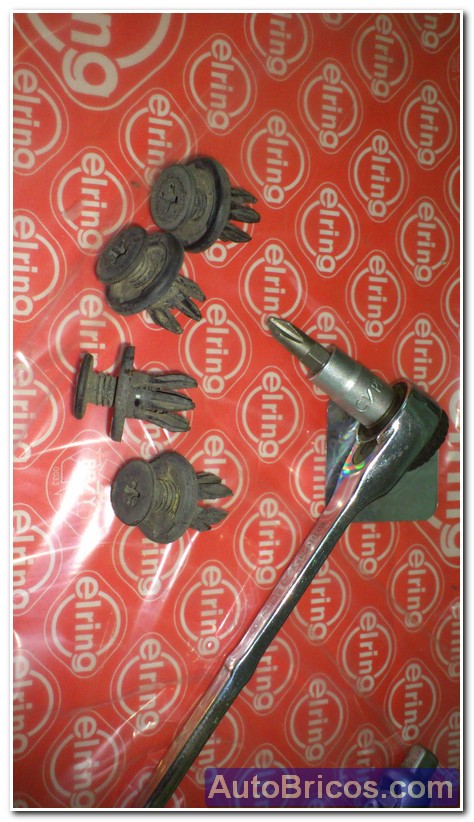
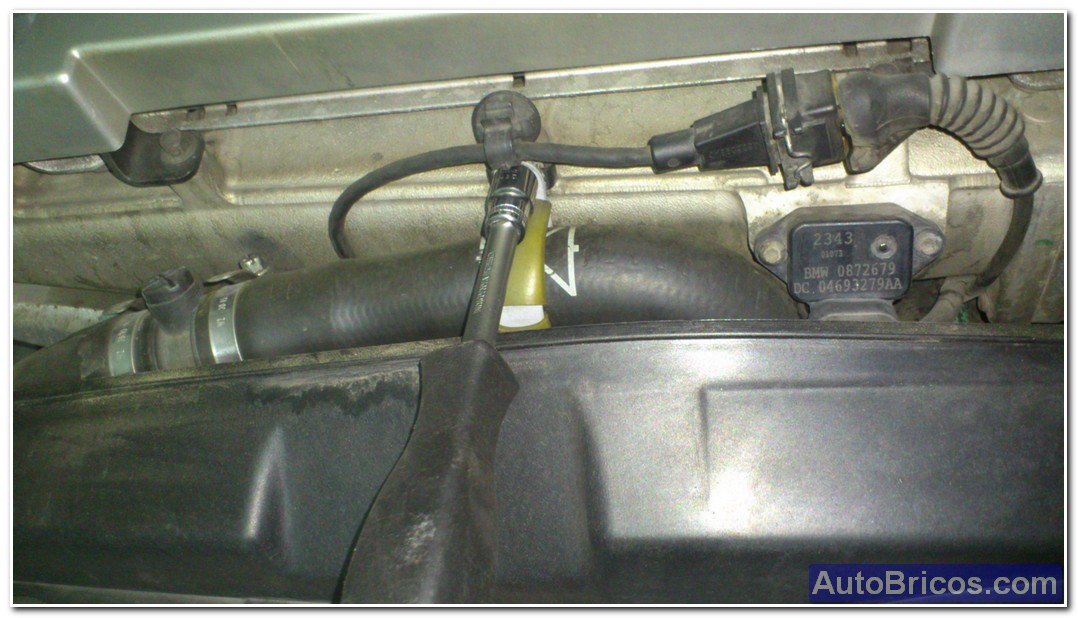
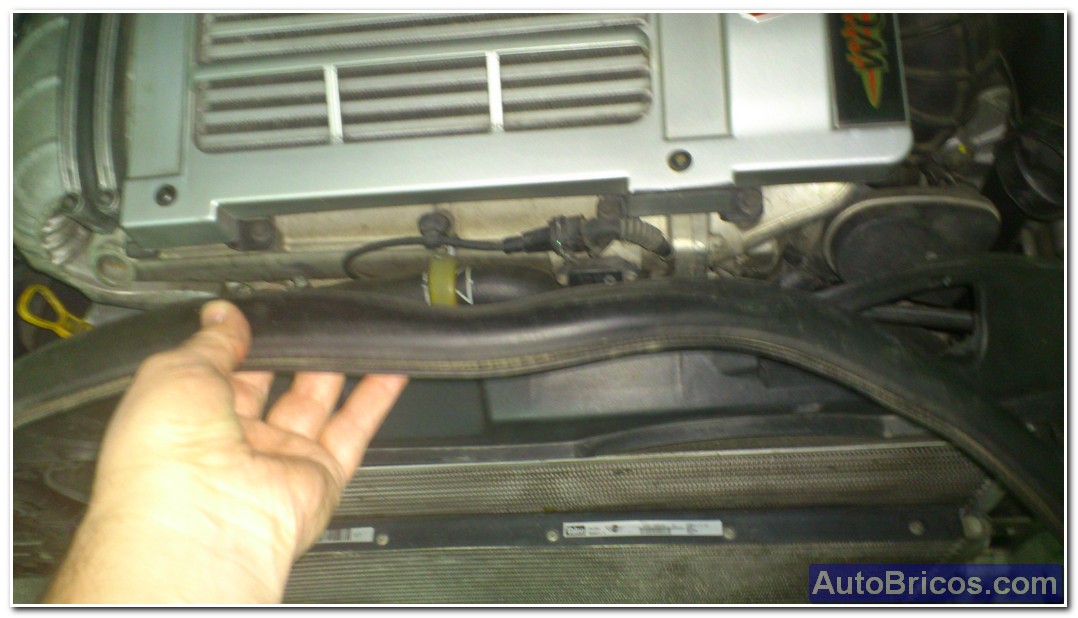
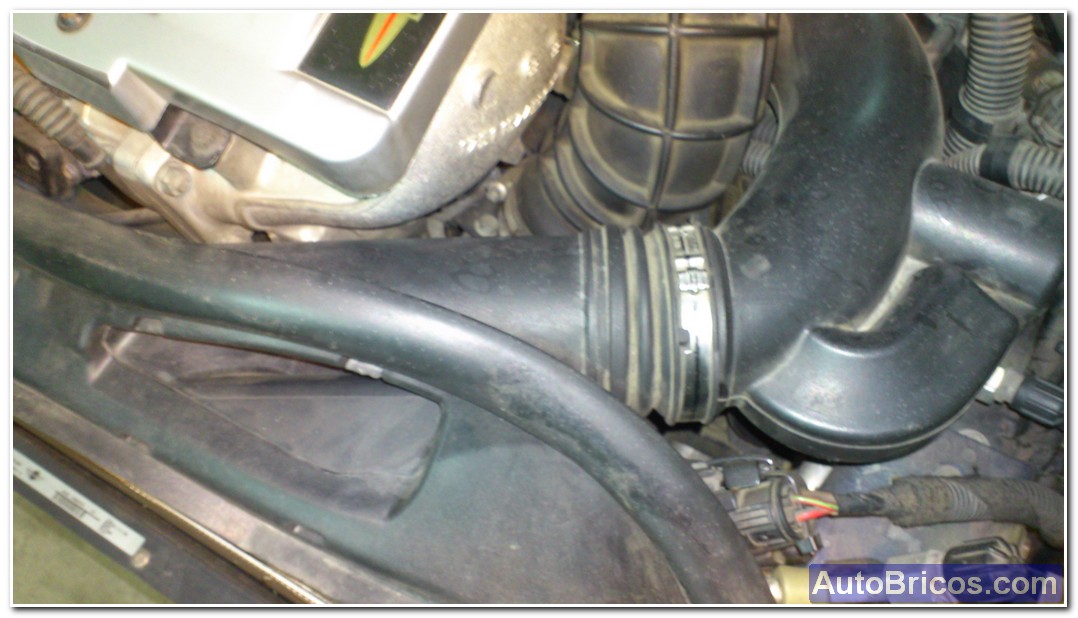
In order to separate the plastic panel have to drop some plastic anchors and remove some parts to avoid breakage. We have to remove the rivets that are in the wheel (4 for each wheel arch. Should also loosen the front clamp radiator hose, and remove the top molding of rubber and plastic piece that makes inlet engine air.
 |
 |
 |
 |
 |
 |
 |
 |
 |
 |
 |
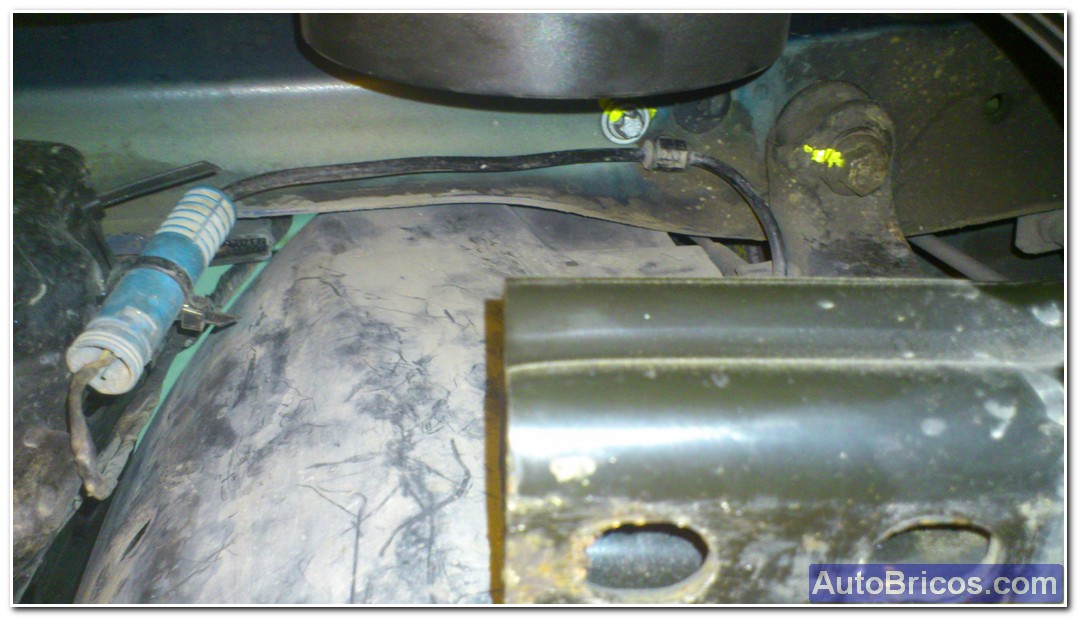
After removing these parts, we unpin some cables to prevent breakage by separating the front panel. Unpin advise ABS sensor cable of the right wheel, and remove the connector from the horn of the right, as it is the part that opens to create ventilated space between the radiator and compressor A / C.
 |
 |
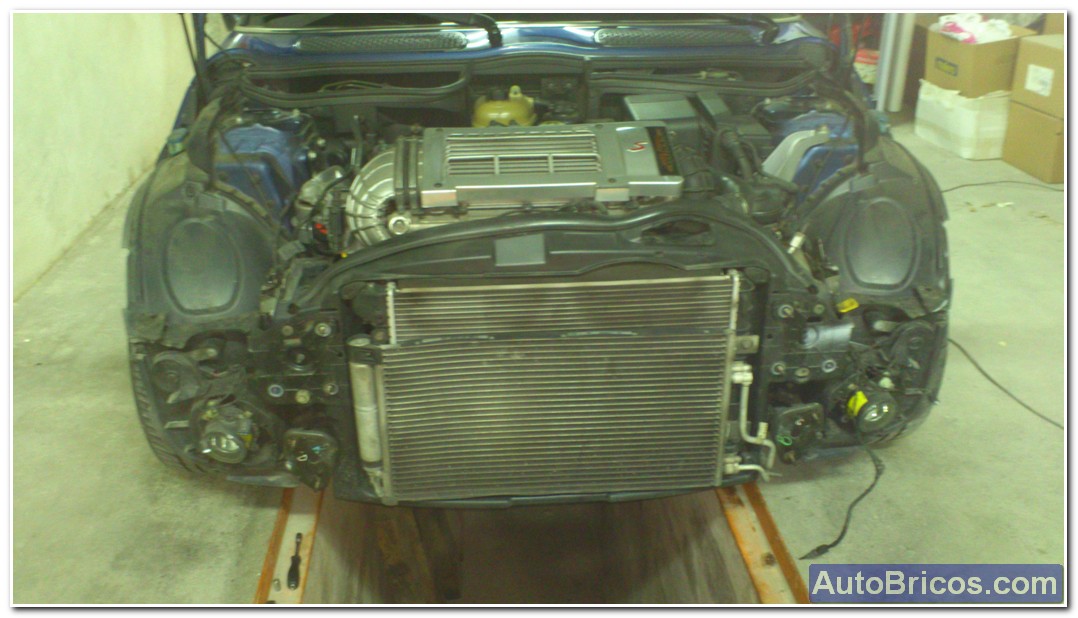
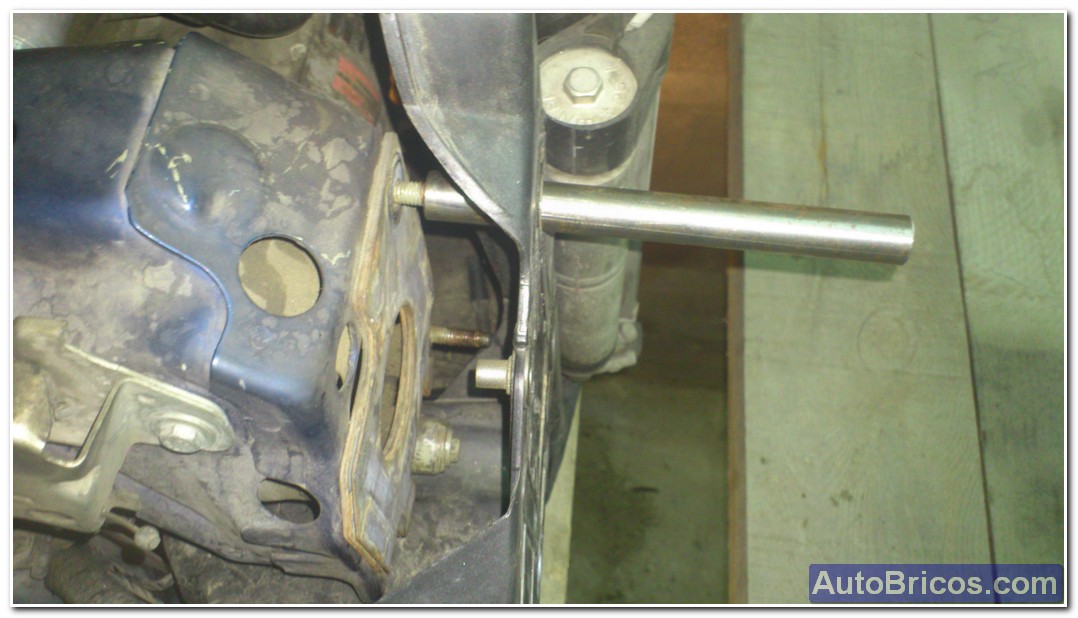
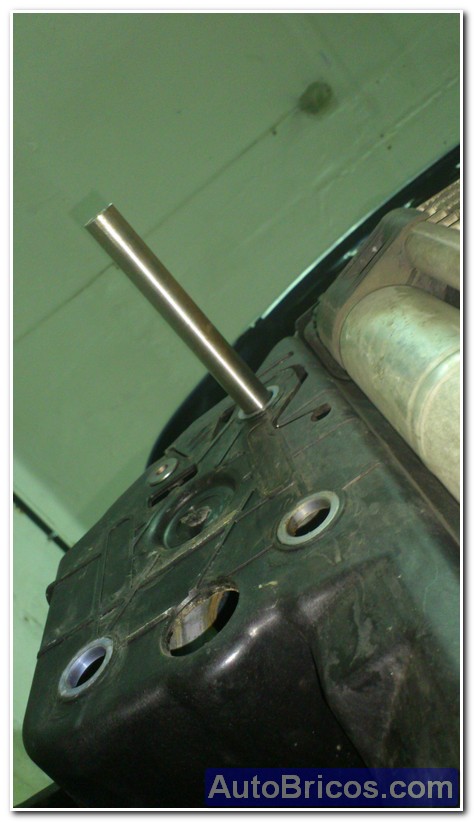
Now is when we can carefully remove the front panel, making sure that it does not fall on the driver's side, and putting a special tool (mine is homemade), and that will allow the front to slide over the special tool , which is simply a cylinder with an internal thread M8. The We screw one of the studs that support the panel, and go.
 |
 |
 |
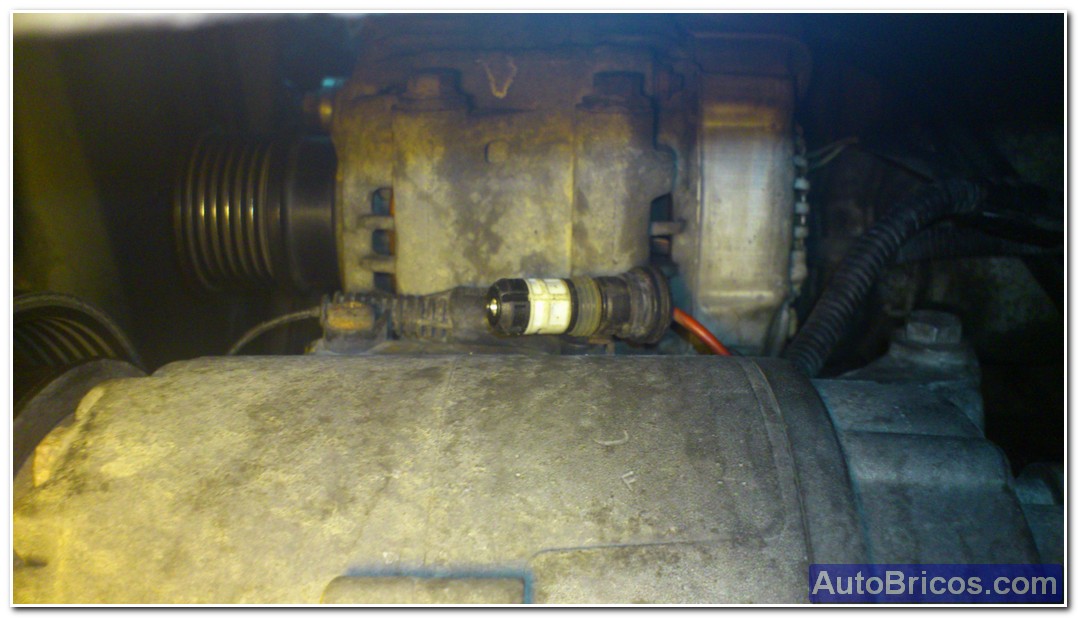
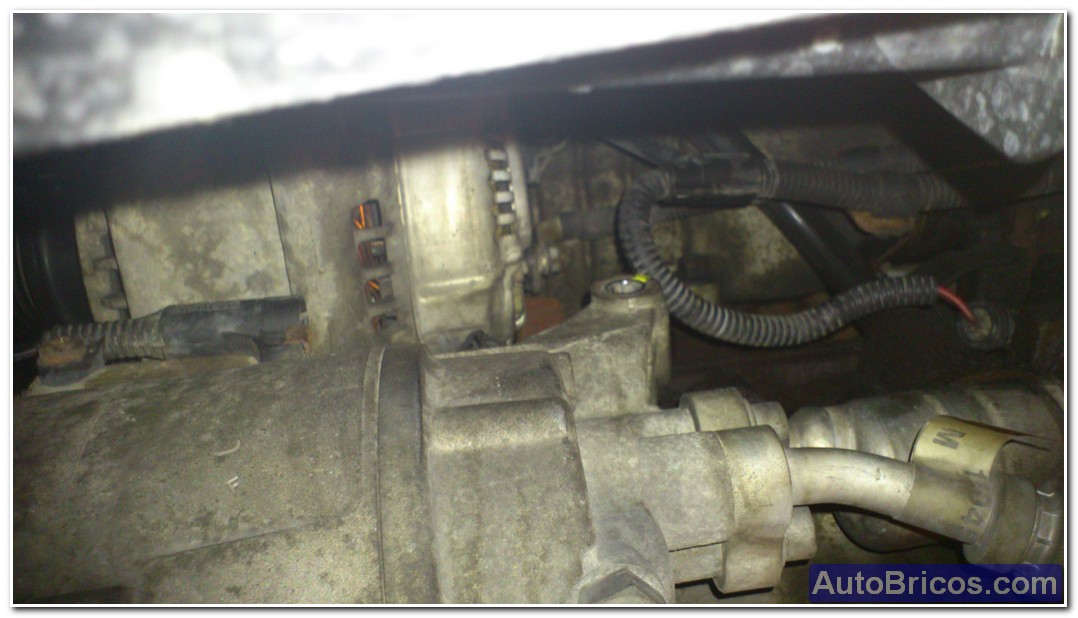
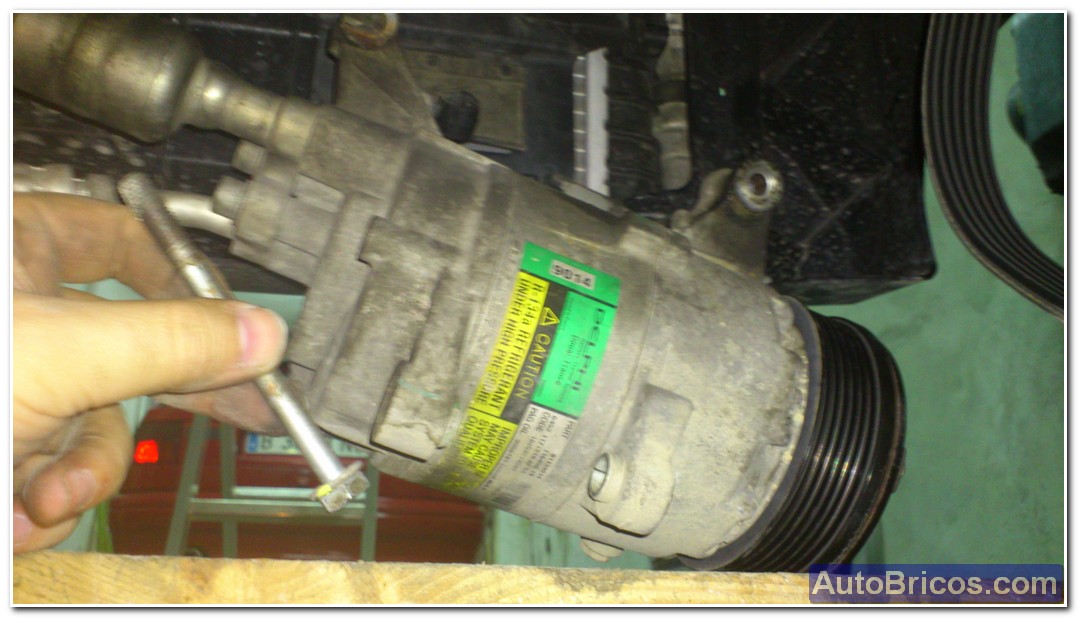
At this point we just created additional space will allow us to remove the top 2 screws securing compressor A / C. First of all, we will disconnect the electrical connector that is above. Once disconnected, desanclamos corrugated duct through which the cable and clip it out of the plastic that holds it to the engine. When we have free compressor connections, we can remove the 2 screws on top and bottom anchor and carefully down the compressor.
 |
 |
 |
 |
 |
 |
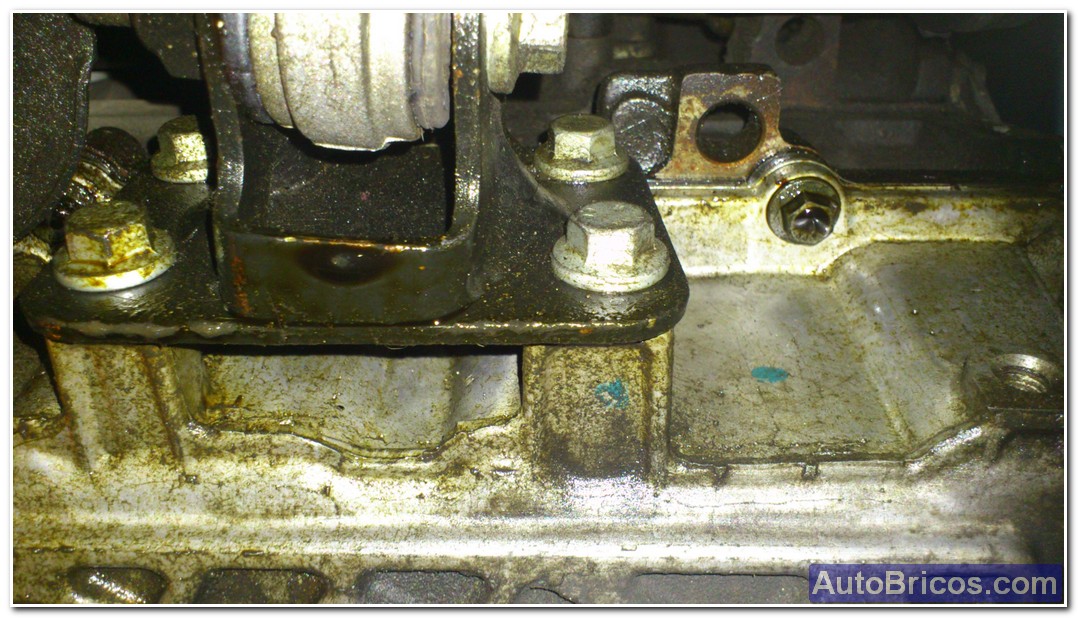
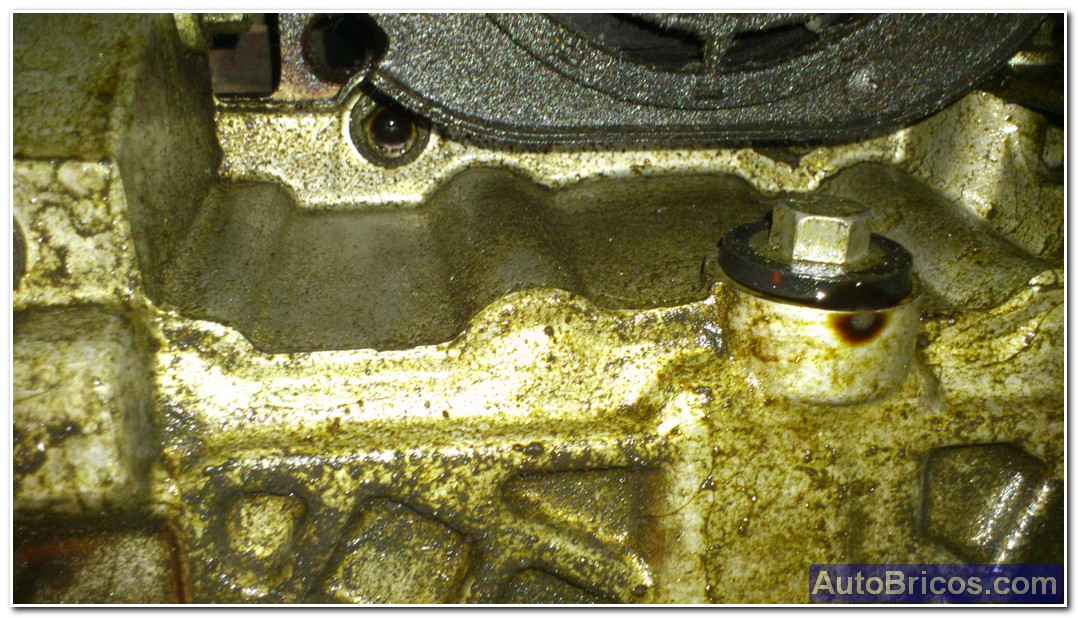
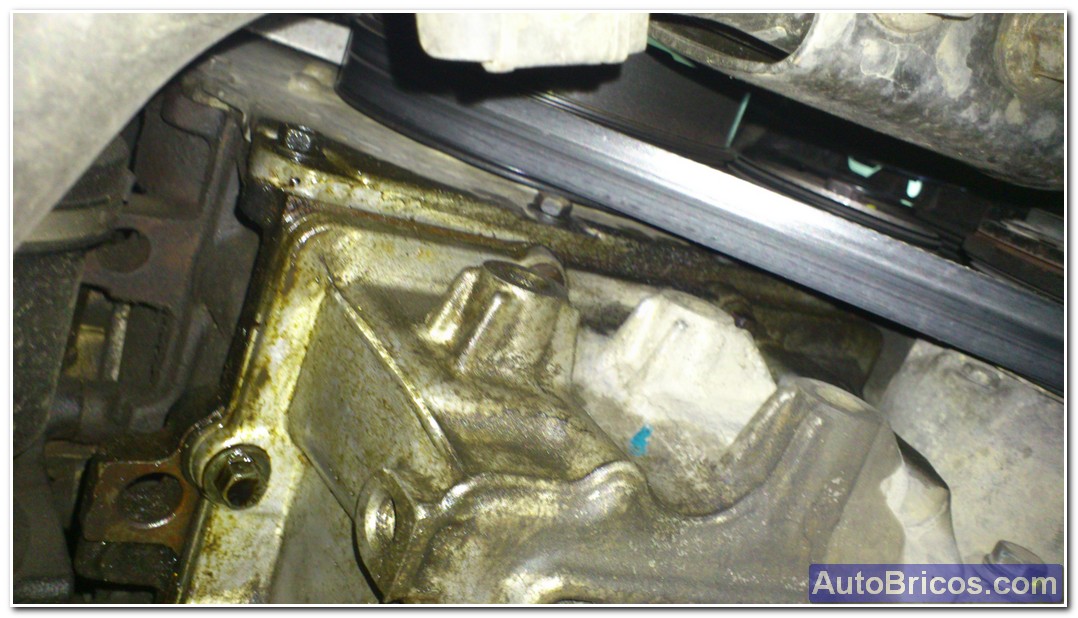
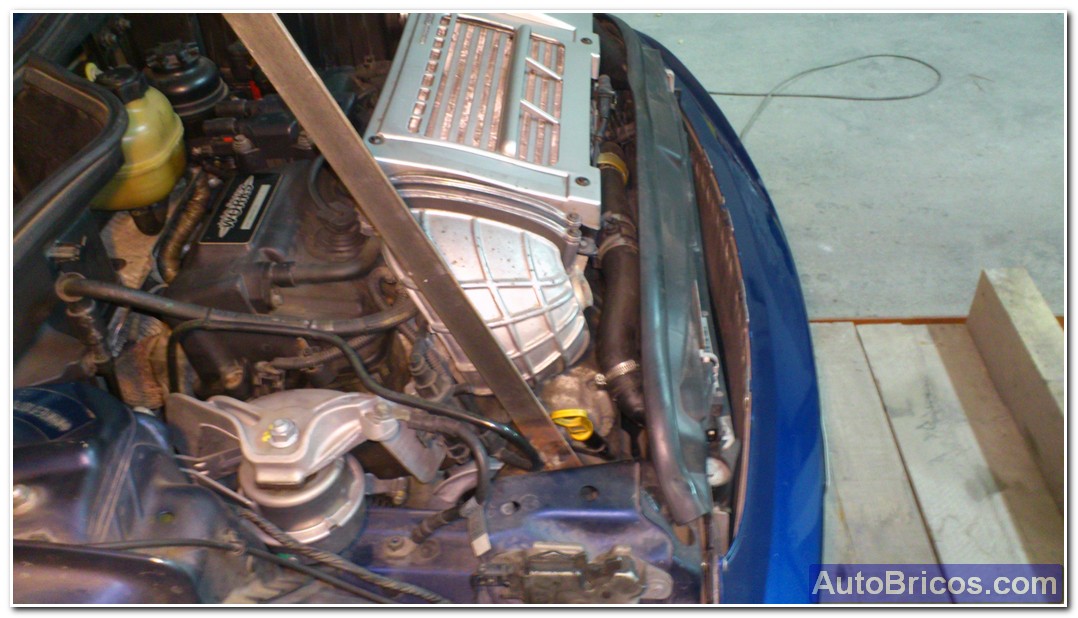
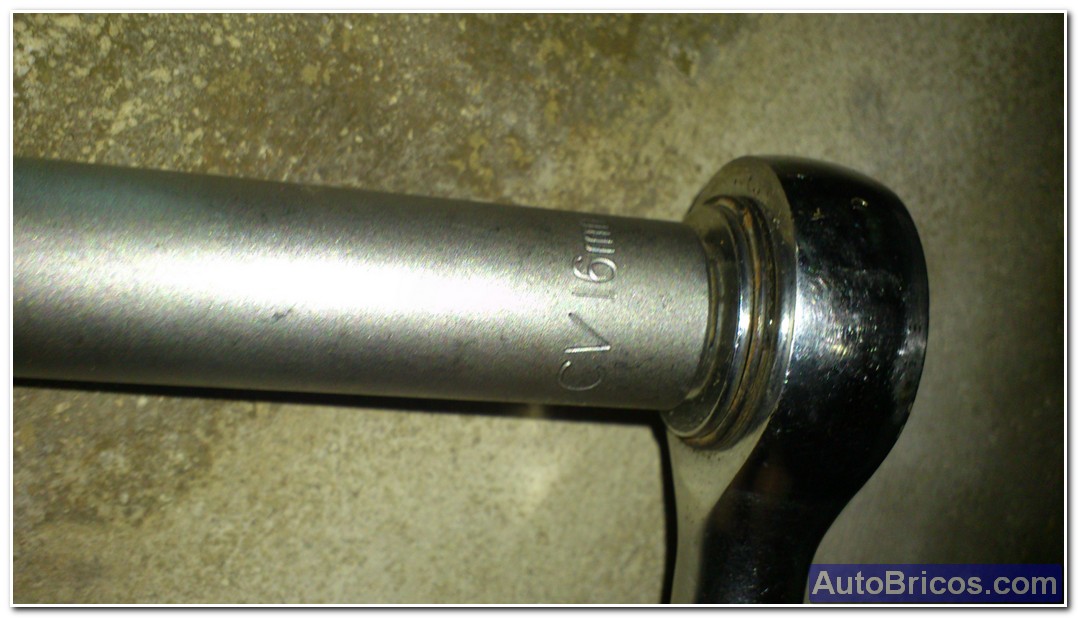
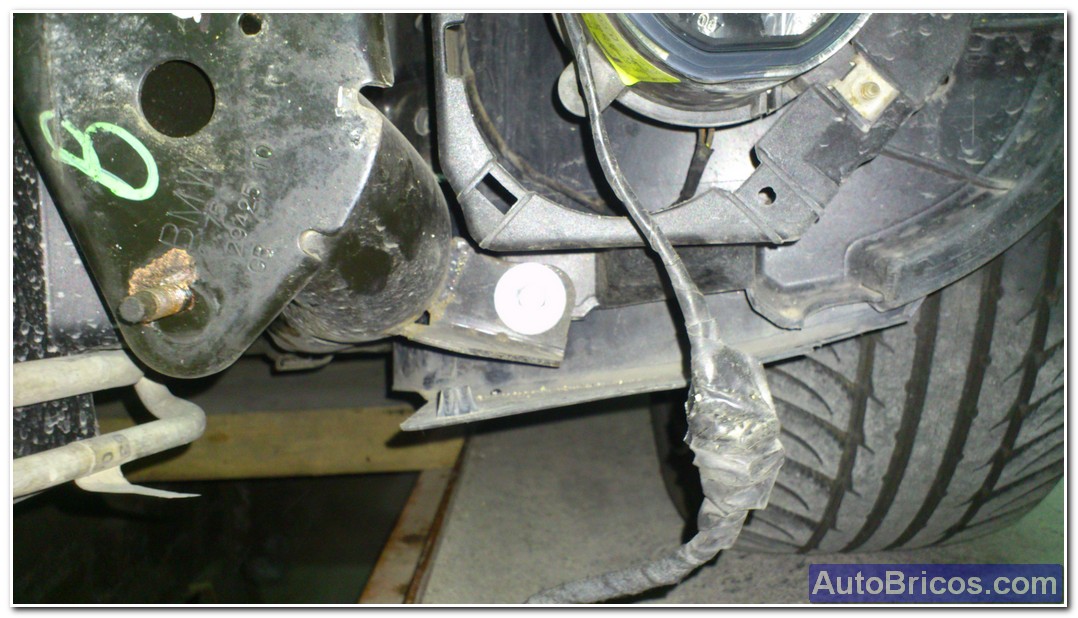
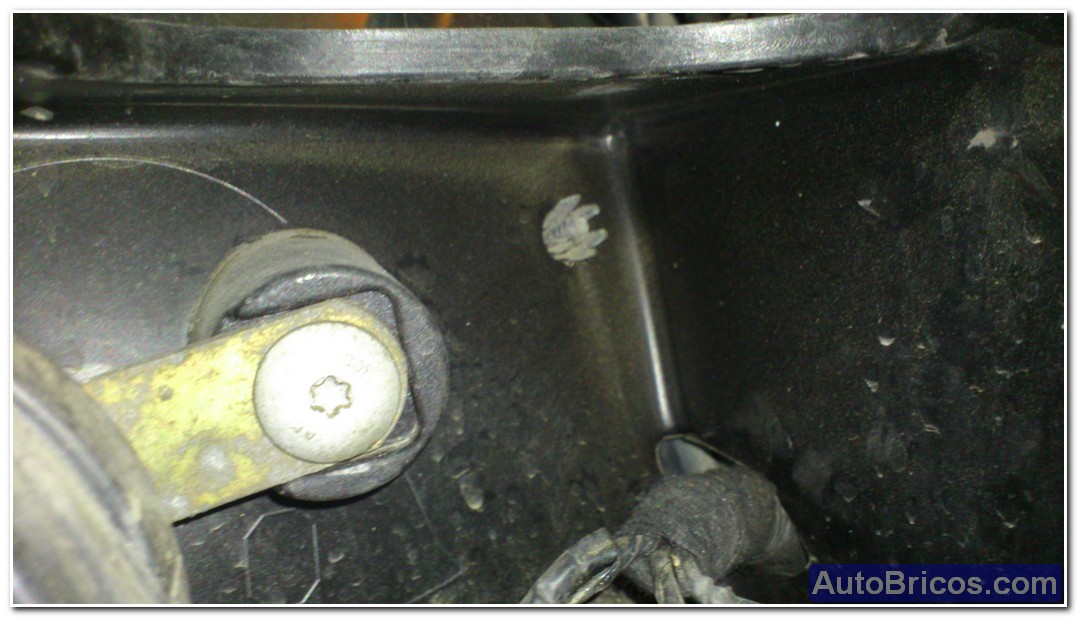
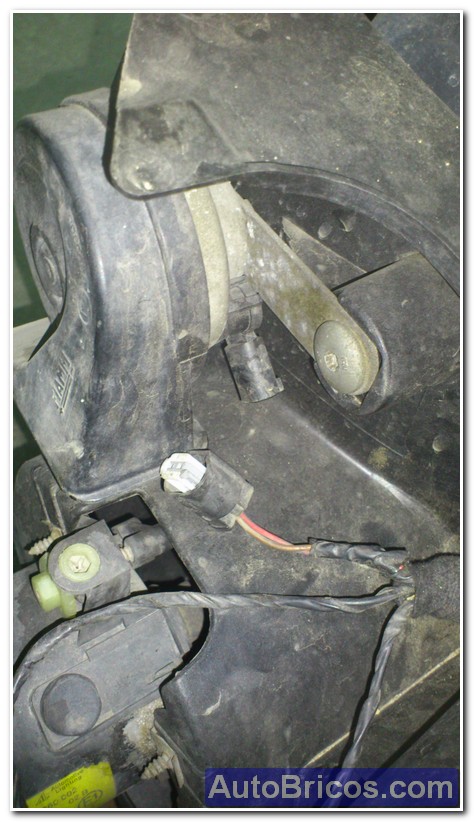
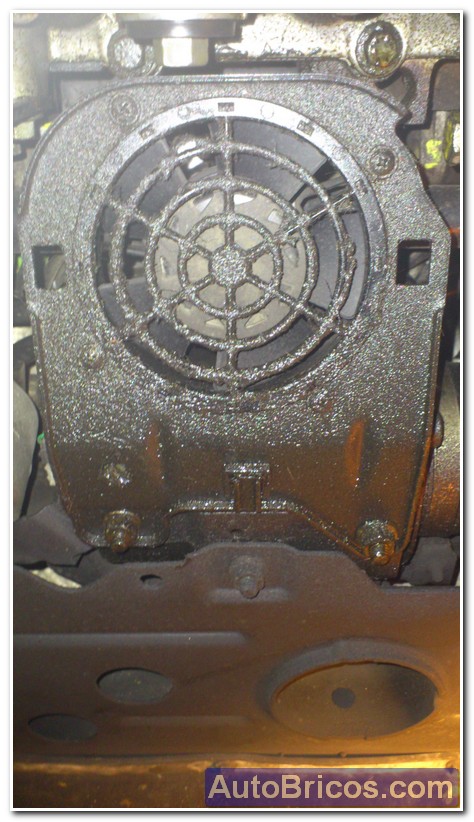
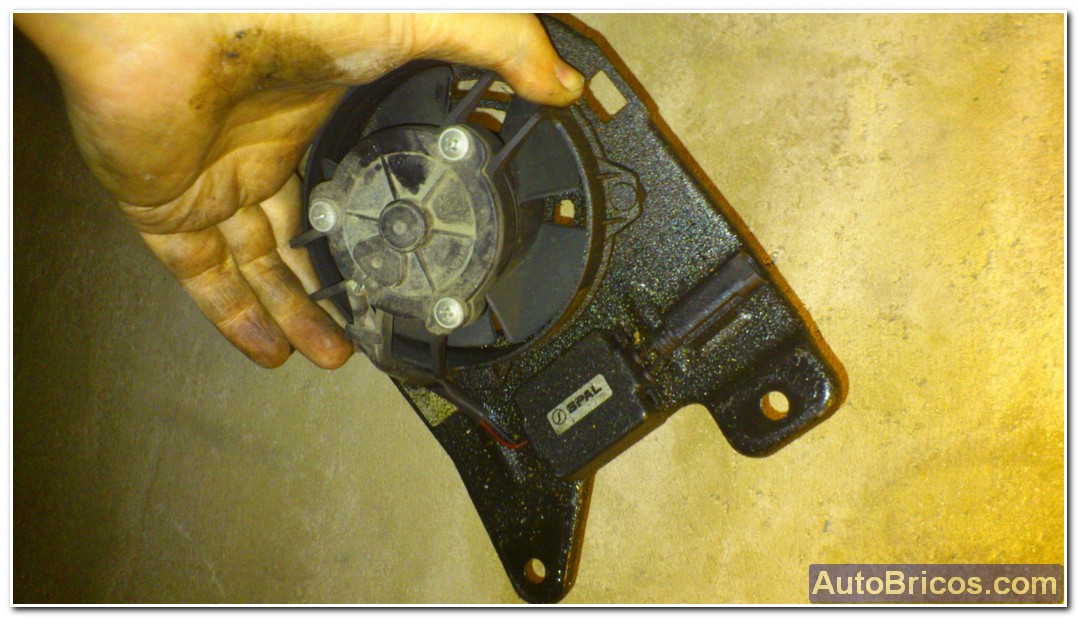
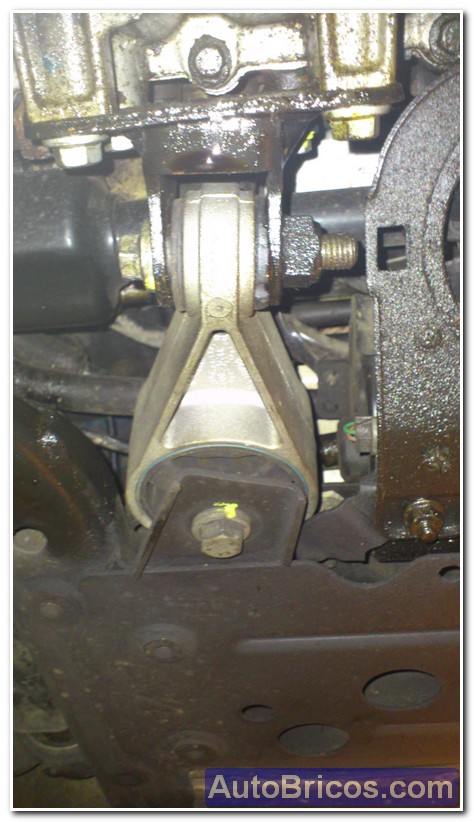
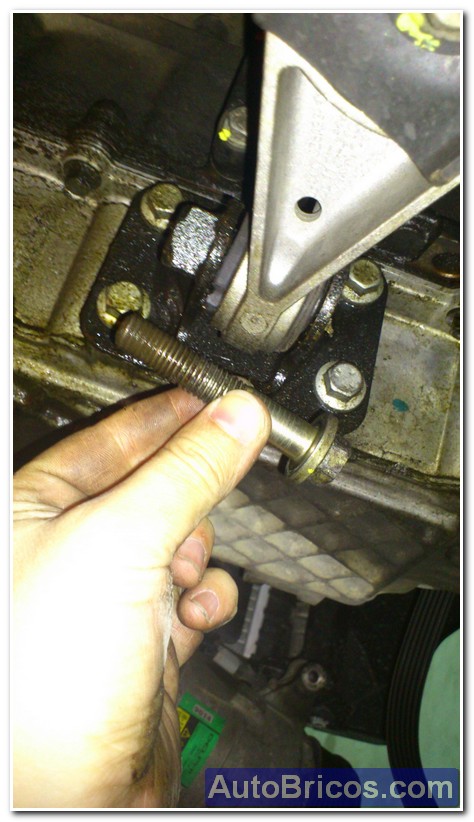
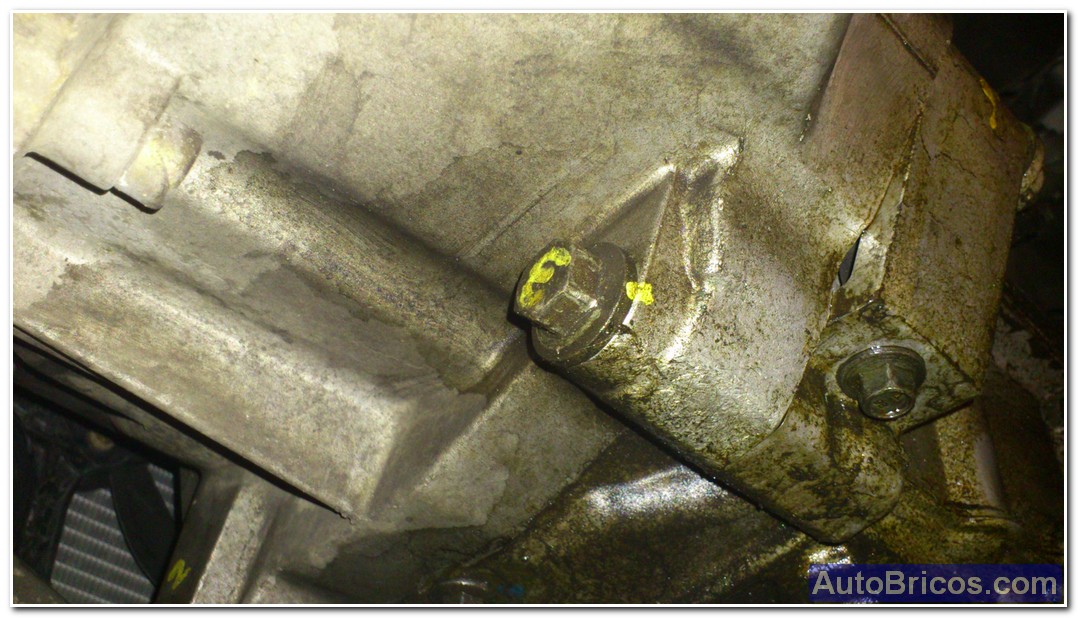
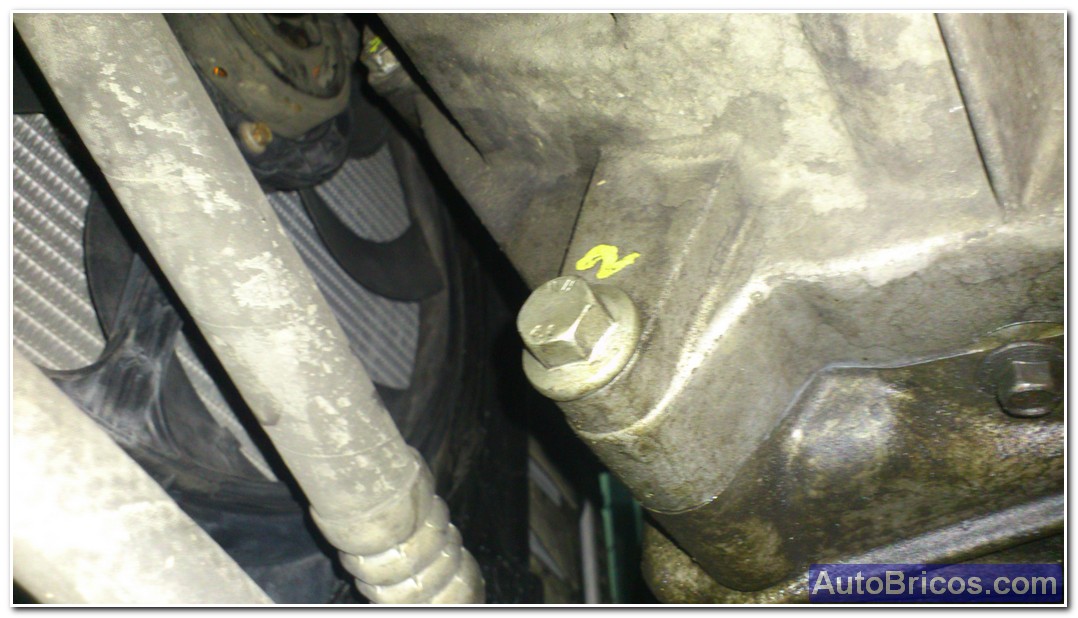
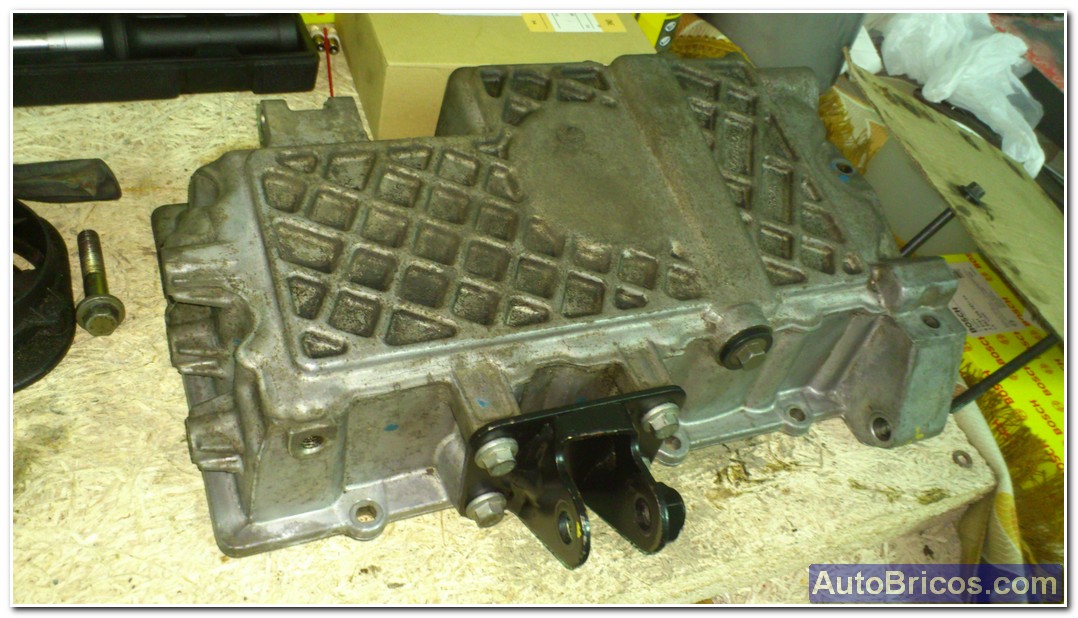
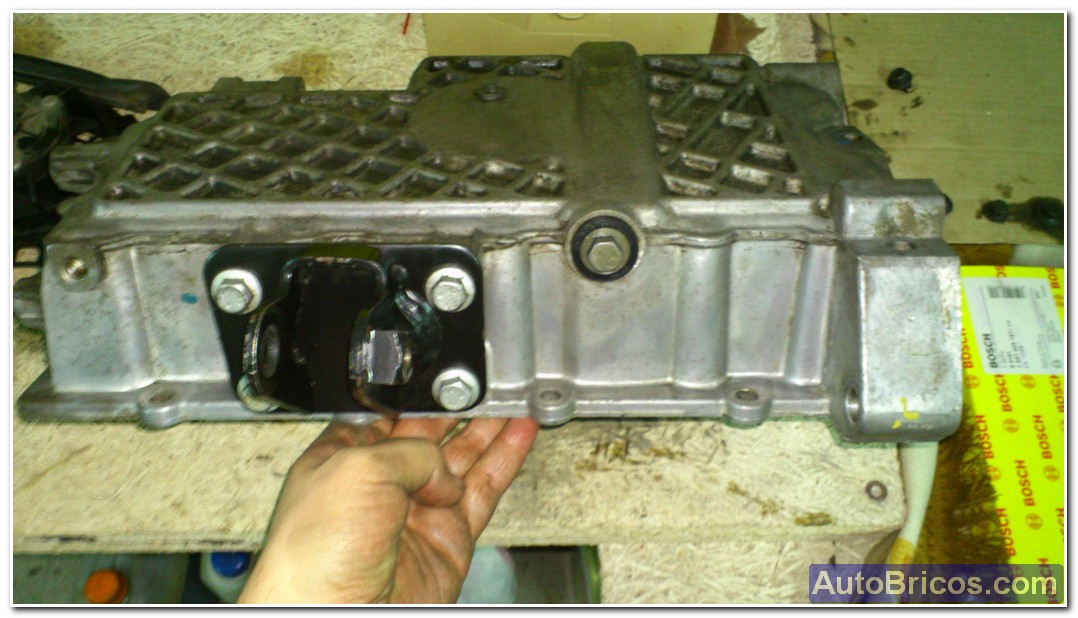
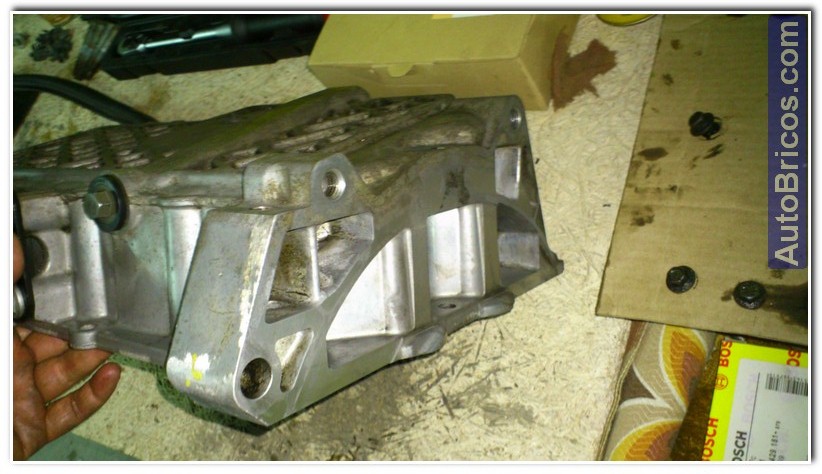
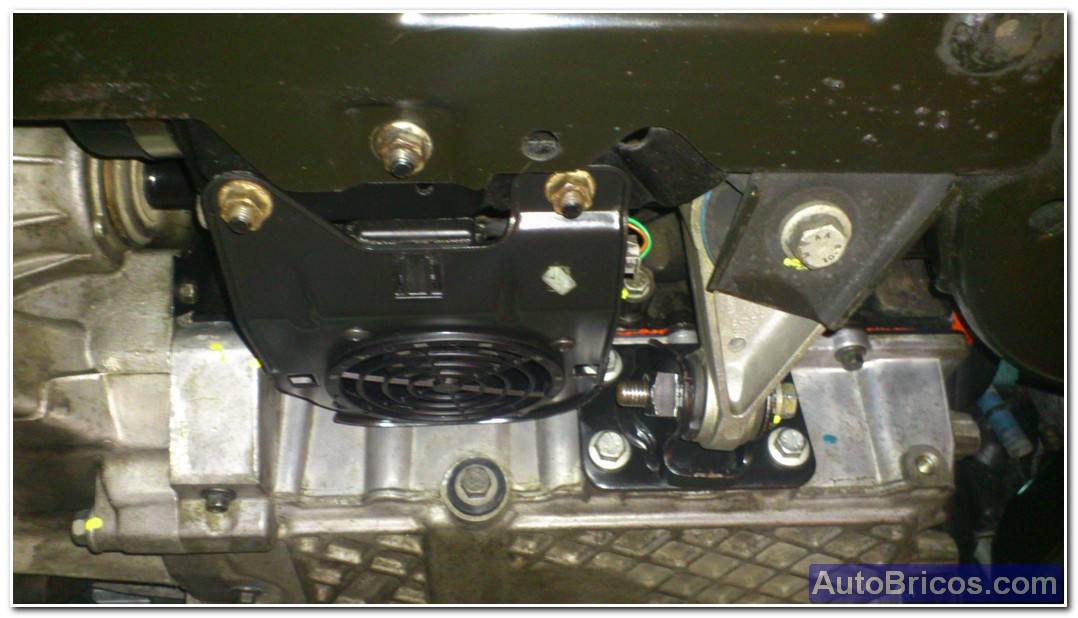
Finally will clear a little space to extract smooth crankcase cover. It's best to remove the fan from the power steering is very easy, they are 2 hex nuts and disconnect its electrical connector. It also will remove the lower bracket screw motor (or torque reaction link rod engine). Removing this pin will not need to take the whole plate. With that we can begin to remove the screws holding the housing to the engine block and change.
 |
 |
 |
 |
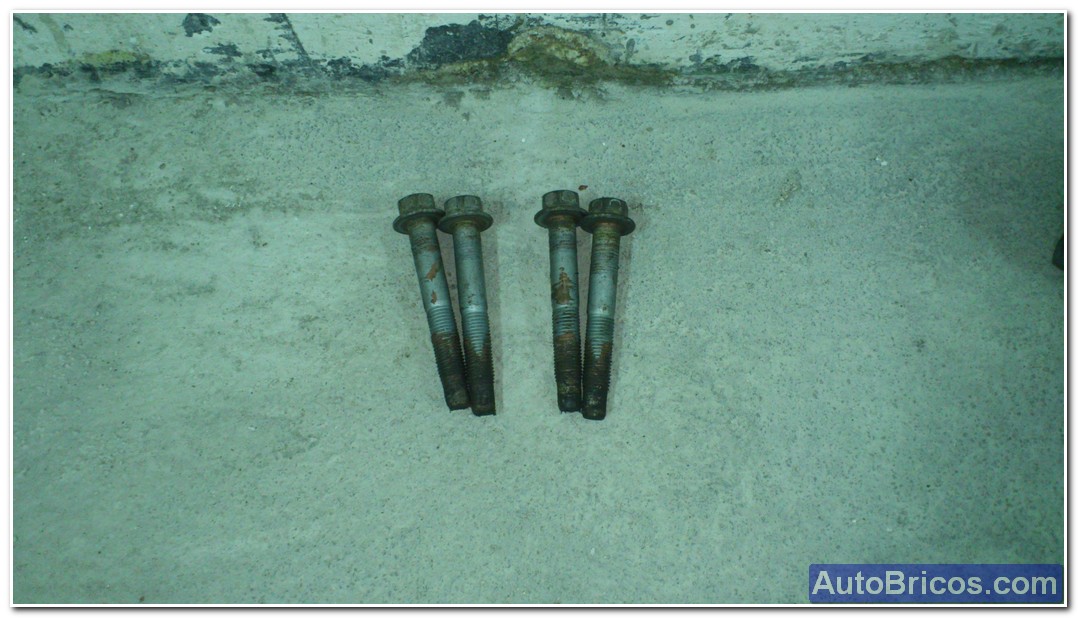
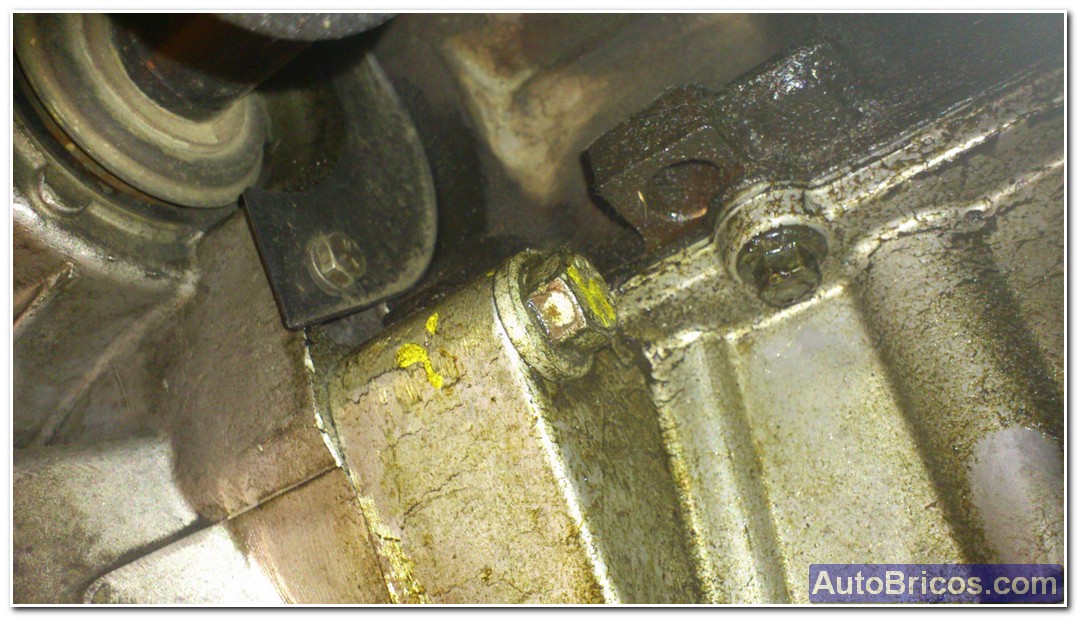
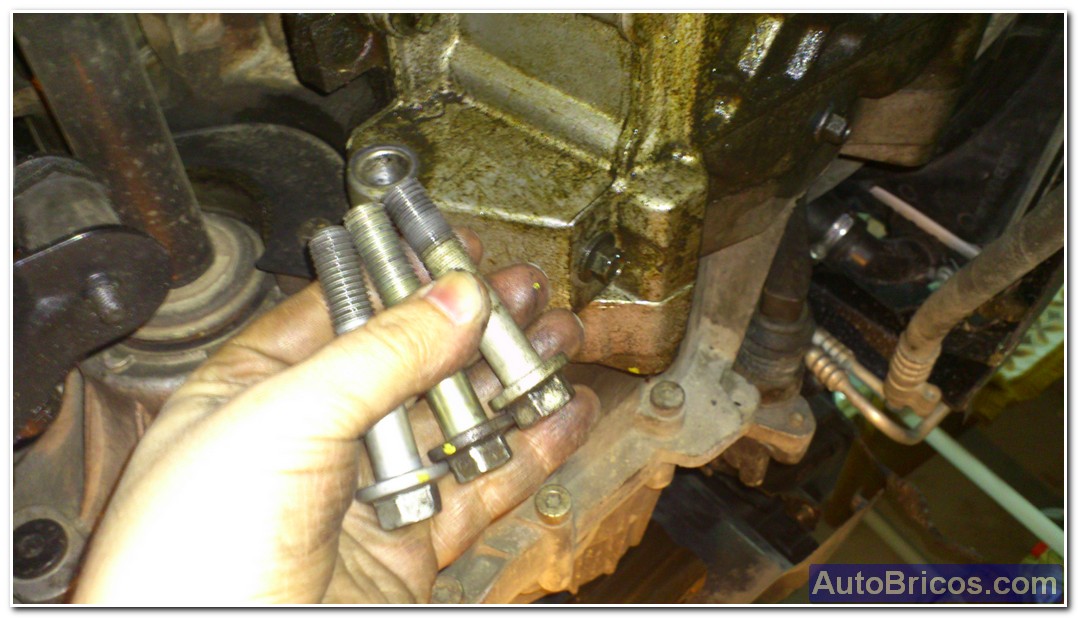
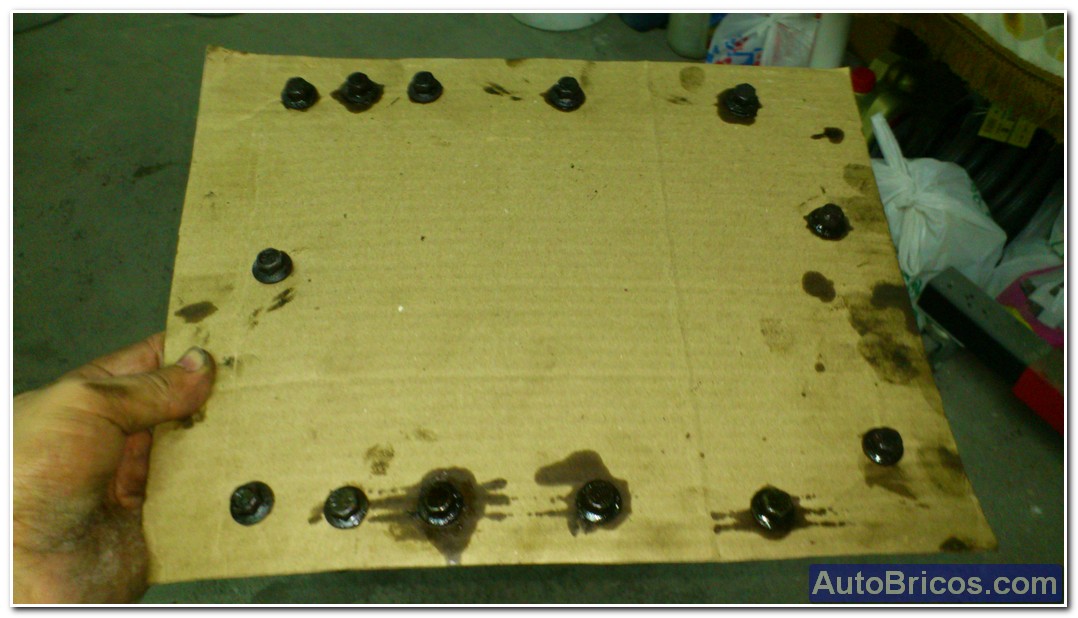
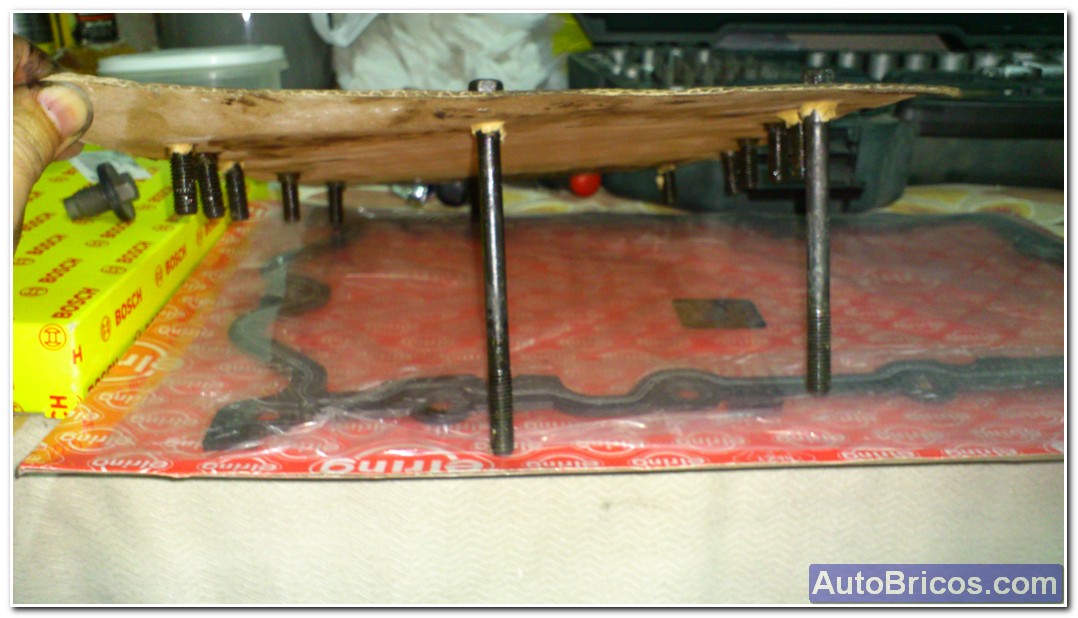
First M12 will remove the 3 screws that hold the housing to the gearbox, and then we will be removing the screws that hold the housing to the engine block. To do so without distorting the housing, we must go by loosening the screws as shown in the technical manuals (is spirally outward, starting with center screws). Note that there are screws of different lengths, so we have to keep the same order of screws. One trick that is also going to nail in a piece of cardboard, as seen in the photo.
 |
 |
 |
 |
 |
 |
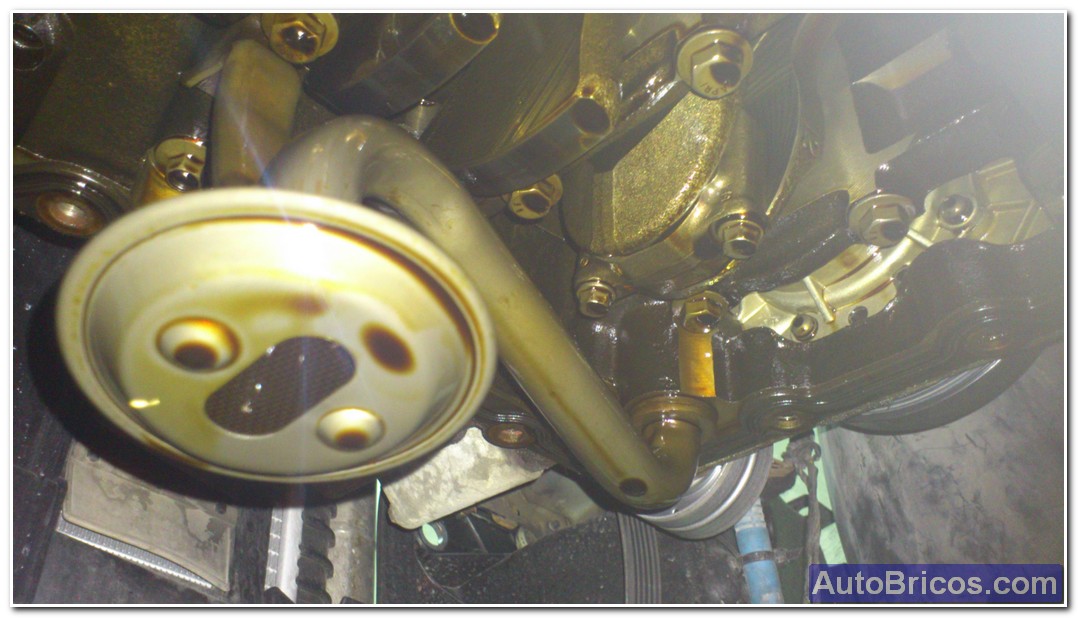
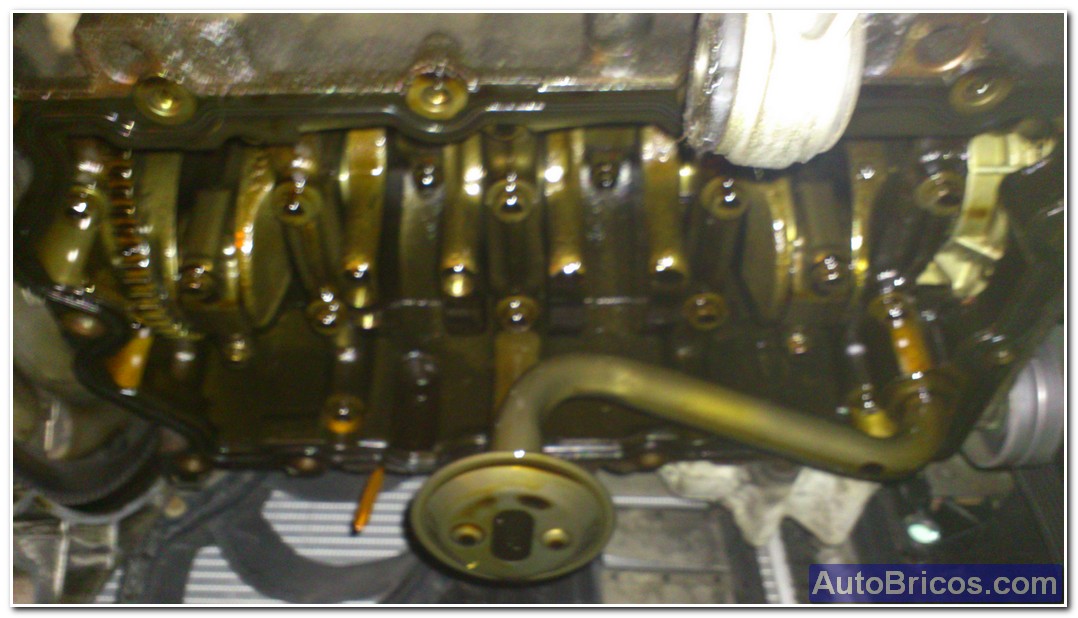
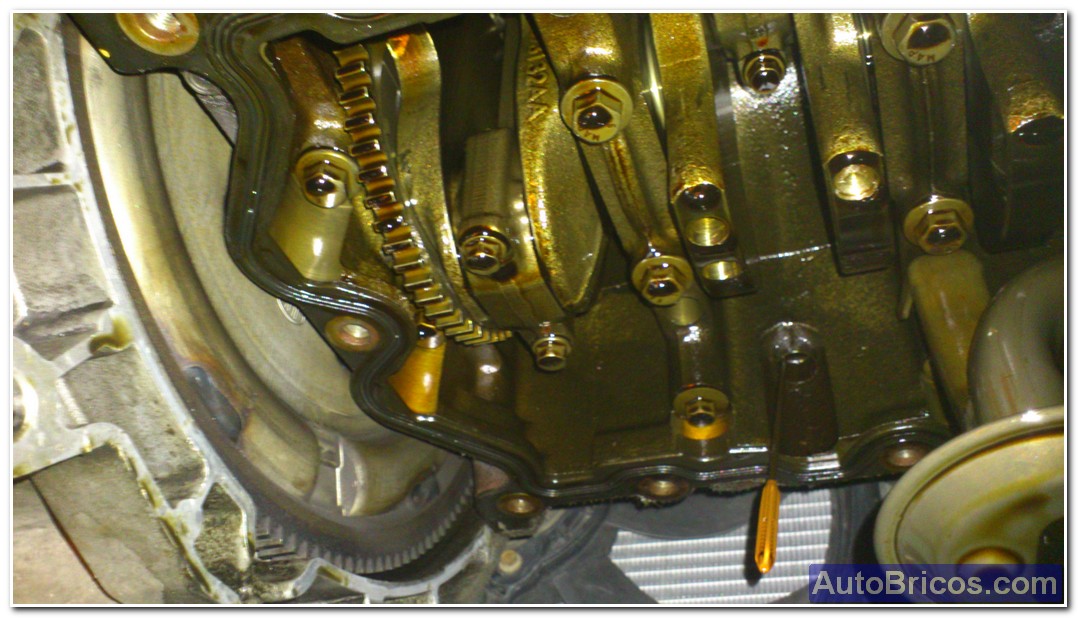
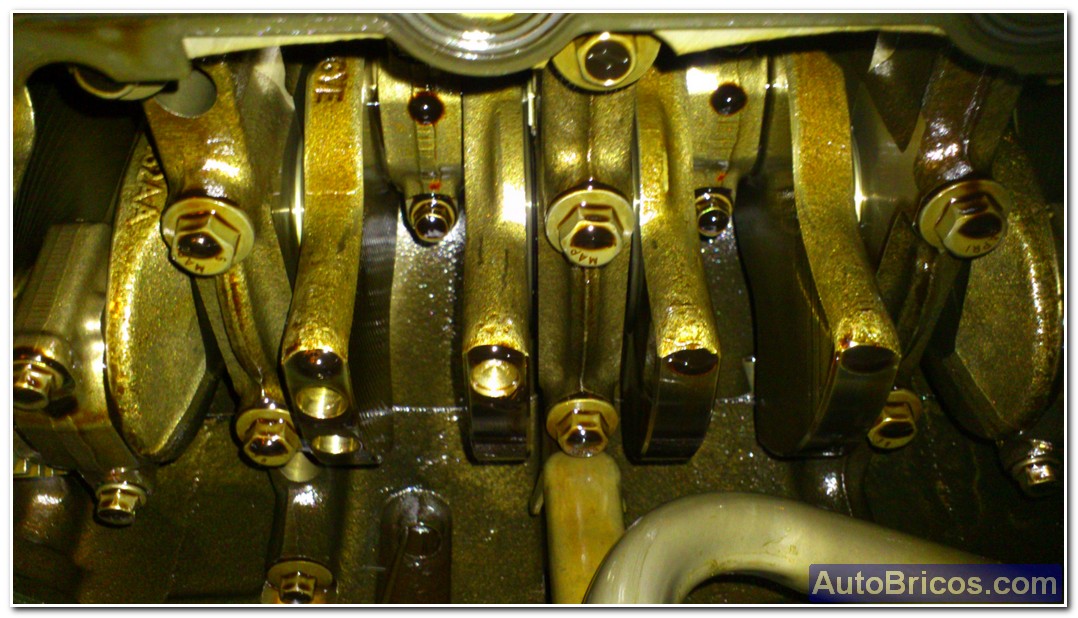
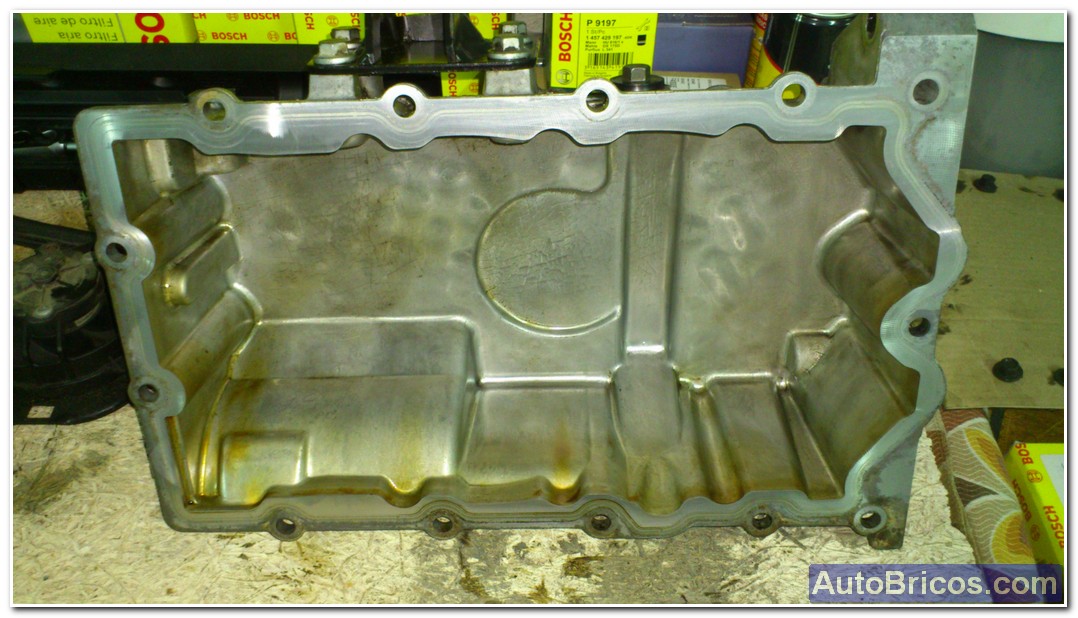
After removing the crankcase cover, we can see inside the engine, the crankshaft, connecting rods, part of DMF, etc ...
 |
 |
 |
 |
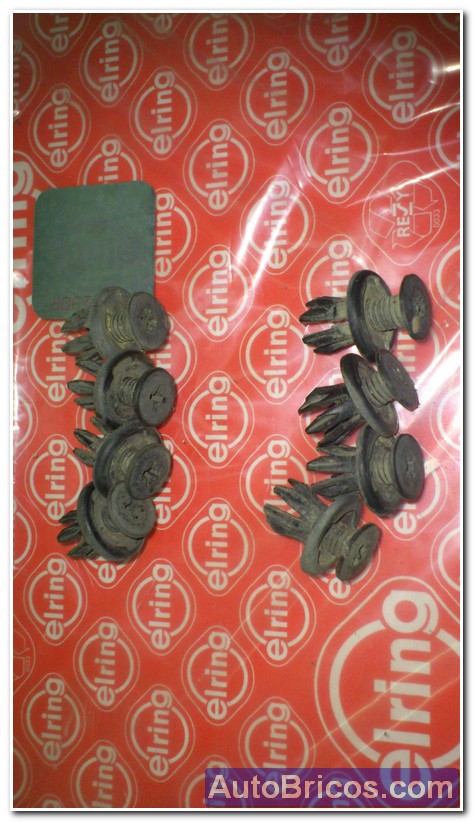
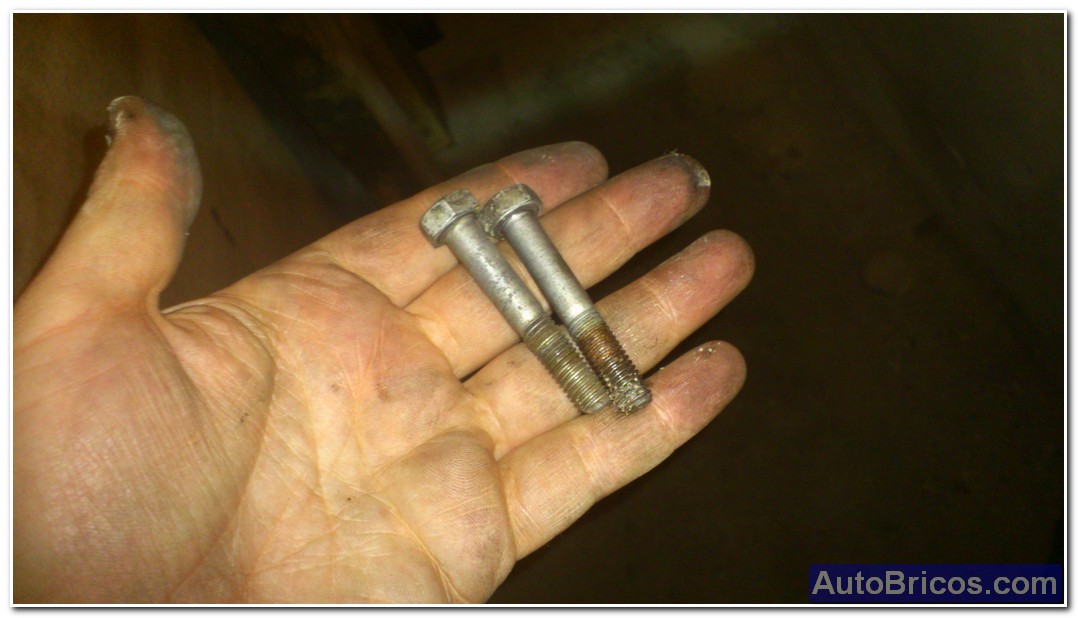
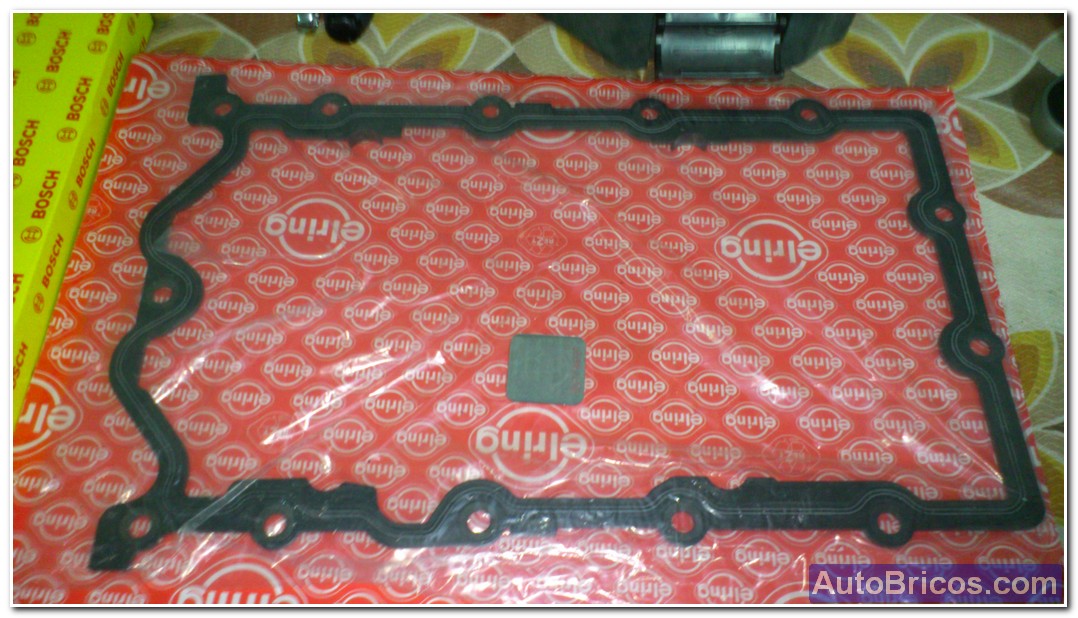
In these photos you can see the difference as the screws holding the crankcase cover, and joints (old and new):
 |
 |
 |
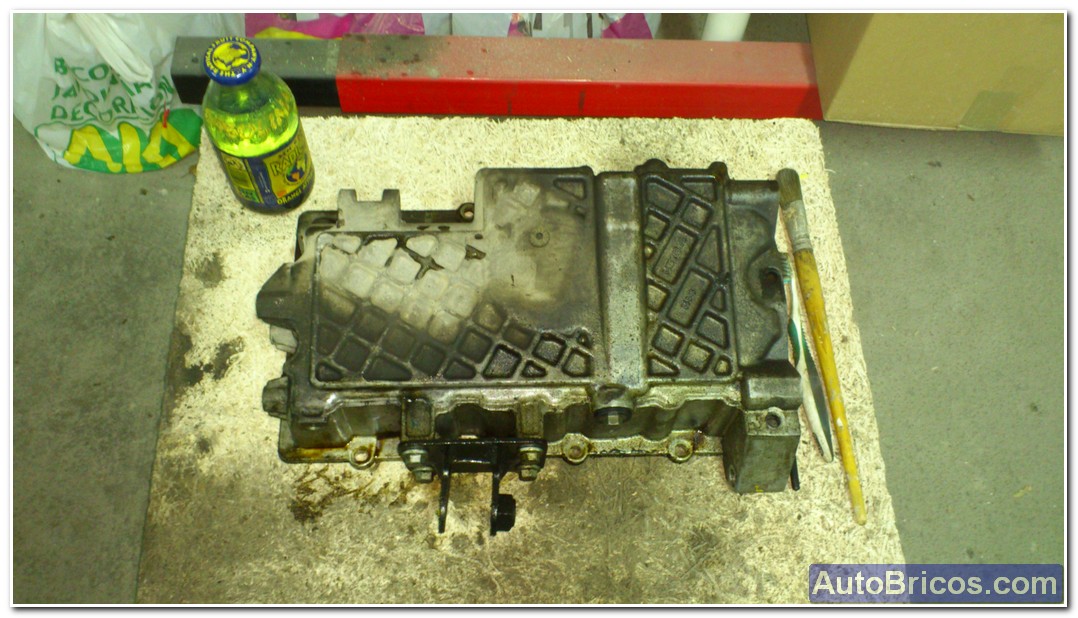
Since we have the crankcase cover off, his is clean to facilitate future revisions of the engine and also know if you have been changing together, or is there some additional leakage. For cleaning you can use gasoline, clean enough.
 |
 |
 |
 |
 |
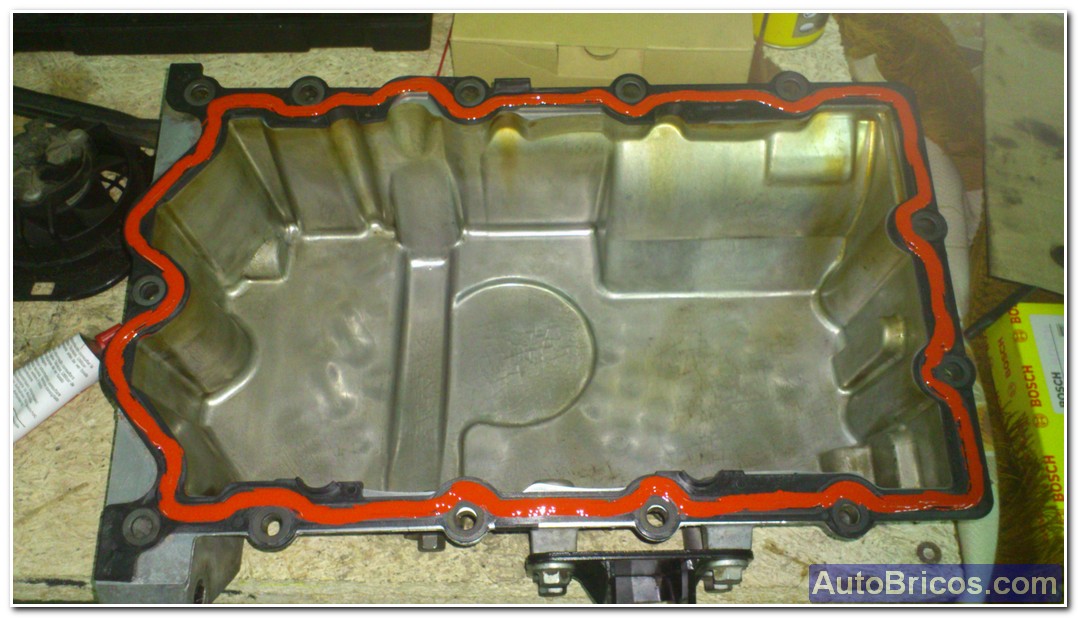 |
Finally alone would put the new pan gasket and do the reverse of the assembly, taking into account the oreden tightening all crankcase bolts and tightening torques. At first it is necessary to put new sealant on the board, but I preferred to make sure, if we have to clean and degrease all surfaces very well where we apply the paste (oil resistant RTV).
Finally after the assembly process, would read:
 |
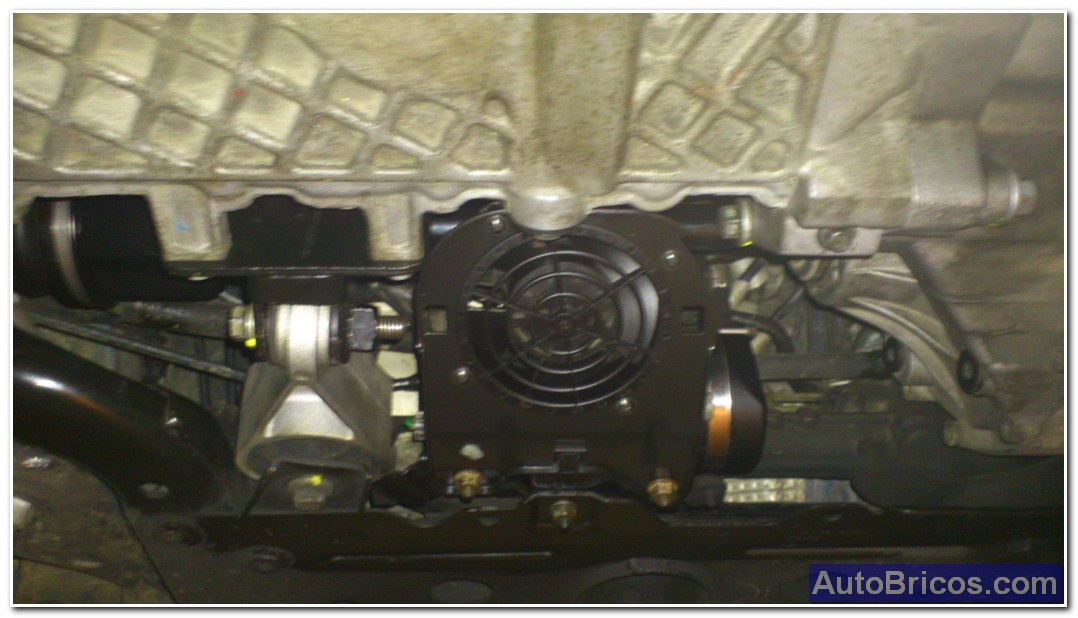 |
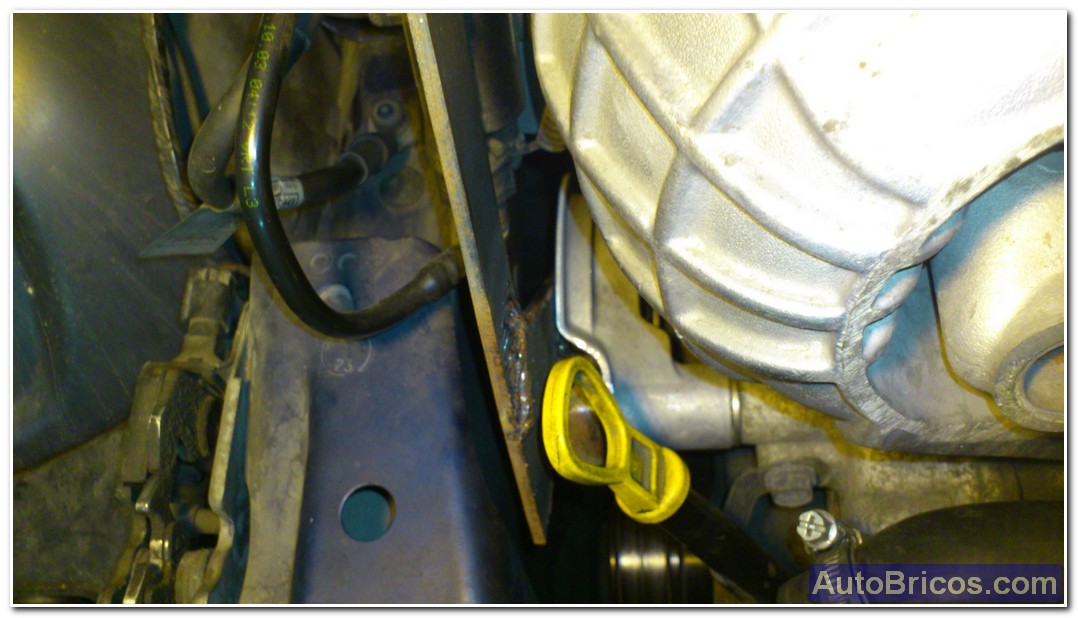
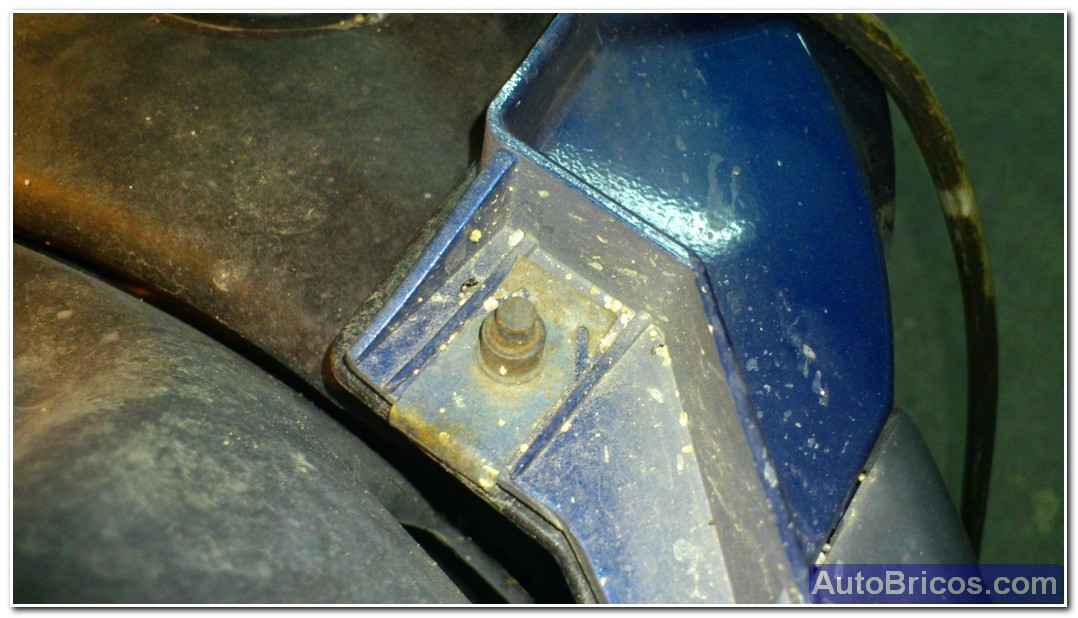
It is very important to tighten to correct torque screw pin makes motor strap, as it is a critical element that is subject to constant fatigue. This is finalized this Brico.
| Tweet |