

 Oil service interval reset Audi A4 B8
Cabinet air filter change
In this brico I will show how to change the cabinet air filter, that is, the one that filters the particles that could enter the cabinet of the car. The filter is located in the passenger area, just below the glove compartment.
It is best to pull the passenger seat to the rear stop for maximum access under the glove compartment.
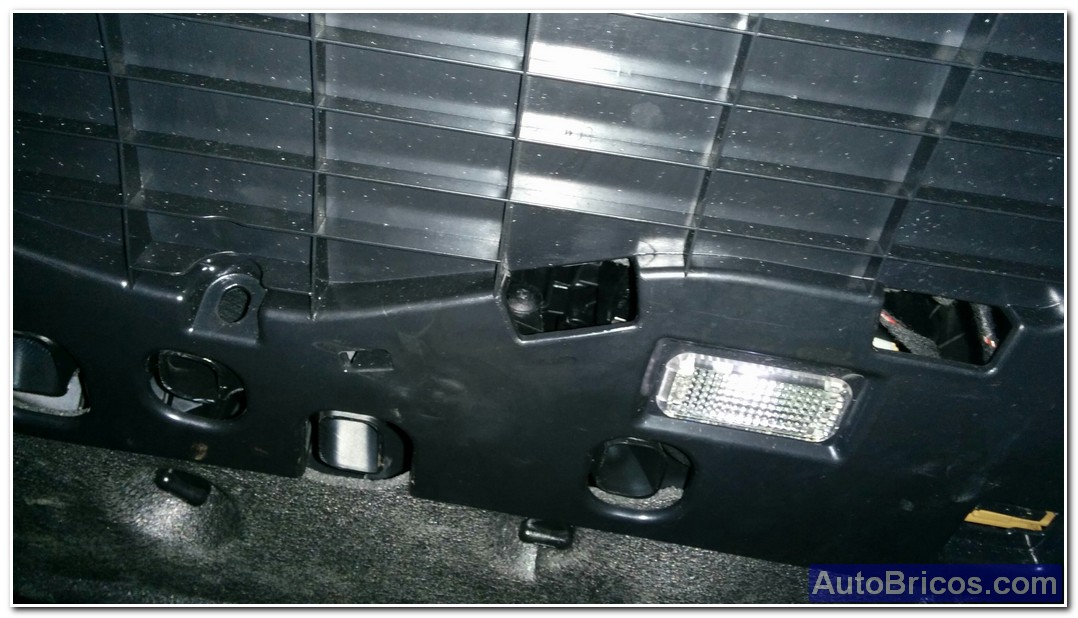
First you have to locate the 3 wing nuts that need to be removed in order to extract a cover that houses the access to the filter cover. We remove the 3 moths and extract the coating. Be careful, the material is a bit delicate, it breaks easily.
 |
 |
Here we can see the covering:
 |
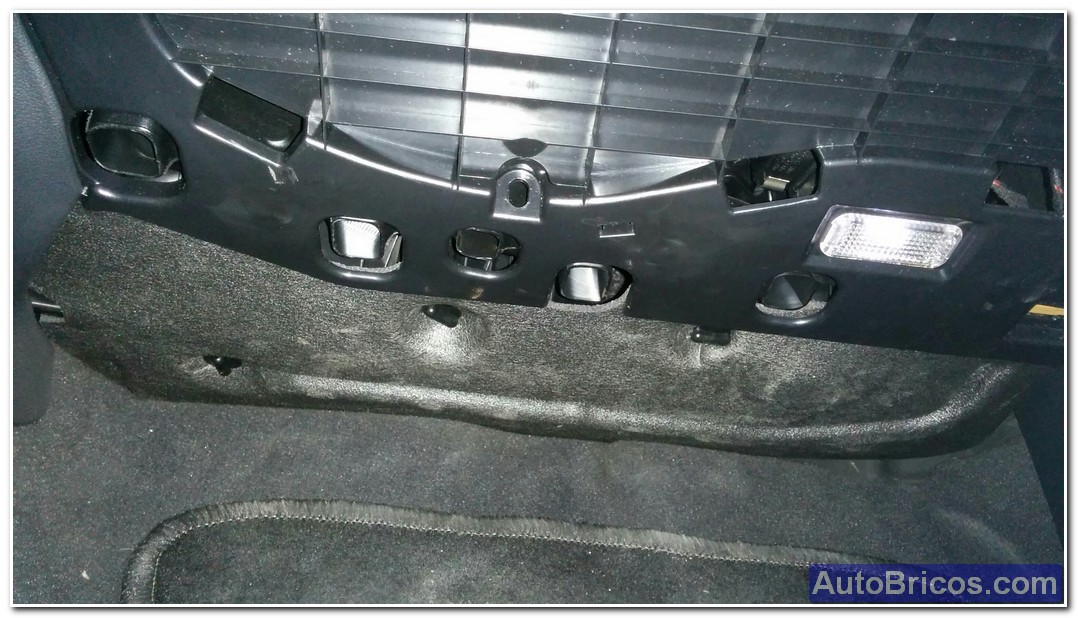
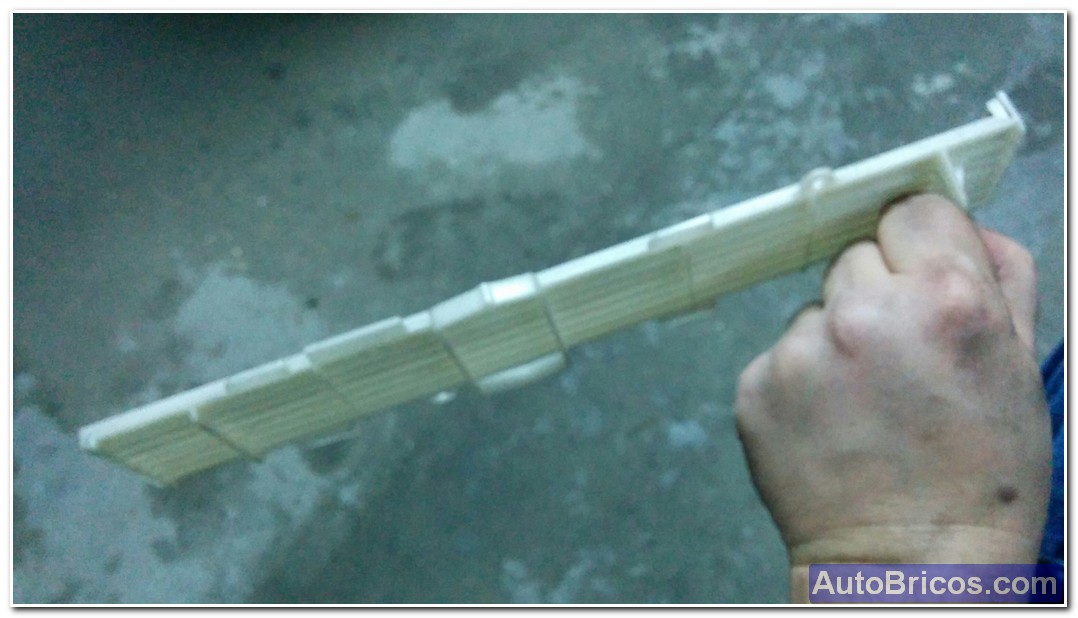
At this point we can see the cabin filter cover. It is a white cap that you have to remove by sliding it, I think I remember that you have to slide it to the right to remove it. Here we can see the cover in question:
 |
 |
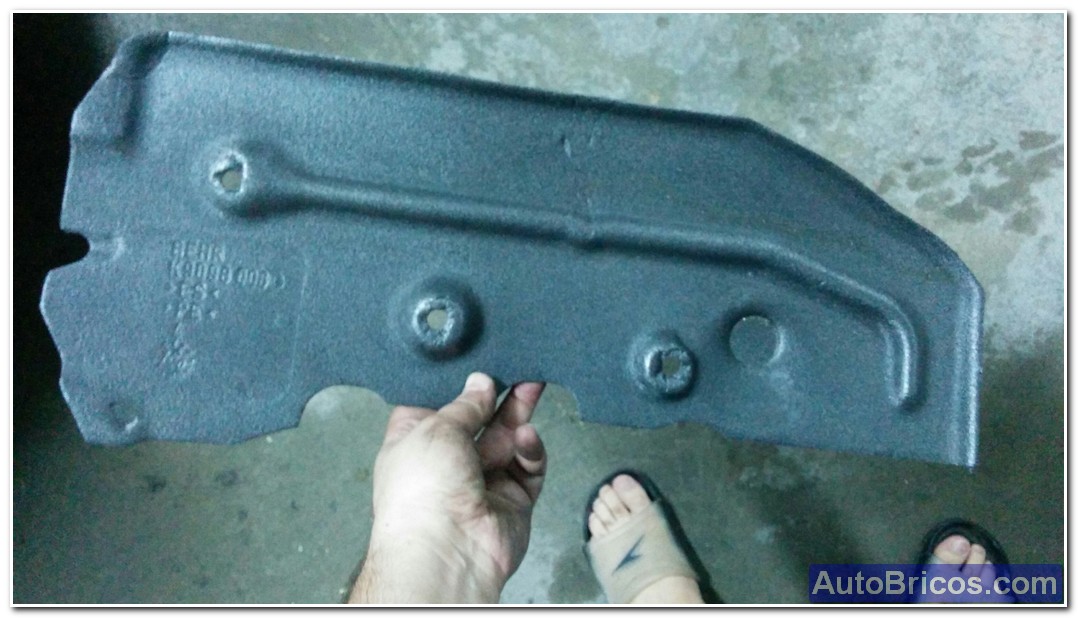
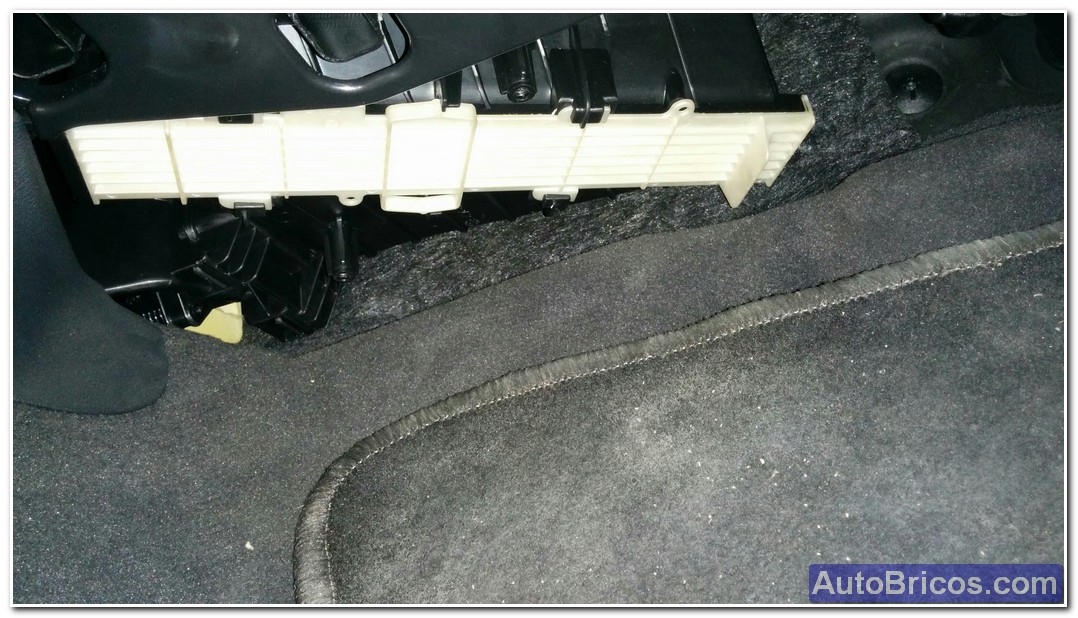
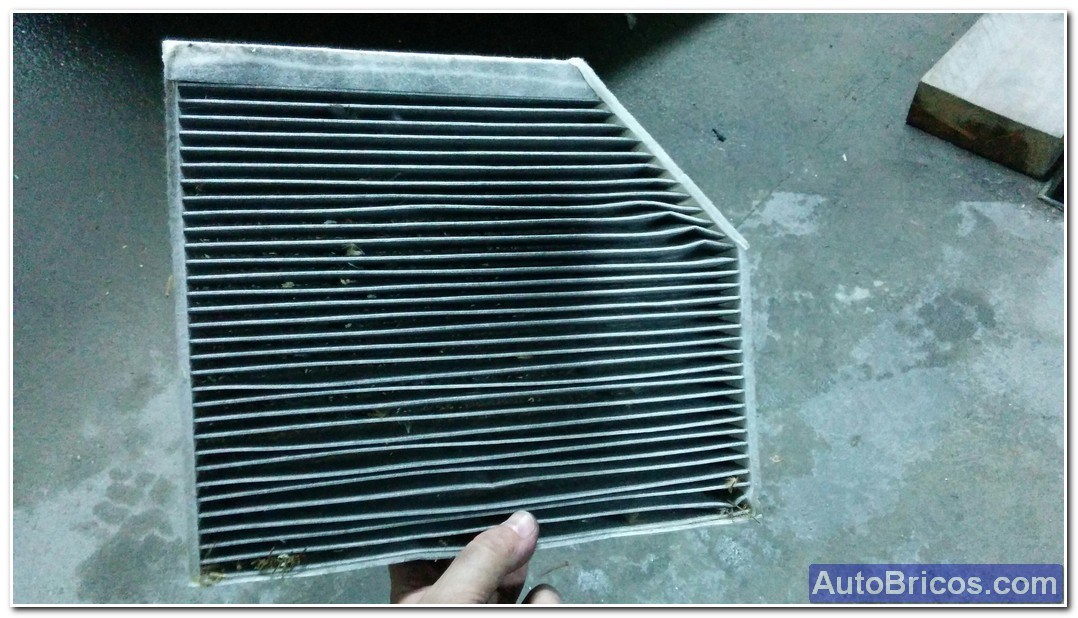
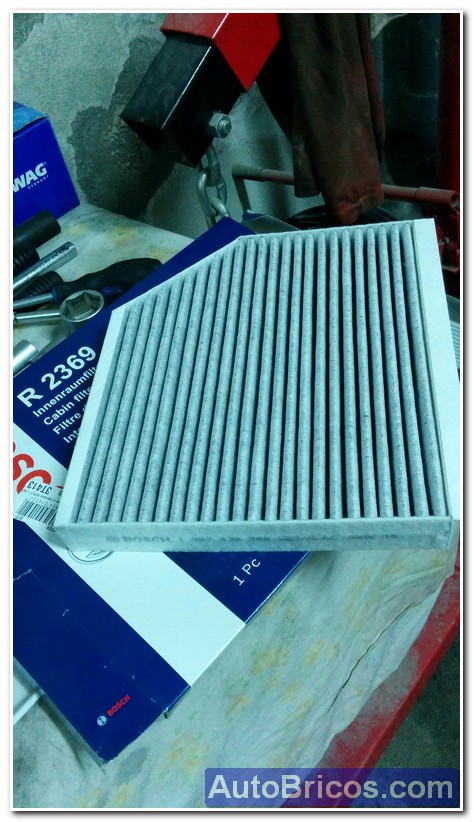
Once the lower white cover is removed, the cabin filter is visible. We will simply pull it to remove it by sliding it down. Pay close attention to the position of the filter and how to remove it, because you will have to insert the new filter in the reverse order. In the following images you can see the old filter and the new one:
 |
 |
At this point we will proceed in the reverse order for the assembly of the filter, the white cover and the coating and we will have finished the brico.
| Tweet |