

 Oil service interval reset Audi A4 B8
Forward brake pads change
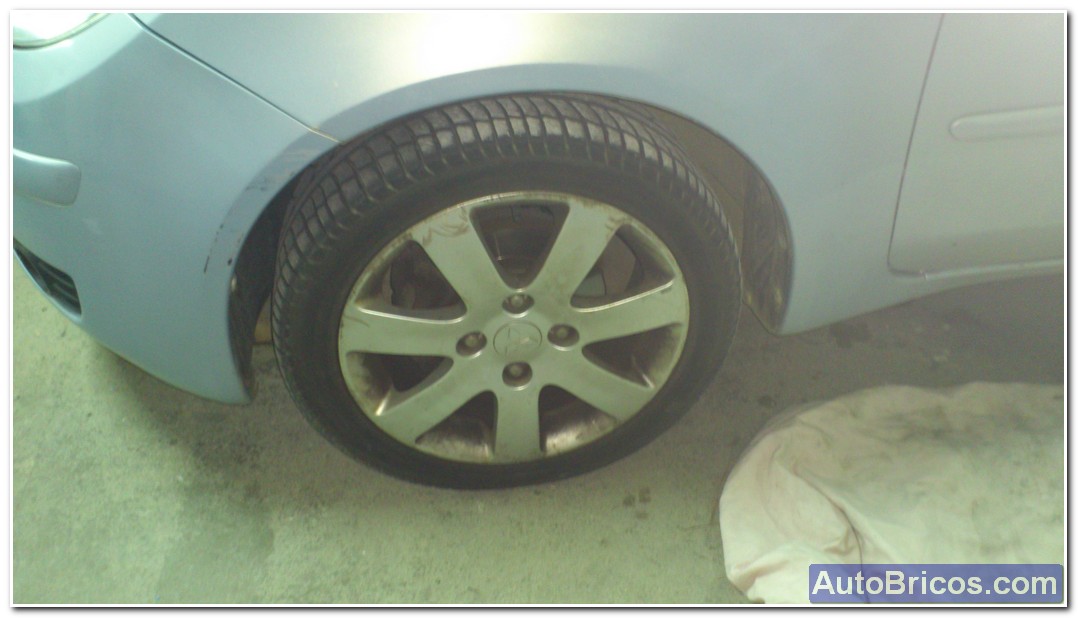
In this Brico will explain how to change front brake pads on a Mitsubishi Colt 1.5 Tdi of 95cv 2004. The first thing to do is lift the car by the elevation point is located near the wheel arch, this car does not have a cat, so we have to do with a cat so that it can raise. In my case I have a cat of a Citroen Zx 16v nailed casually going for this car. Before raising the car advise take the parking brake and check that we can loosen the nuts with the wrench we have (in this case I use a glass of No. 21) and with the wheel lifted just end up loosening easier nuts.
 |
 |
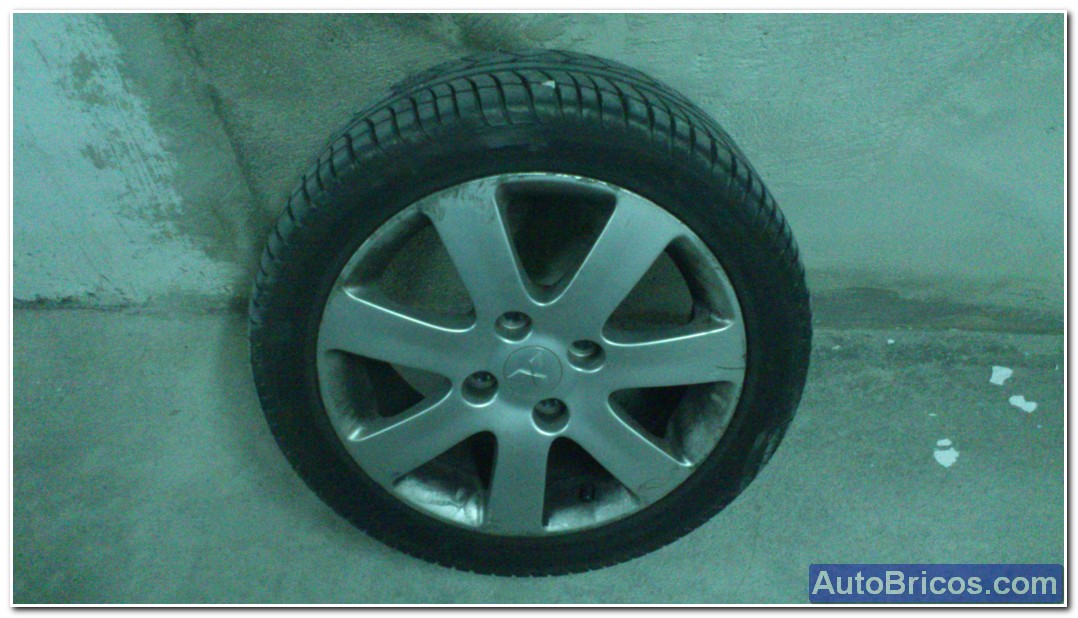
Once lifted the car, we can completely loosen the nuts and remove the front wheel.
 |
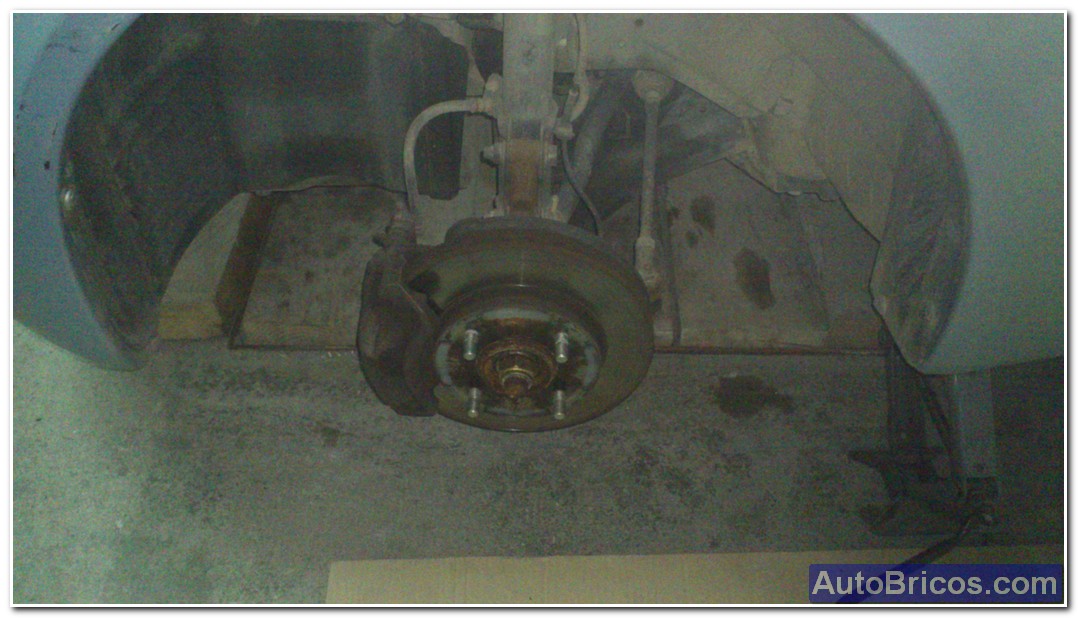 |
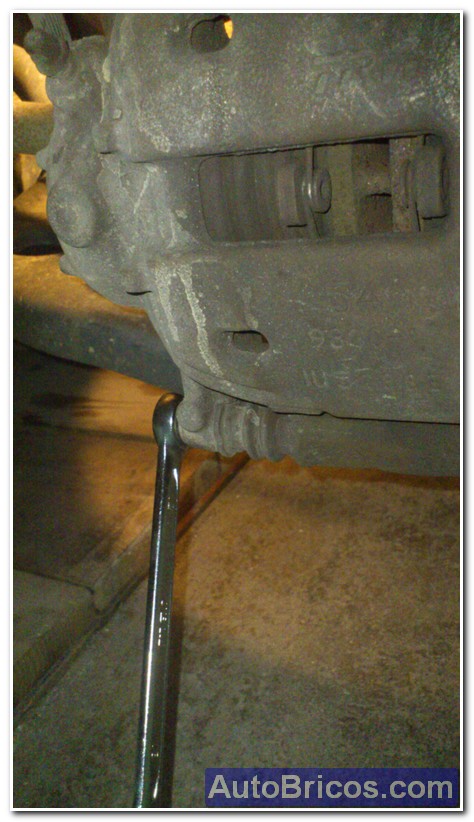
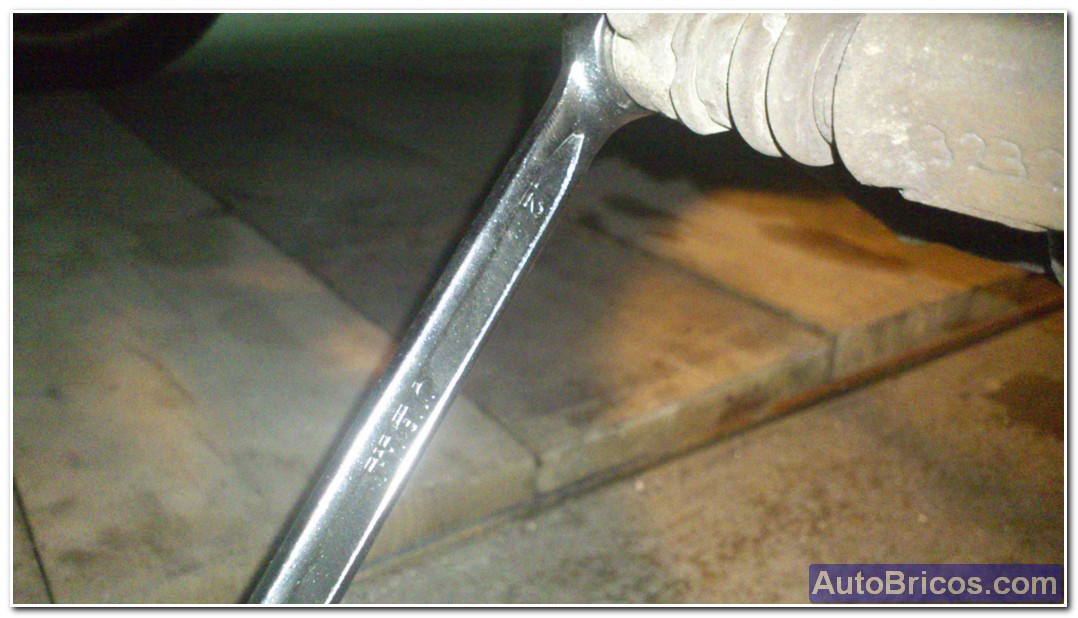
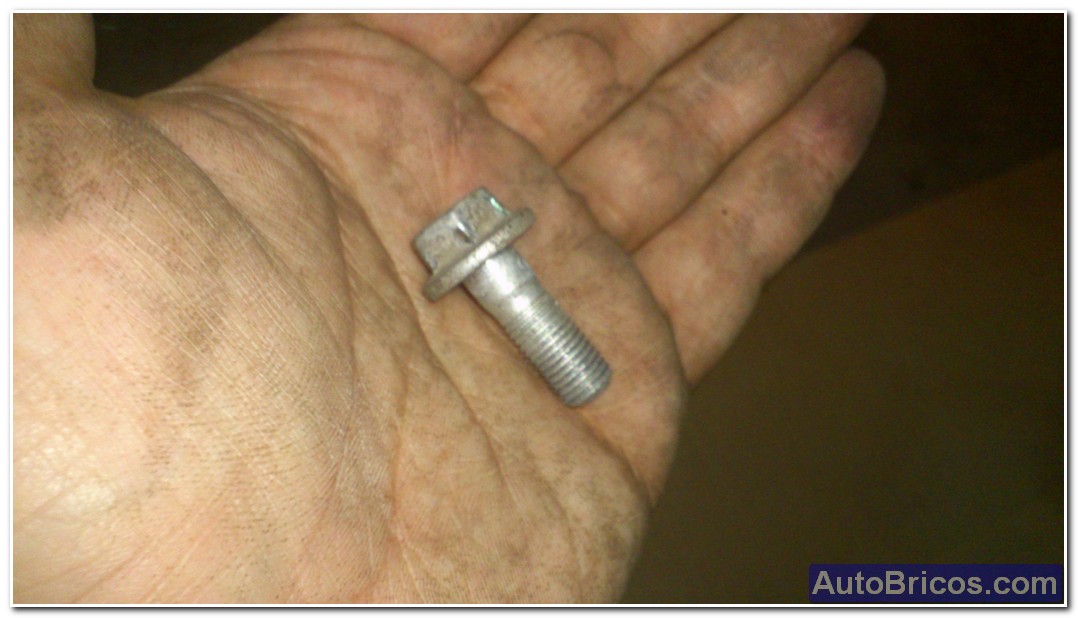
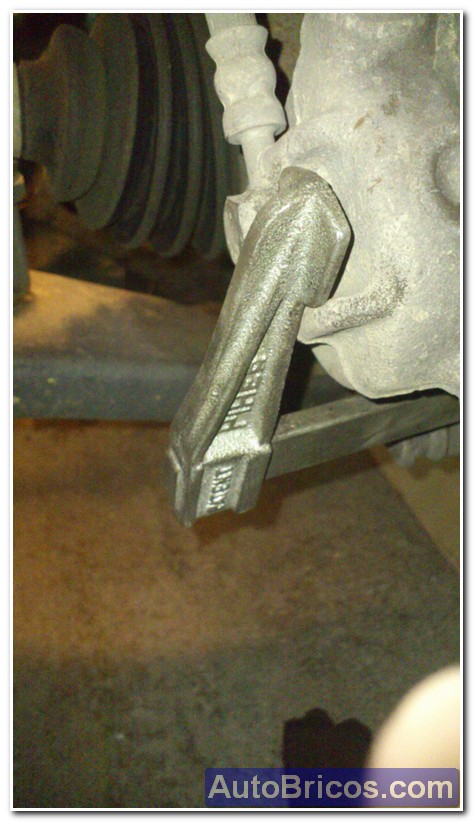
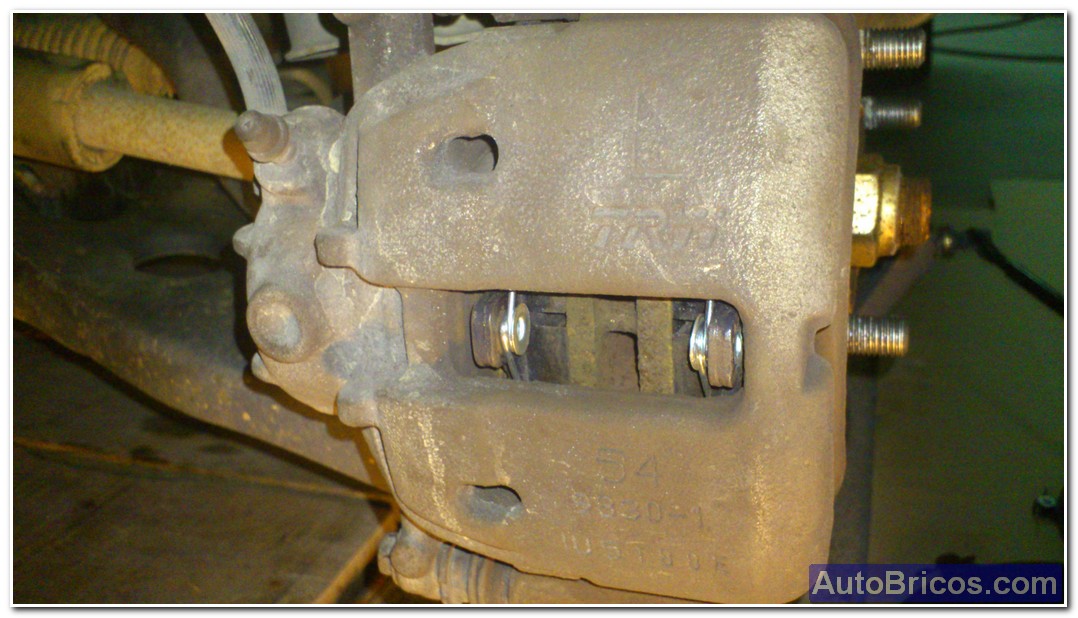
Once we removed the wheel and take a look at the brake caliper and see also the wear of the brake pads. To take the pills will be enough to take one of the two screws that have to be pivotable clamp up and leave enough room to remove the brake pads. You have to use a good key to not screw head wear, as it is usually pretty tight. The key used is No. 12.
 |
 |
 |
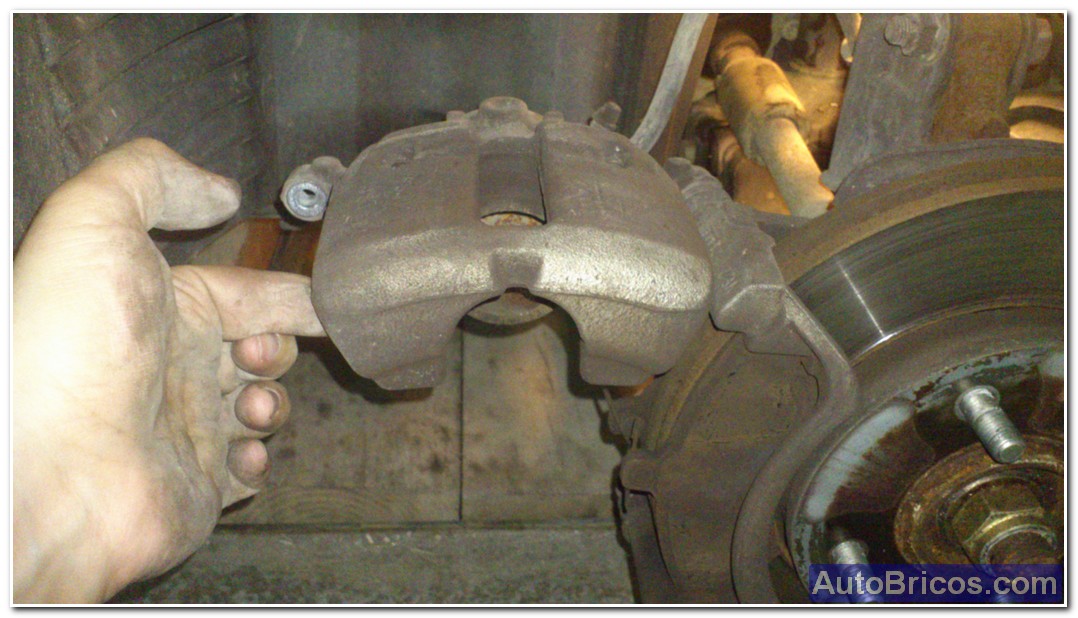 |
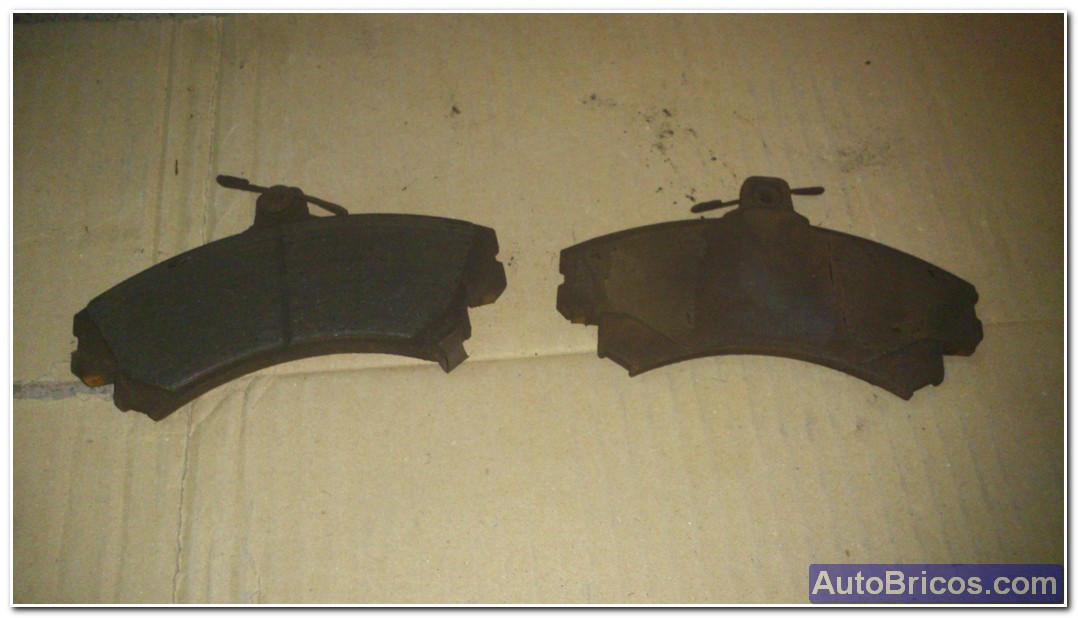
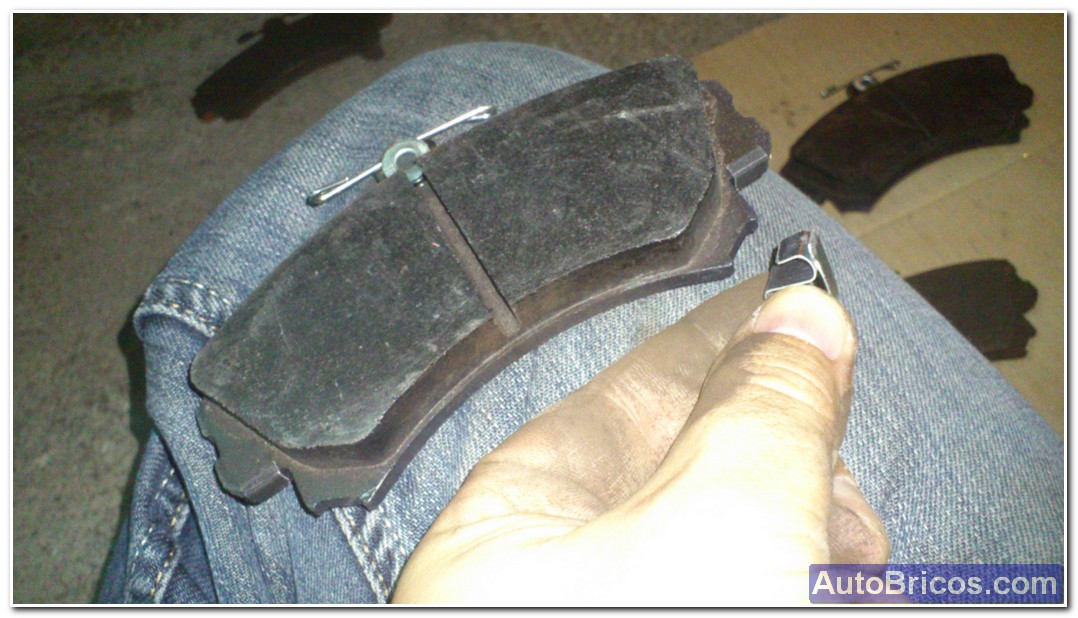
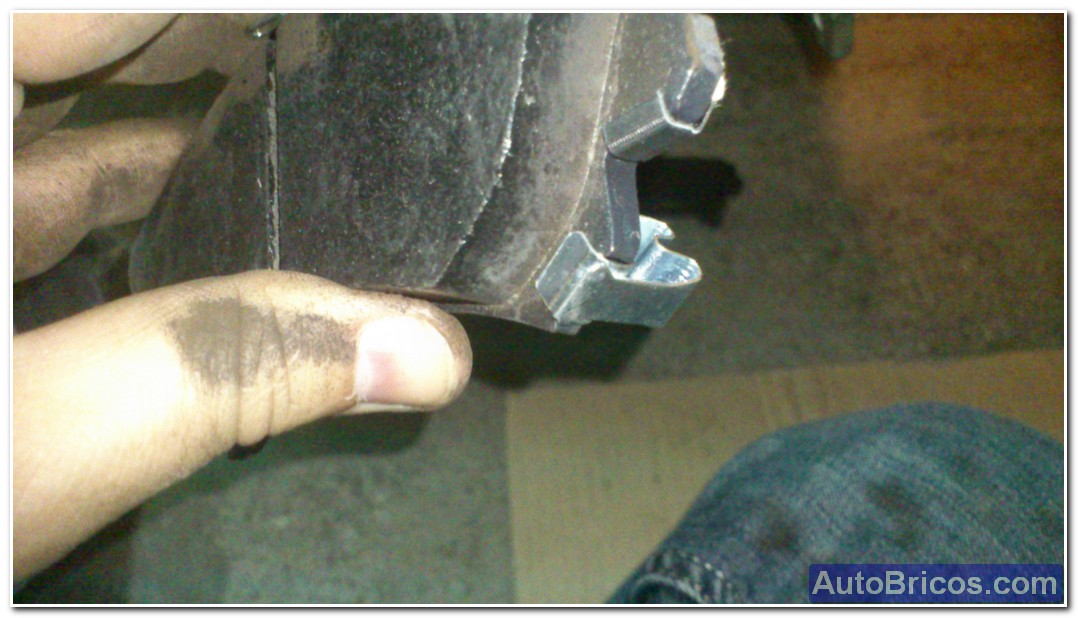
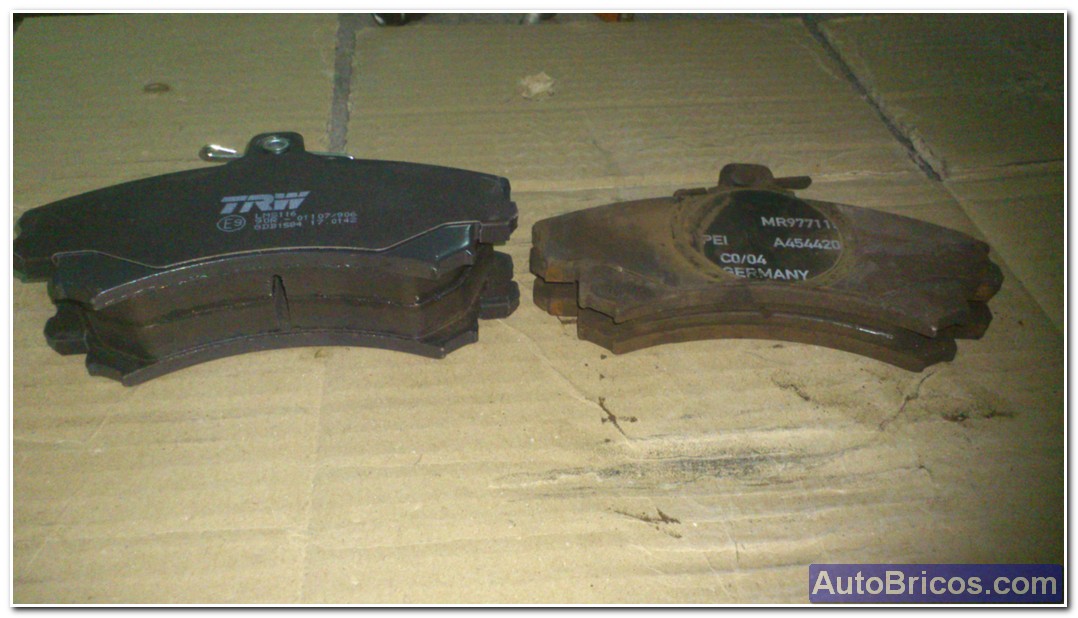
Once we lifted the clamp and remove the brake pads. It can be seen that they are quite worn, especially when compared with the new.
 |
 |
 |
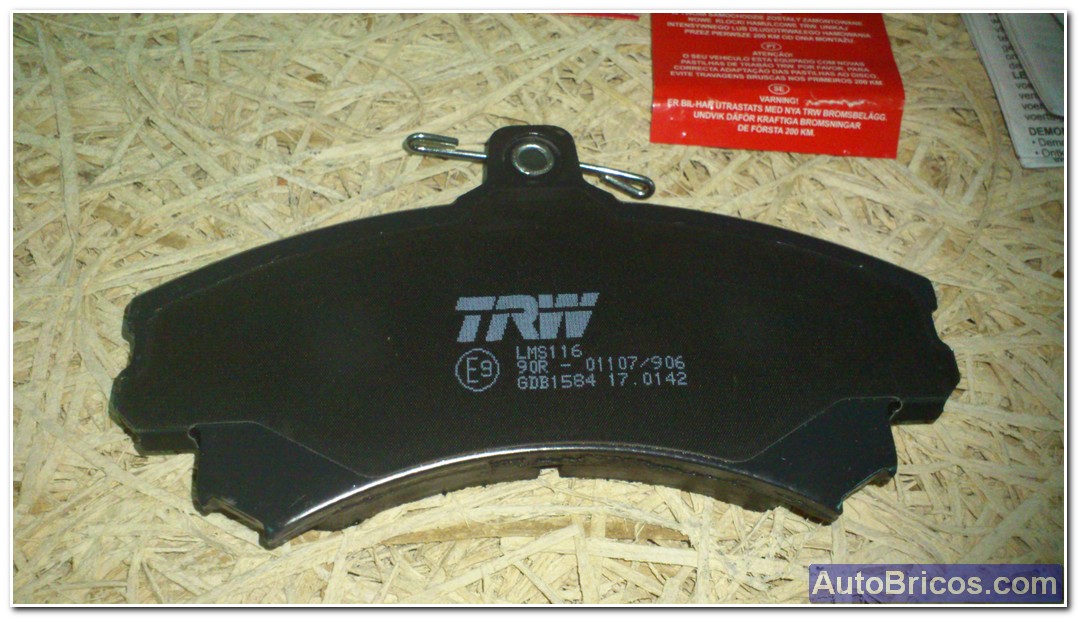
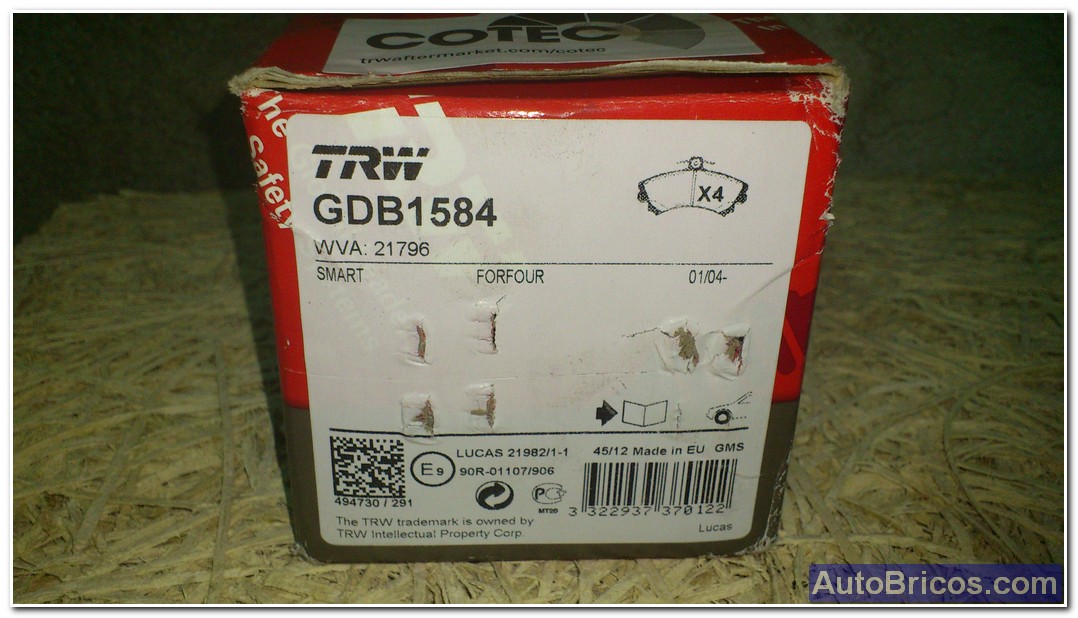
If anyone serves, this is the case with the references of the pills used are of the same brand as the clamp (TRW) GDB1584 model.
 |
 |
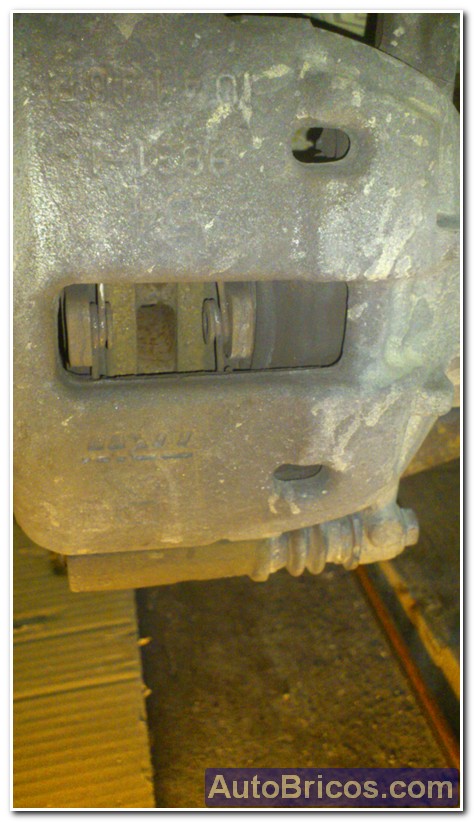
In the box is a metal clip buzzer serves as the pads wear, this clip should be placed on the new pill that makes the witness role wear noise, only one comes in the box, we will place it where it was the of original pads in this case, in the tablet which is on the inside of the clamp of the left front wheel.
 |
 |
 |
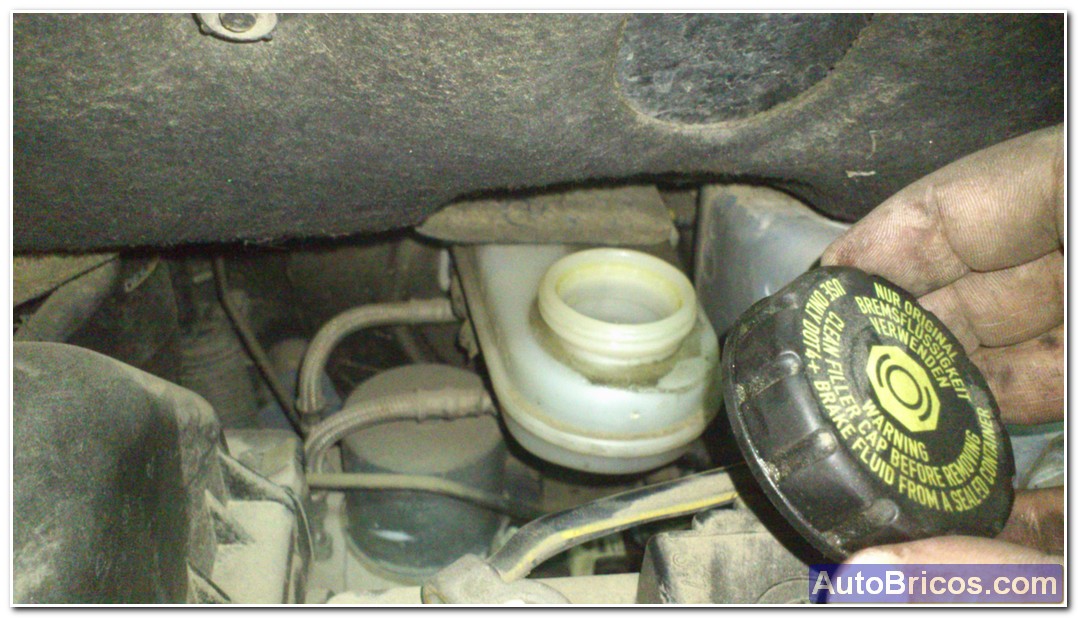
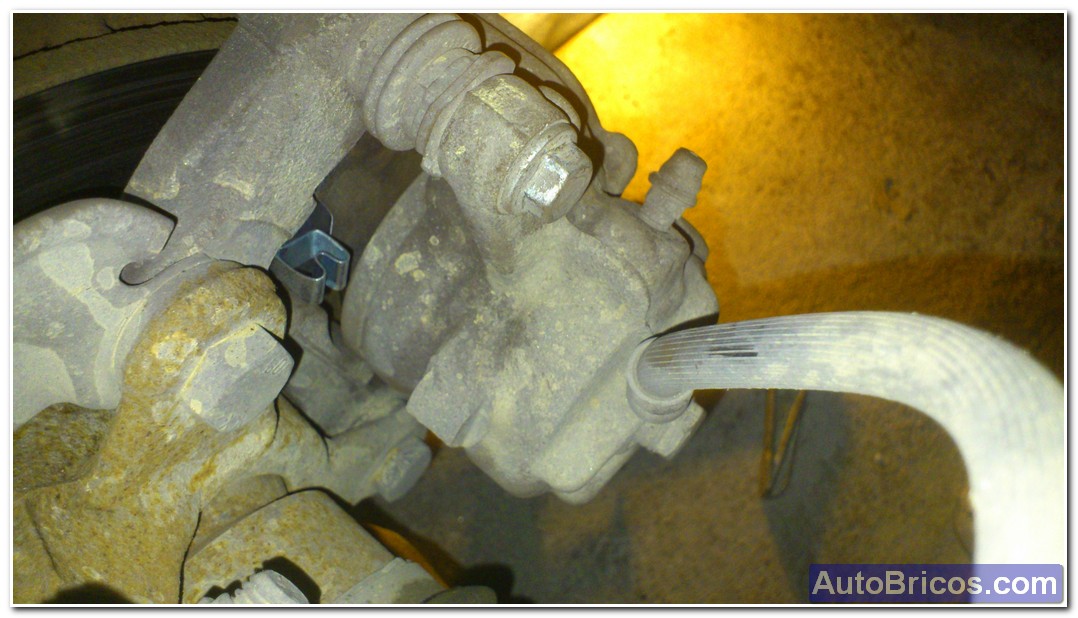
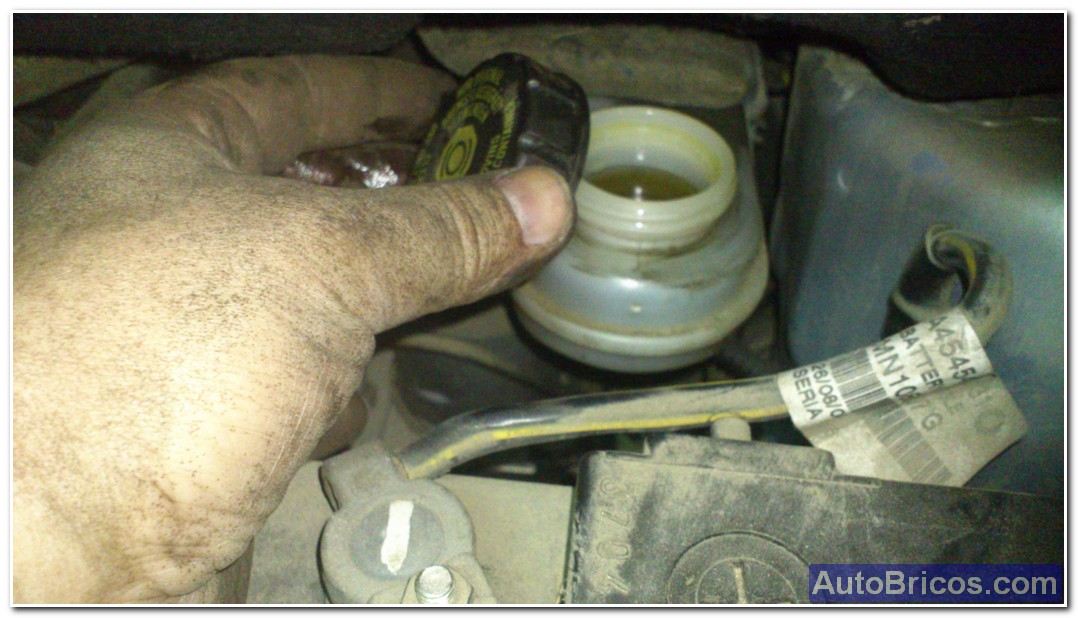
Before putting the new pads, we take the piston back, it will cause return of the brake fluid to the reservoir, so the best thing is to open the reservoir cap Brake fluid not to generate excessive pressure, also , ensure that brake fluid does not overflow, if there is too much there to remove it with a geringuilla in the tank or drain opening also some traps, but usually we do not have to do any of the 2 things.
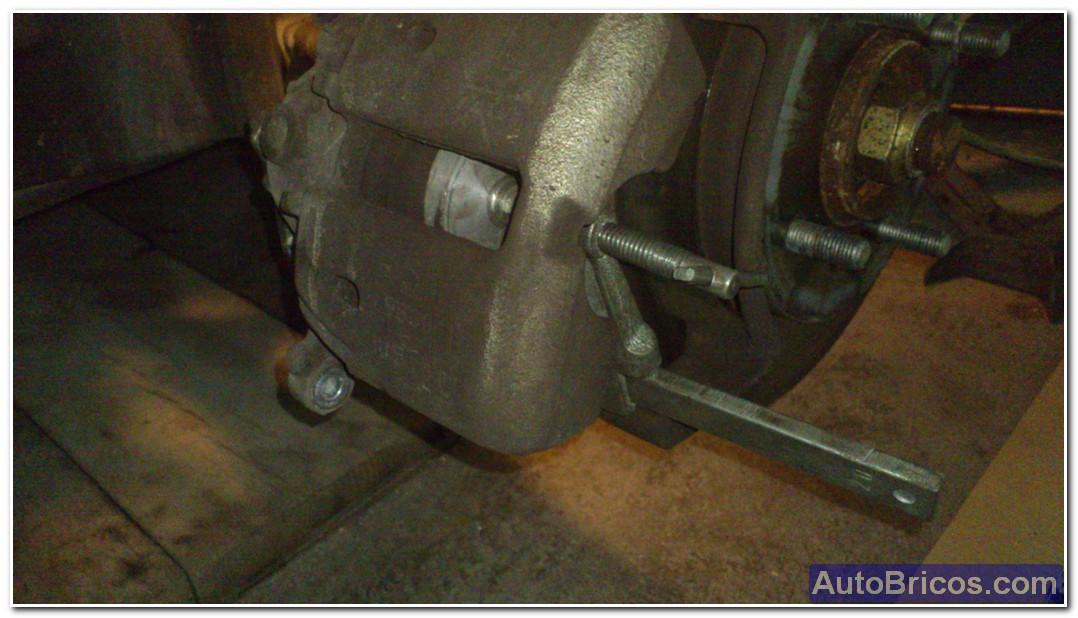
As mentioned, to drive the piston back, podemoh do with a sergeant in this case, being careful to go slowly and without excessive pressure to prevent damage to the joints of the entire hydraulic system. I've placed a round plate on the piston to push it, you can see on the image.
 |
 |
 |
Once thrown back, and we can put the new pads and pivot the caliper back down, making sure that the pads are properly placed, and do a bit of pressure to the top of the clamp to overcome the springs that carry pills and be able to put the screw in the bottom of the caliper guide. Once closed and tight, and be ready this side. One can observe the warning sound to the inside of the clamp.
 |
 |
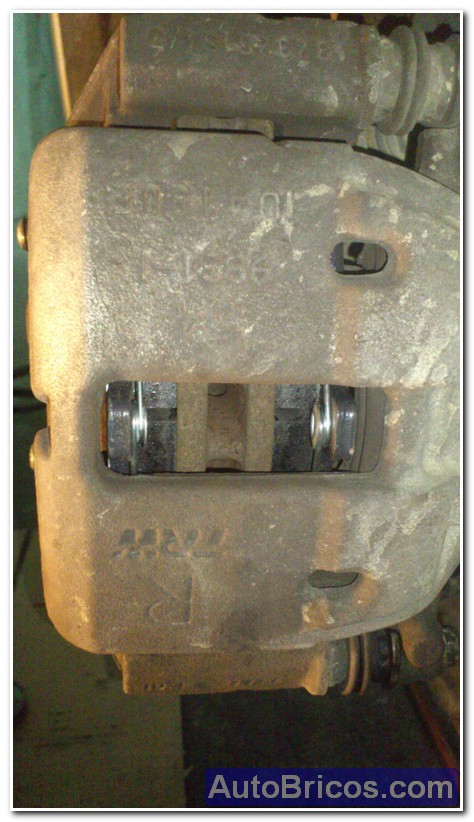
Once the first round, we do the same with the other. Best placed and the wheel, remove the cat, and we place it in the other wheel for disassembling. In the following photos and other wheel, you can see a before and after such changes the position of the clamp over the new pads or worn due to the difference in thickness.
 |
 |
 |
Once the other clamp, and screw closed and apretedo, we can apply the brakes to see that the pads sit also (without starting the engine), and provably have to stain the pedal a few times until it is hard. At this point the liquid level should not exceed the maximum. Put the cap on the brake fluid reservoir again, and now we can put the wheel again.
 |
 |
When starting the engine, the brake pedal should again have the feel of always advise doing very abrupt braking at first, it takes some pills shoot to settle well and does not crystallize.
| Tweet |