

 Oil service interval reset Audi A4 B8
Motor air filter change
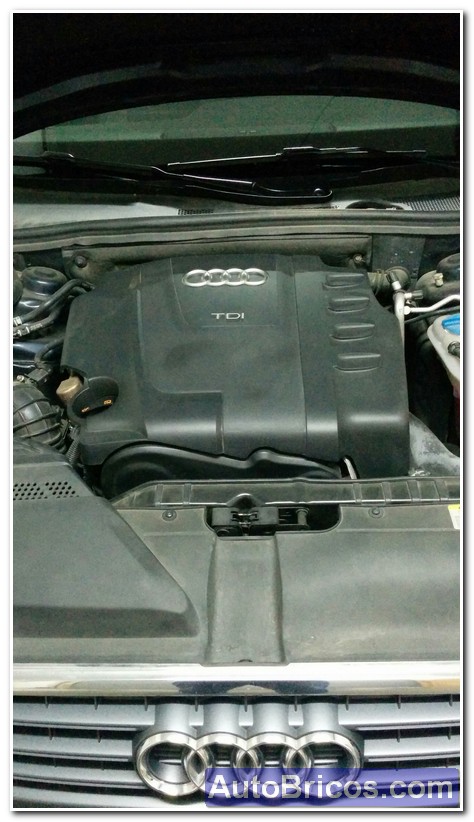
This Brico will show how to change the engine air filter (in this case a 143hp 2.0 Tdi engine version: CAGA)
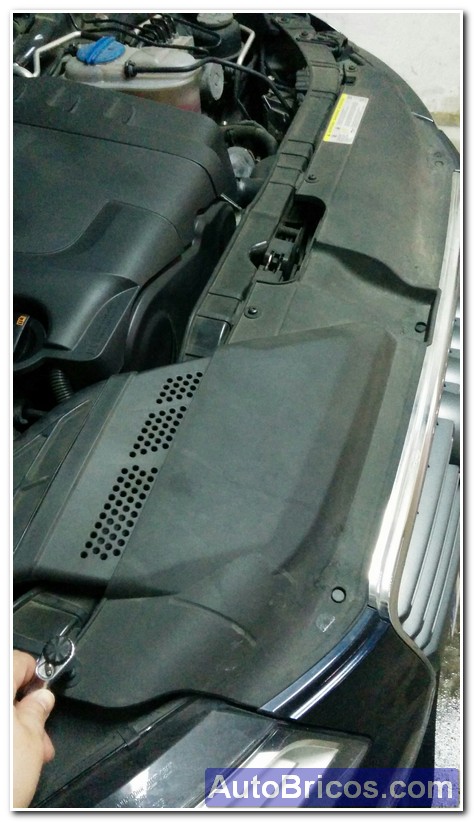
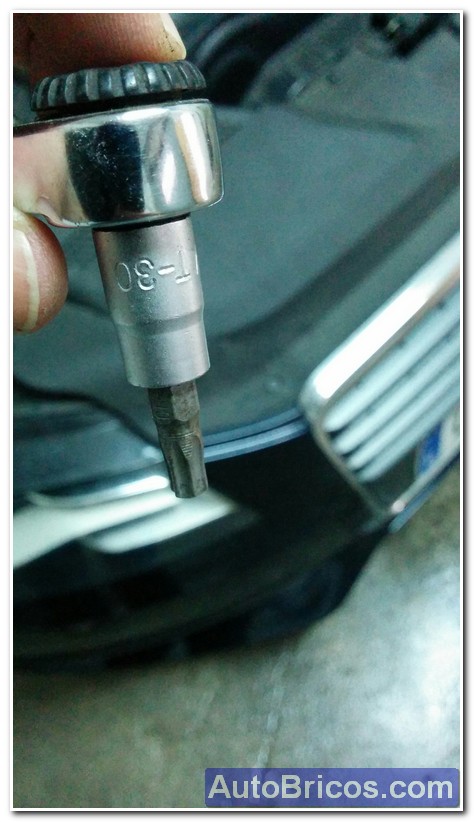
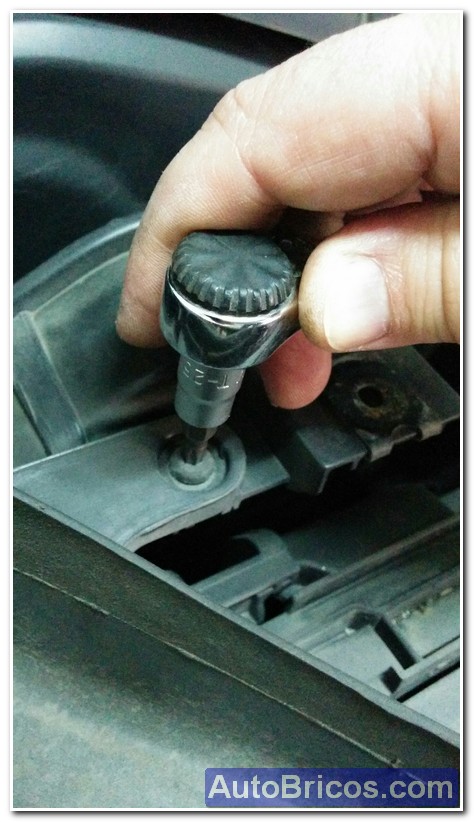
To be able to remove the suction nozzle, we will first remove the upper plastic covering that goes from the front grill to the radiator, I do not know if it is essential but it makes the work much easier. The screws that hold it are removed (4 T30 screws if I remember correctly).
 |
 |
 |
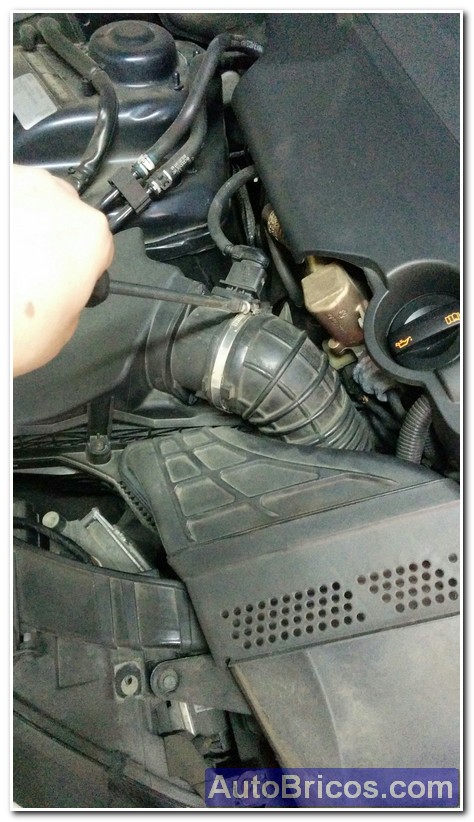
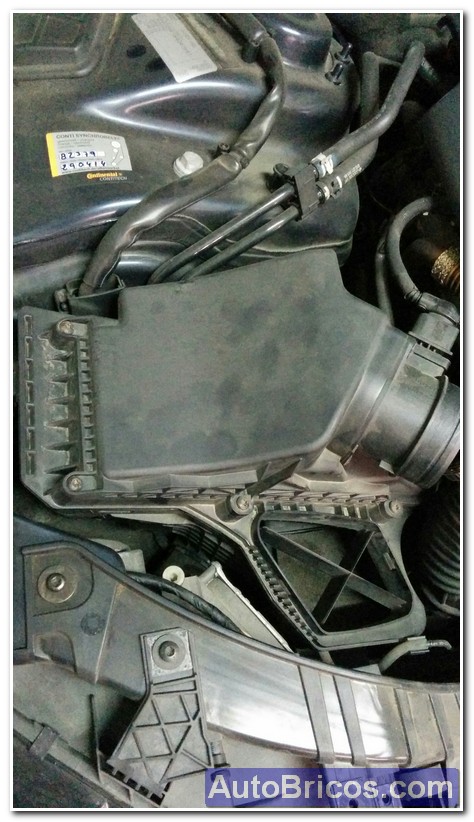
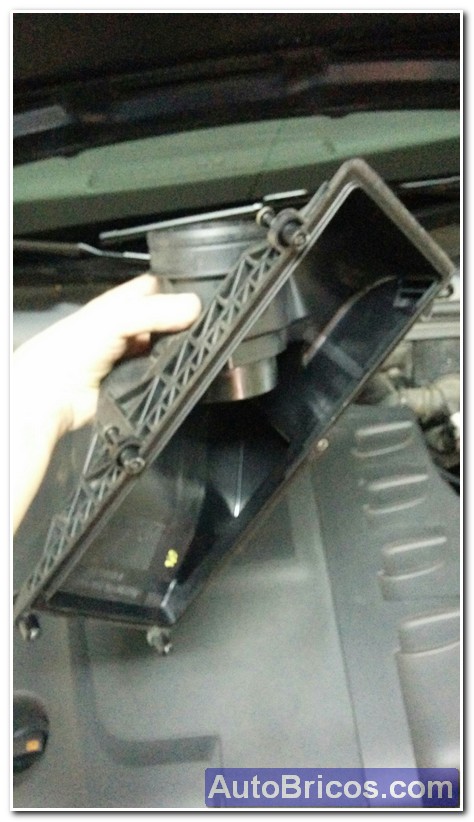
To facilitate the extraction of the air inlet nozzle on the side of the air box, we will loosen the flange of the rubber tube (air outlet of the box) and uncouple the rubber tube to have some more space to remove the air inlet nozzle.
 |
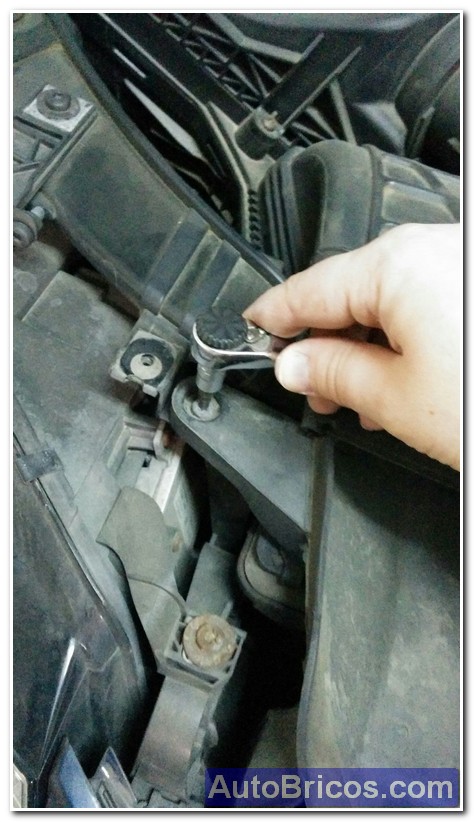
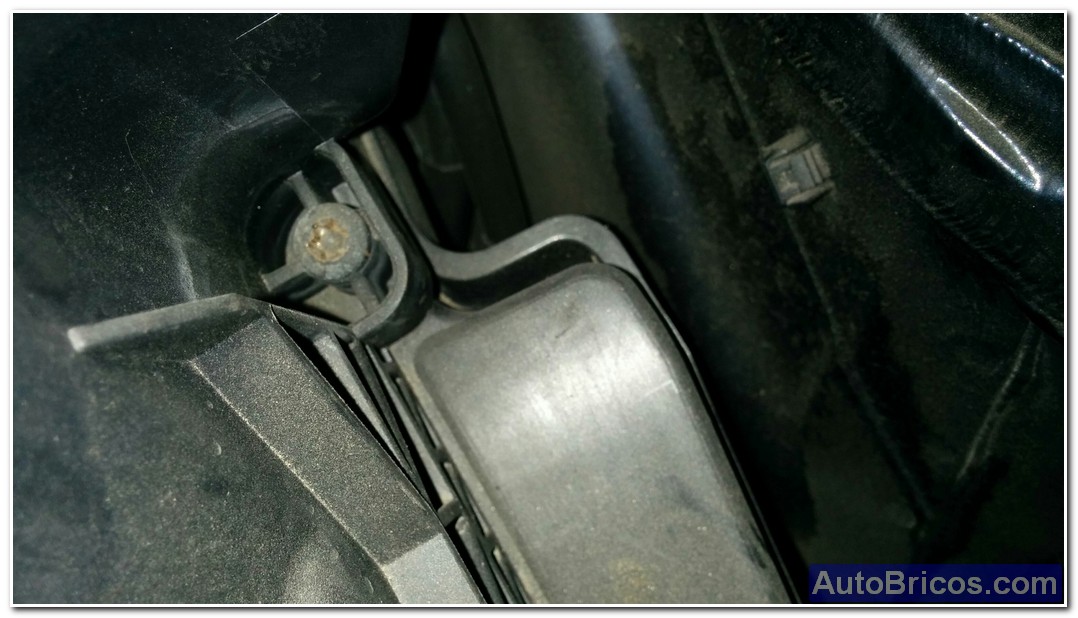
The next thing would be to remove the 2 T25 type screws that hold the plastic suction nozzle to be able to remove the suction nozzle.
 |
 |
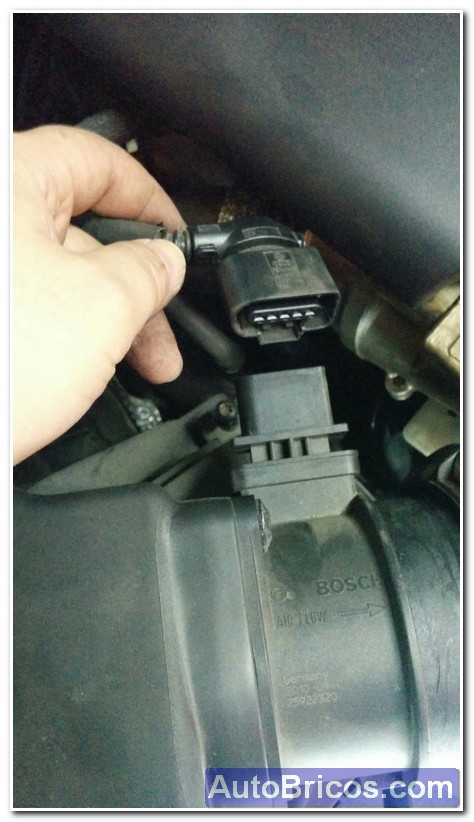
Once the suction nozzle is removed, we can disconnect the air flow meter connector so that it does not bother us when removing the air box cover. Make sure that the car key is removed so that we do not have a fault stored in the control unit.
 |
 |
Once the flowmeter is disconnected, we can begin to remove all the screws from the contour of the air box cover. Be careful, there is a screw that is a little hidden in the back of the box. Make sure to get them all out.
 |
 |
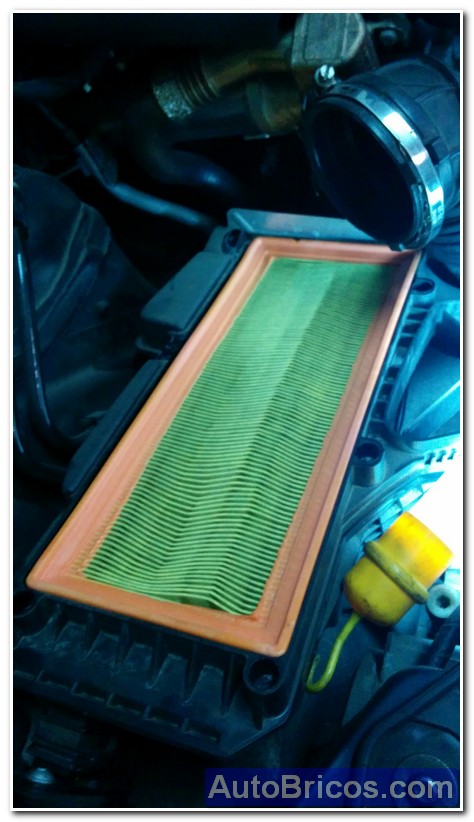 |
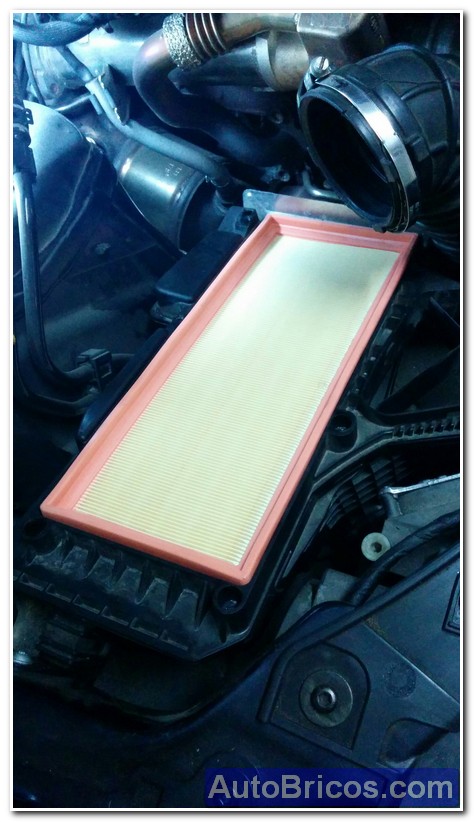
Once the air box cover is removed, we can change the air filter. Make sure the filter fits snugly into the air box.
 |
 |
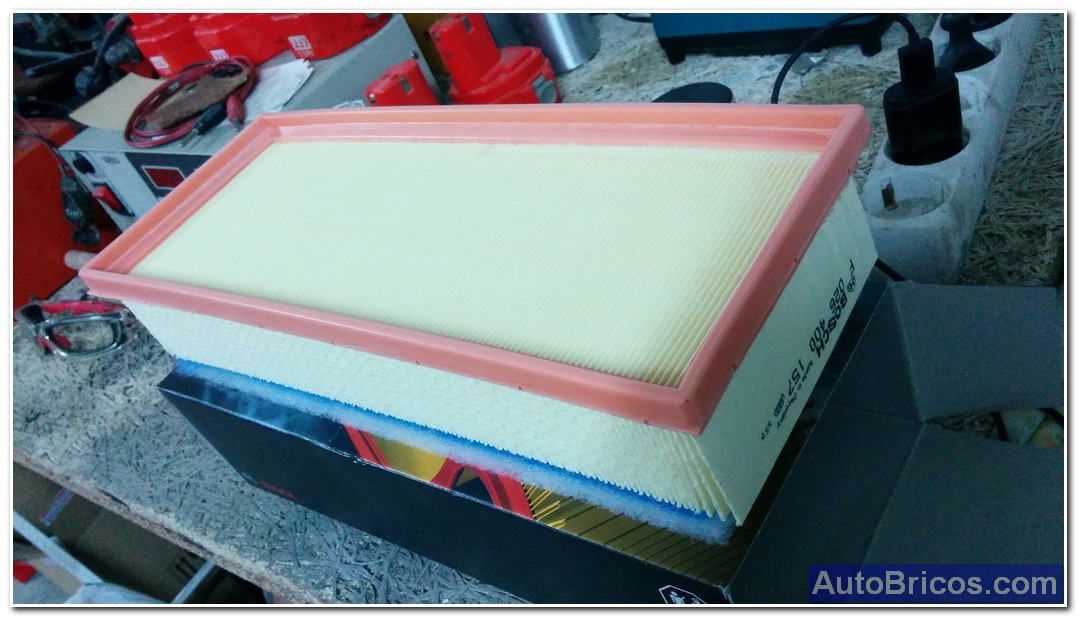
At this point we could already reassemble the parts in the opposite direction to the one followed for disassembly, and once the process is finished we would have the finished brico.
| Tweet |